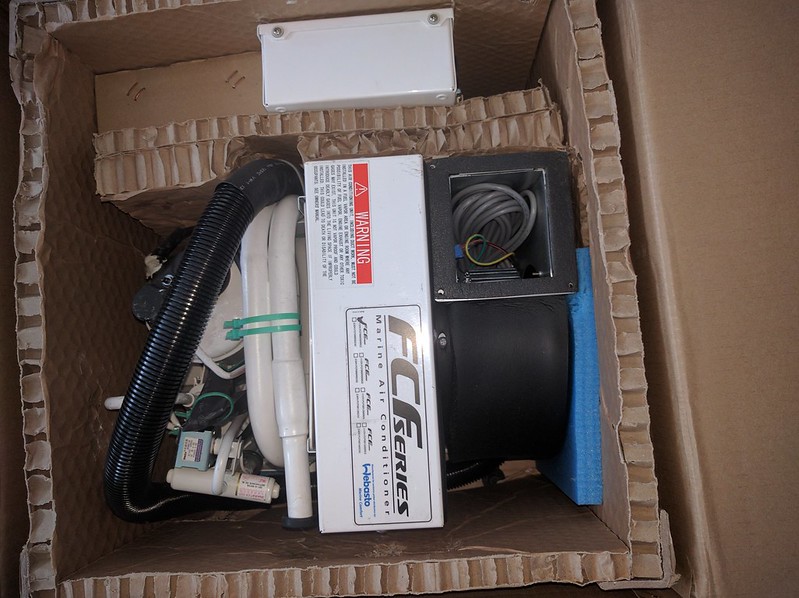
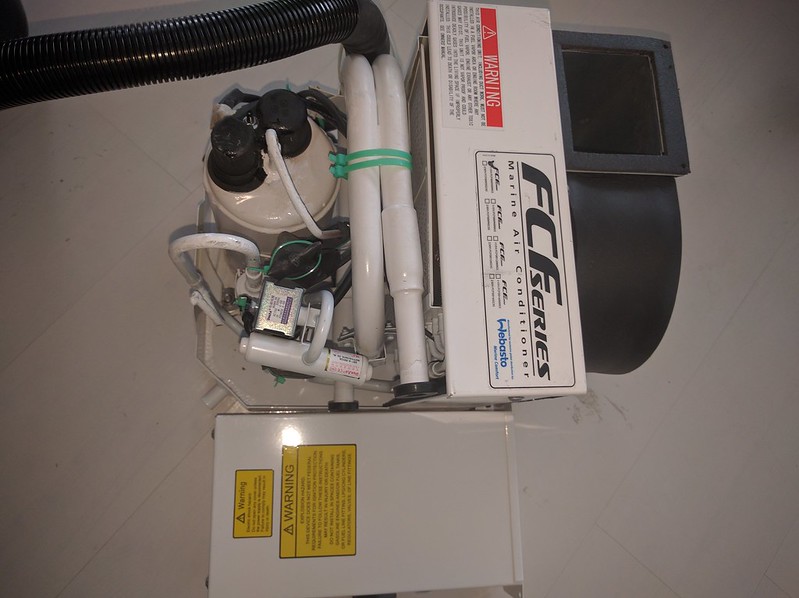
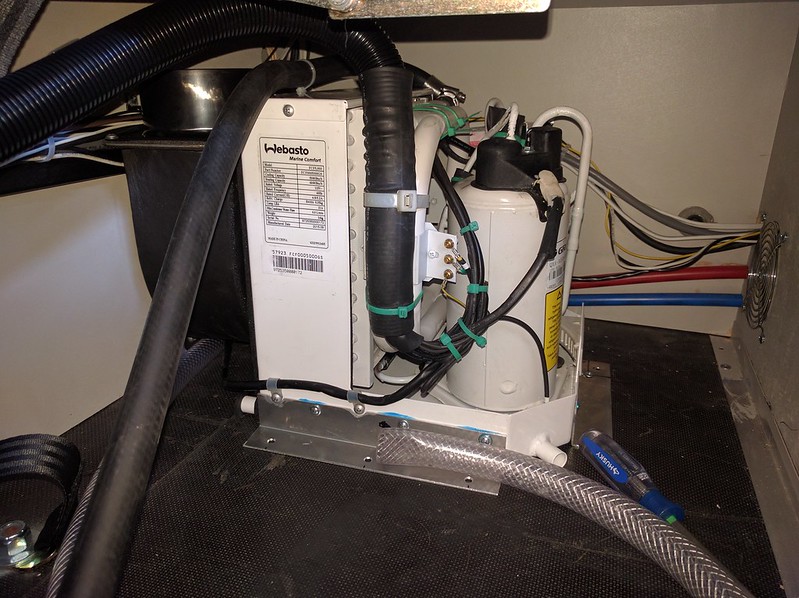
Here are some photos of the Websasto FCF 5000 AC unit. As you can see it’s quite compact. Construction quality seems to be good. A few loose zip ties, and a scratch here or there.
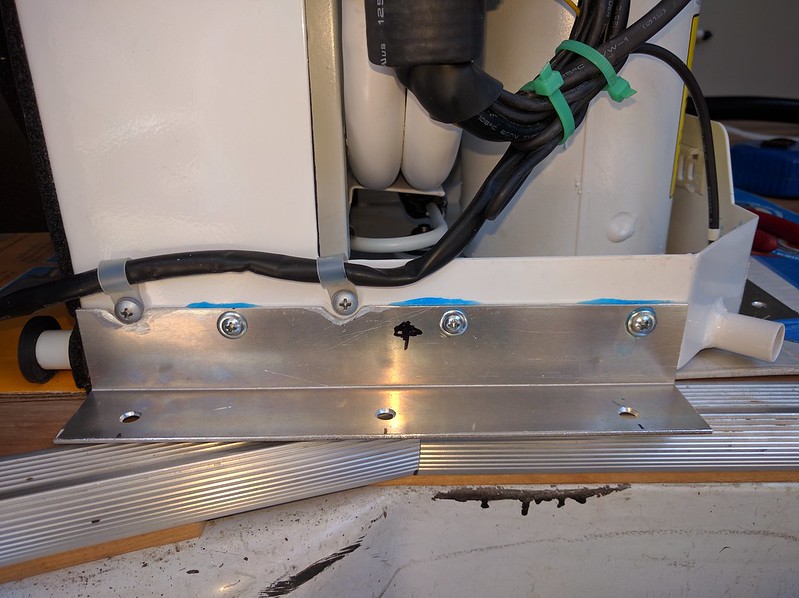
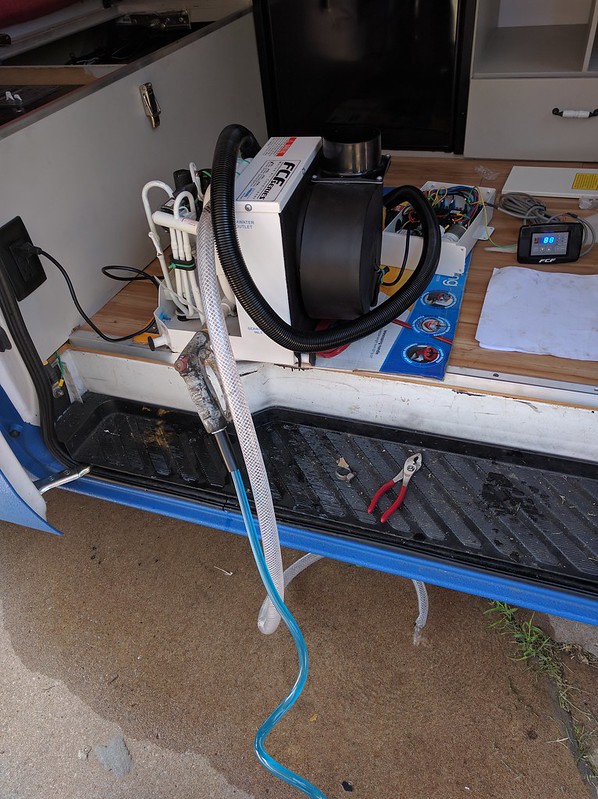
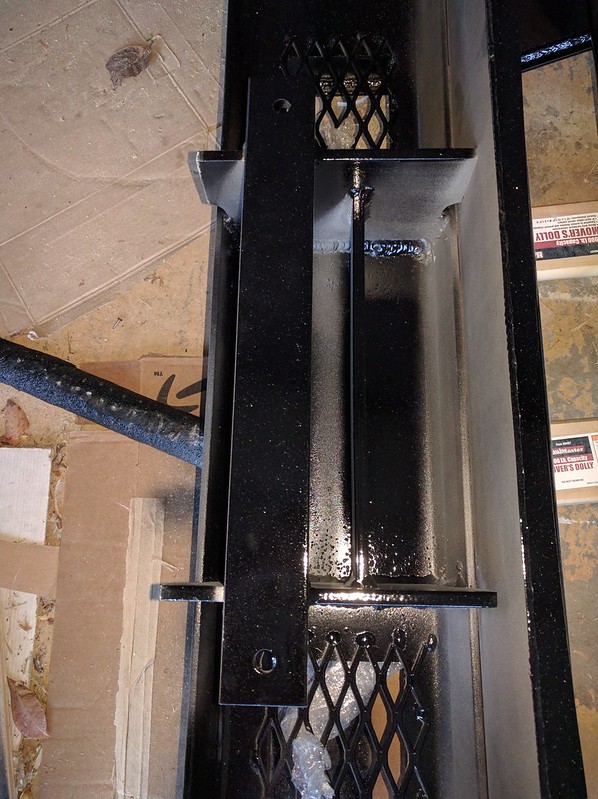
Here it is mounted. The factory supplied mounting brackets are not strong enough for an automotive application, so I added some larger brackets with through bolts for the floor.
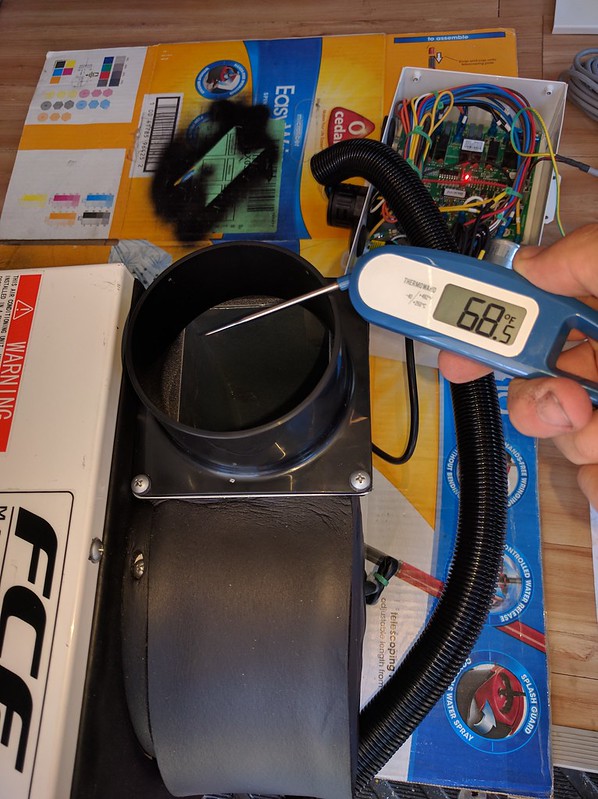
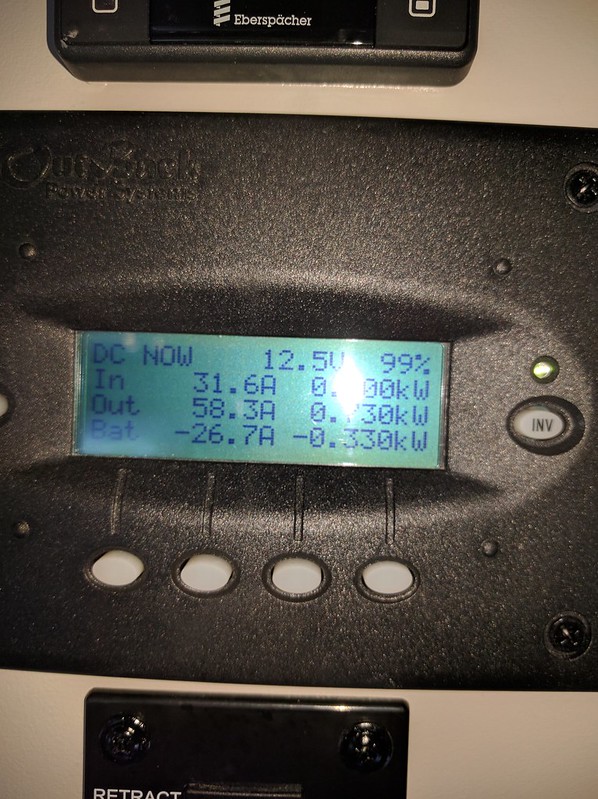
I did some testing on the unit using a garden hose for water supply. The unit moves quite a bit of air. It was able to drop the ambient air 20 degrees (88F to 68F). Humidity was around 55%. The water stream was heated about 5F which a bit higher than my estimates. Power consumption was 4AAC (according to the inverter, not sure how accurate this is). DC power usage was about 55A on high. This is a bit higher than my initial estimates. Apparently the inverter is only 80-70% efficient at these low power levels. There will also be power draws from the yet to be installed water pump and radiator fan(s).
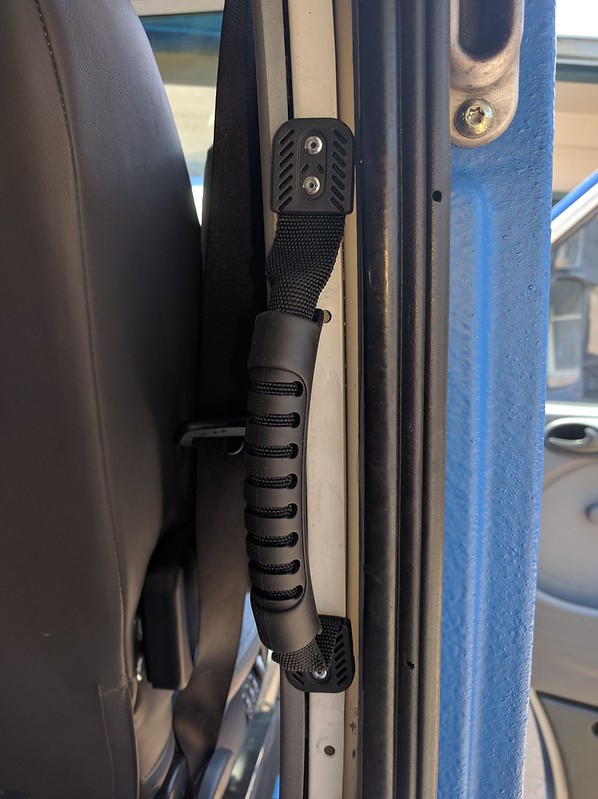
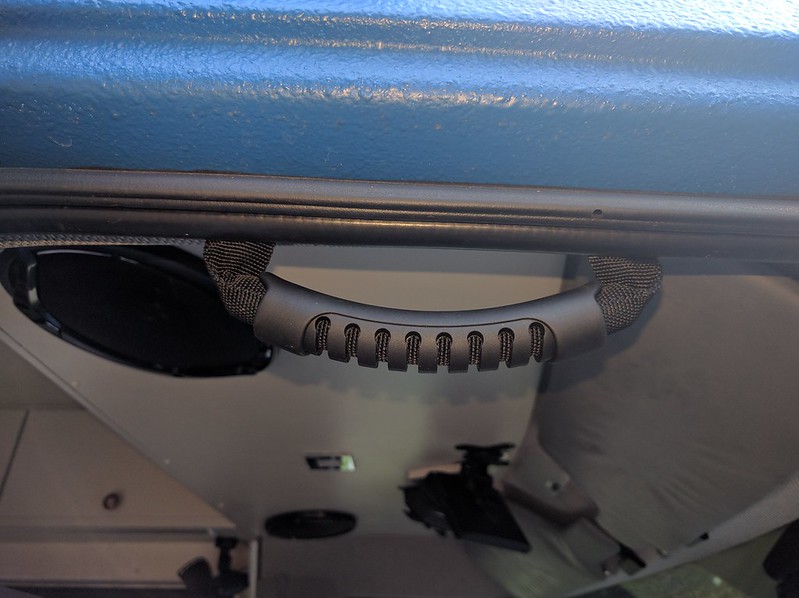
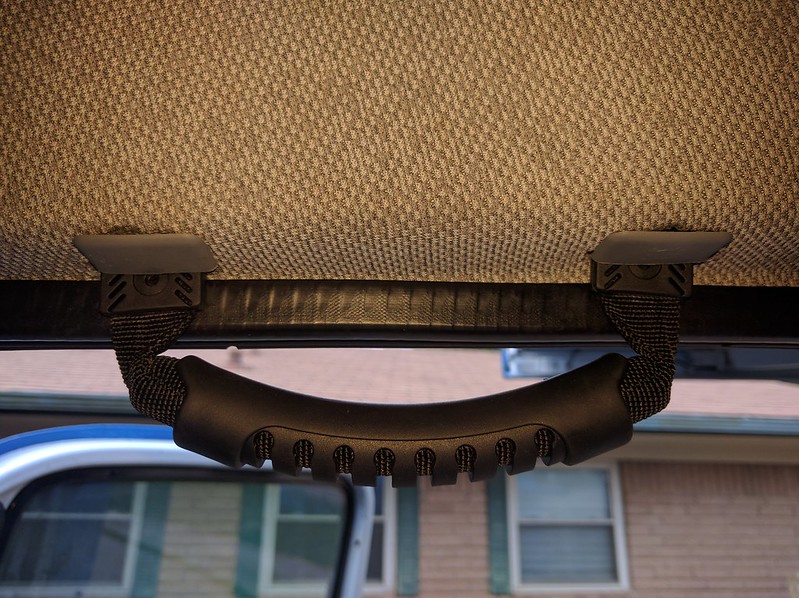
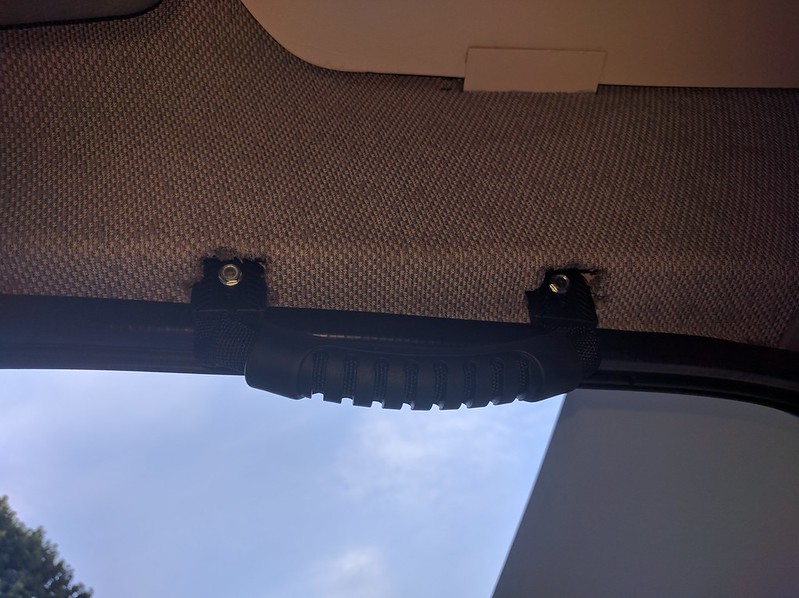
I installed a couple of grab handles to aid ingress/egress.
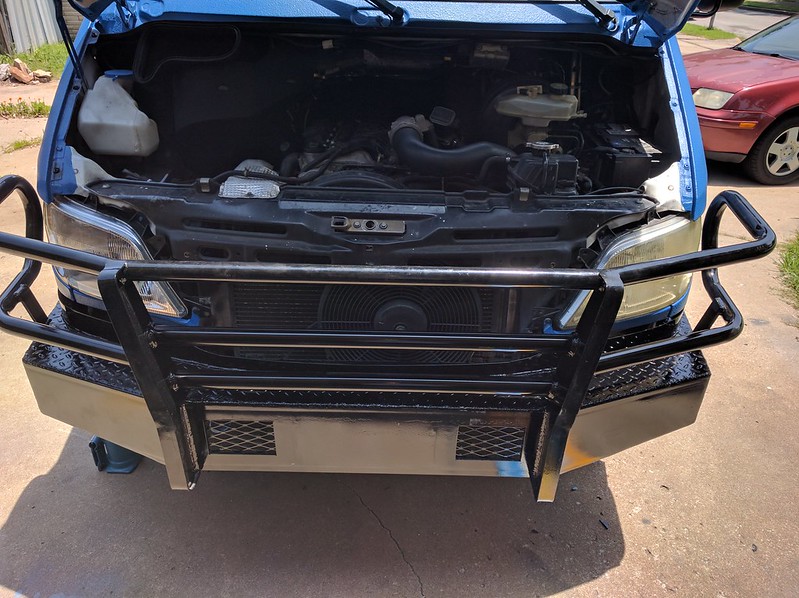
I took a good part of the day on Saturday to mount the bumper. It was not a simple bolt on job for 2 reasons. The first was due to the mounting holes not lining up. The second is that I want to strengthen the fairly weak stock mounting points. The factory mounting points for the bumper cover are just 2 rivnuts. (this bumper also uses the step mounts). I drilled out the center 2 rivnuts and installed ½” through bolts with backing plates.
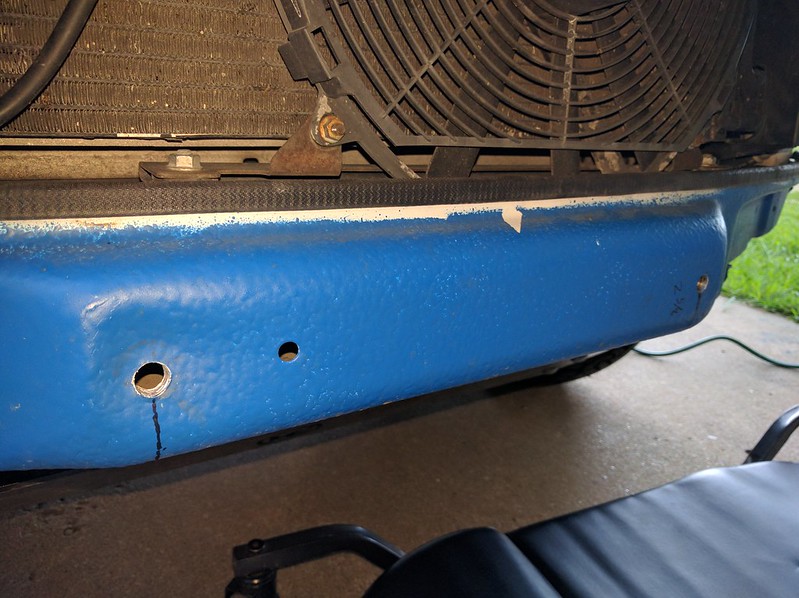
The bumper has little or no resistance to twisting backwards. So I added a mounting bolt into the fender panel skirt on each side near the rear. This adds substantial rigidity, and hopefully will keep wildlife from rotating the bumper into the hood.
 [
[
No comments:
Post a Comment