Jonathan’s half (or more than half) of the repairs consisted of:
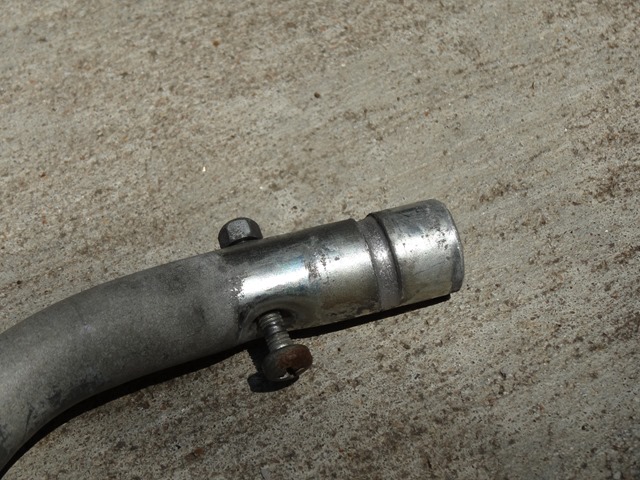
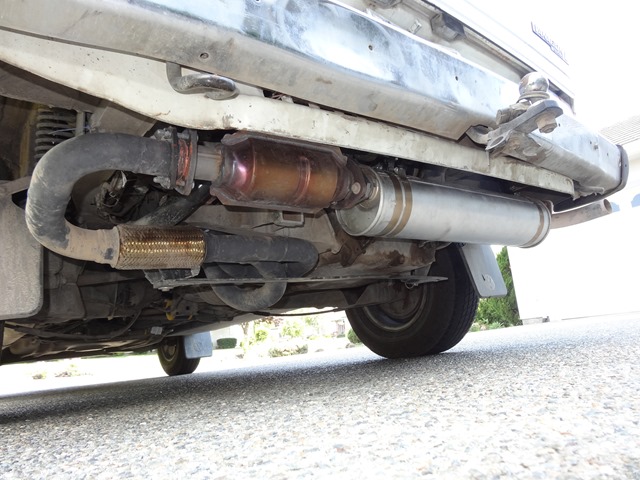
- replacing the exhaust. Yay for no more backfiring or hear-for-a-mile rumble! He got the new exhaust kit from Foreign Auto Supply and added a catalytic converter and muffler that actually works. When we started the van for the first time after the swap, you could barely hear it inside. Fantastic!
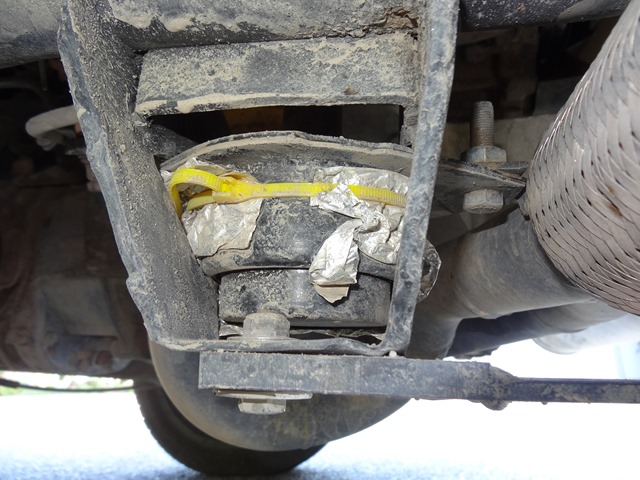
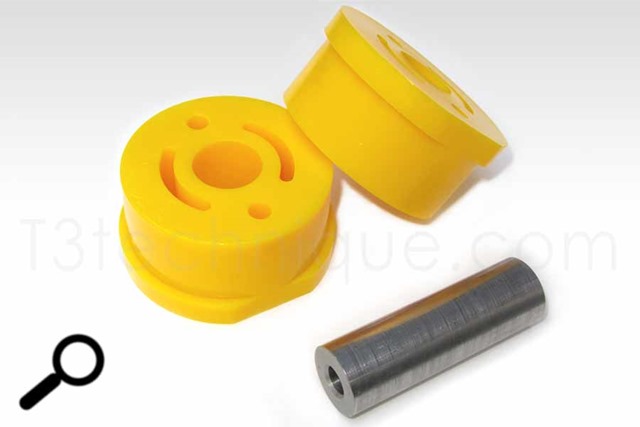
- replacing the damaged engine mounts. Probably as a result of the damaged exhaust, which leaked, the front and left engine mounts were broken again. The other issue was that one was a bit undersized for the larger engine that had been installed. So Jonathan purchased better mounts and installed them.
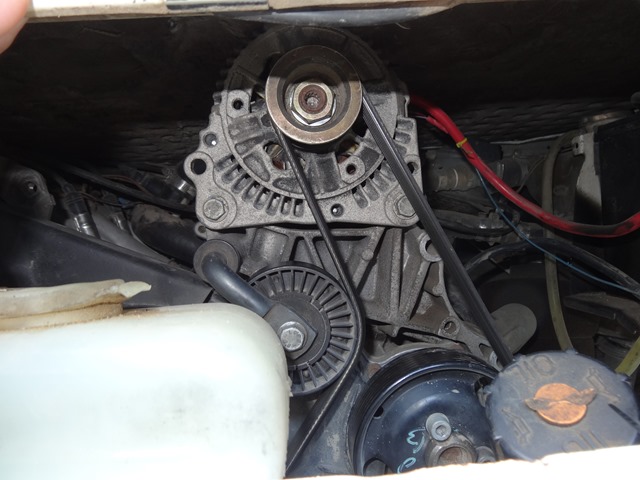
- converting to a serpentine belt for the alternator. Remember our battery dying on us in Honduras? Well, part of the issue may have been a weak alternator that wasn’t quite capable of charging the batteries fully. Even if it wasn’t a cause, every time we started the vehicle, we had to press the gas a little to get the alternator light to turn off. Jonathan had been wanting to install a serpentine belt setup for a while, but hadn’t had the appropriate supplies or space. He got the kit off a guy in the Vanagon I4 Google group, did some finagling, and installed it.
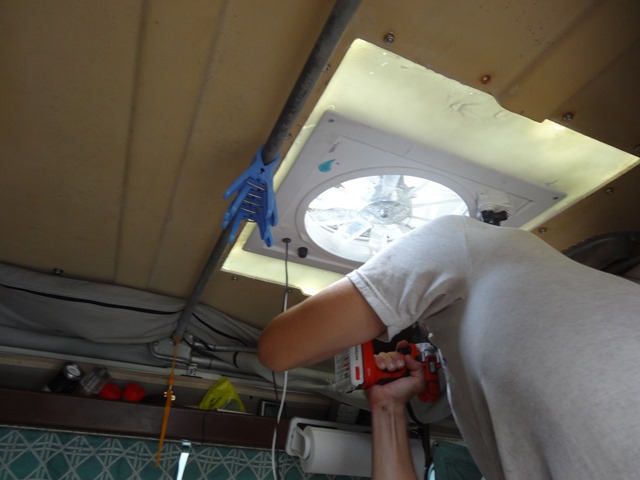
- replacing plywood with plastic in the ceiling. The piece of plywood that holds our vent fan in the roof was rotting and leaking (nasty-smelling water when it rained). We decided to avoid any such rotting possibilities in the future by installing a piece of HDPE plastic instead.
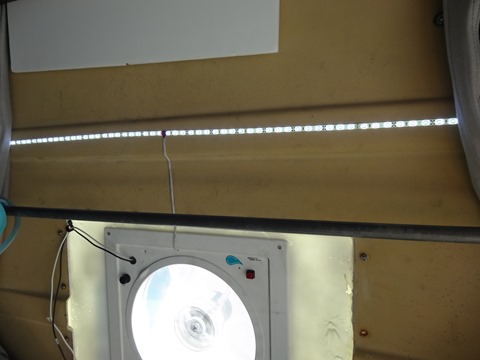
- installing another set of lights. Our lights are fantastic, but as we traveled this time around, we discovered a weak point in our setup: there wasn’t any lights in our pop-top. So, we took our remaining length of LED lights and installed them along the pop-top and added a switch so that we could enjoy the pop-top, even when it is dark.
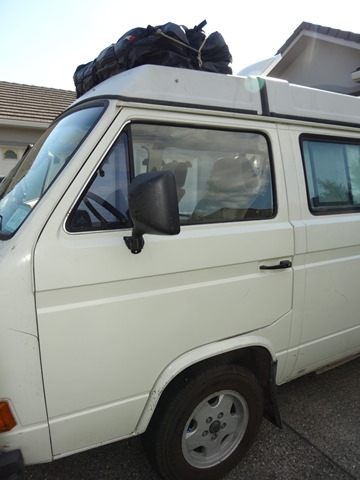
- replacing the driver’s door.
- adding insulation to the fridge door. In humid Central America, our fridge door would collect quite a bit of condensation overnight, which would then cause our oven mitt to collect mildew. So, we had to remove everything off the fridge at night and wipe it off in the morning. While docked, Jonathan took the door off the fridge, removed the decorative cover and added some insulation to it. So far, that has fixed the condensation issue, but we aren’t in Central America anymore, either.
- swap out the windshield fluid squirters. Our current squirters were sub-par as they kept getting plugged, and we thought it would be sweet to install Porsche ones that have dual outlets. They are better, but they are difficult to adjust.
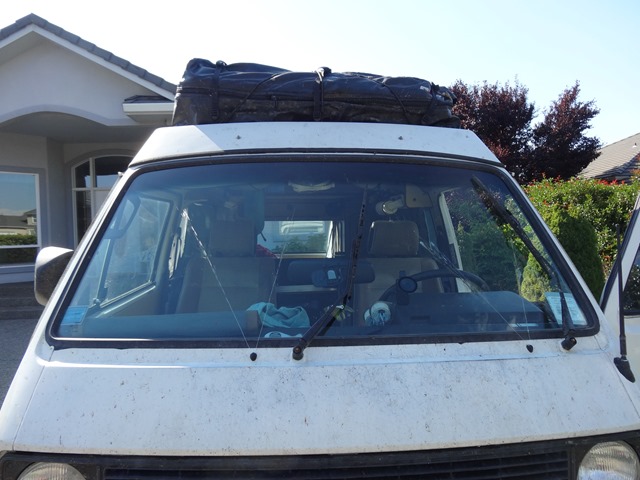
- create pop-top bar bushings. Our pop top has always been difficult with which to deal. It got better after we installed Jack Bombay’s pop-top shocks, but they were still wobbly. Turns out, our pop-top bar bushings had been worn out, well technically, there are no bushings, so the bar was worn out, but eh. Jonathan repaired them and, voila!, oh-so-easy pop-top movement!
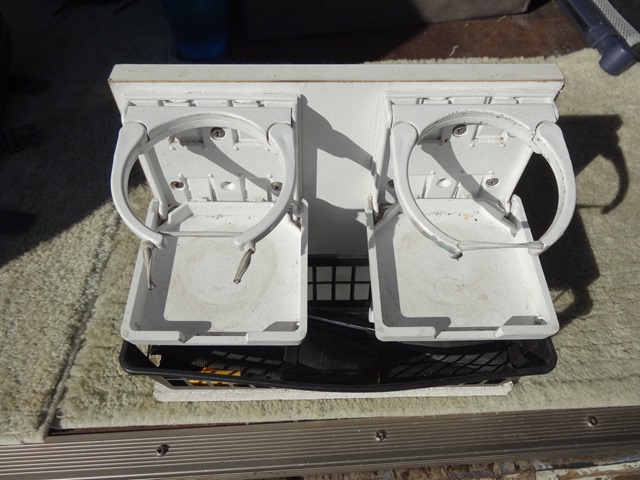
- prevent the cup holder from losing drinks. My cute little cup holder that I made developed a bit of an issue. The passenger-side holder’s retainer arms had lost their stiffness (or friction, if your prefer) and would no longer snugly hold my drink anymore. So, very often on those bouncy roads, my drink would tip over and try to bathe the floor for me. While traveling, we tried to fix this problem with a rubber band, but that broke pretty quickly. With more time and tools and ease of access available, we drilled holes into the retainer arms and tied an elastic band between them, which has worked so far.
I actually worked on several projects as well. The list included:
- deep cleaning. Between several months of the hot and humid environment of Central America combined with living in a van, our seats and everything had developed a nice funk. So, I emptied almost everything out of the van and deep-cleaned, including a steam clean of the seats.
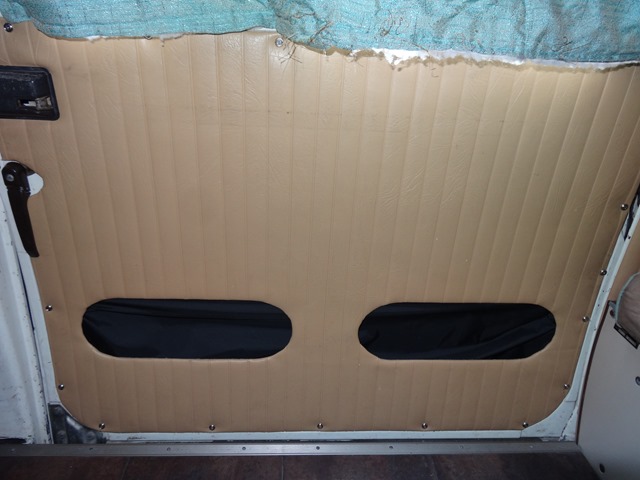
- reattaching the sliding door panel. The panel had kept trying to fall off and cause us problems. I finally gave in and decided to screw it in instead of going for the screw-less look.
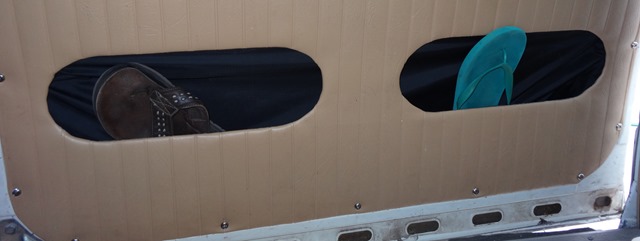
- creating shoe storage. While I had the sliding door panel off, I also worked on creating some shoe (flip-flop) storage in the door. I cut holes into the panel and created pockets out of rip-stop nylon, which I attached to the panel before I screwed on the panel again. Now I won’t be tripping over shower shoes anymore!
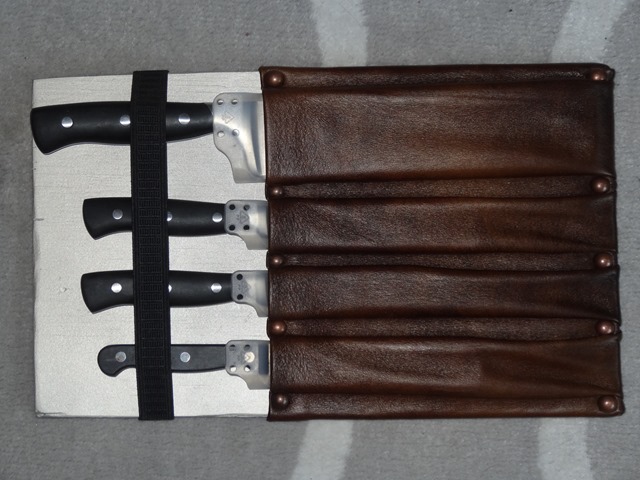
- finding a new place for the knives. I was having trouble with my cooking utensils being hard to get when needed, and my knives were just piled on top of each other, taking up a lot of space in the drawer. It was beginning to drive me crazy, so I decided I would put my cooking utensils in the drawer where the knives were and move the knives elsewhere. We had an idea of putting them on the kitchen cover over the sink using a magnet bar, but I couldn’t find a magnet strong enough to hold the knives securely through their covers (and I didn’t want to remove the covers for safety reasons). With that idea shot down, I considered making a sort of knife block. Eventually, I came up with an idea that would use a thin piece of plywood and some of the faux leather I used on my seats. I think it is gorgeous and masterfully utilizes the space of the forward side of the kitchenette behind the driver’s seat.
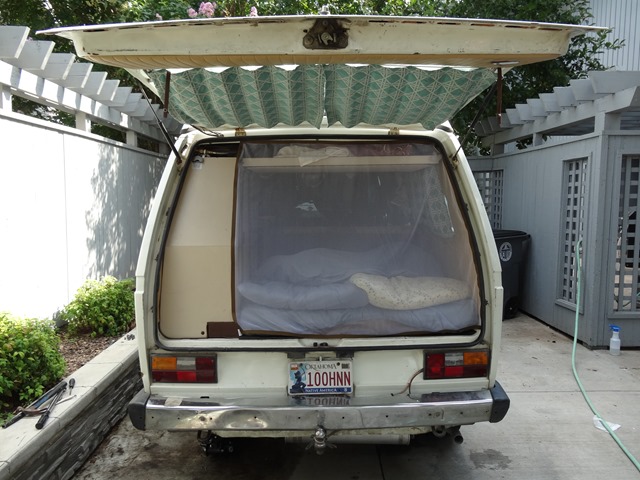
- make a rear bug screen. We had a rear bug screen, but it was hard to deploy. So, I wanted a new one that 1) was easily deployed and 2) could be deployed from the inside as well as the outside. I used the mosquito net from Jo-Ann’s, ironed on a brown ribbon using no-sew fusible bonding material for the borders, and Velcro-ed the net to the cabinet and the wall. Magnets hold the top part to the van, and a block of foam keeps bugs from going from the shower faucet area into the upper shelf and into the van.
- repack. As mentioned earlier, our previous organization was beginning to stop working well for us, so we needed to repack everything (except our clothes) to better fit our current needs and supplies (we got rid of several items and gained others).
All these changes have made for an even more pleasant experience of daily life with Chuck. It had definitely been time to give Chuck some TLC, and we definitely accomplished a lot in the month we had him holed up.
