Saturday, February 27, 2016

Spring Update #3

I received the fittings for the spin on filters, still waiting on the filters themselves.


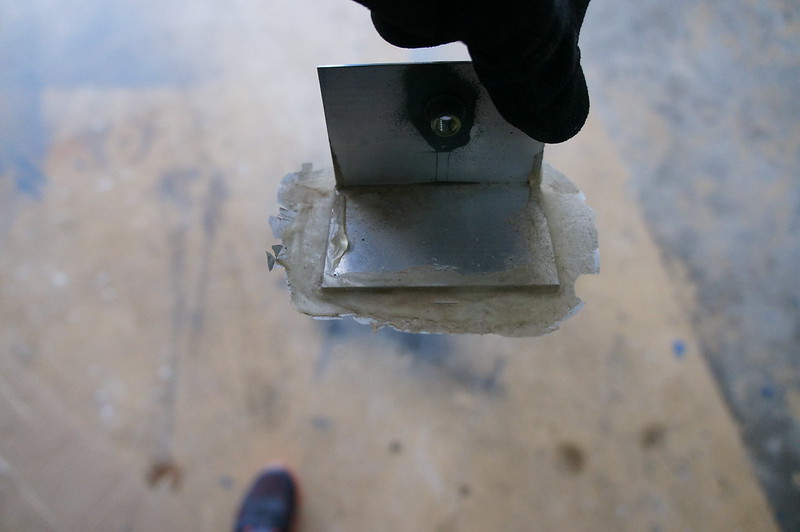
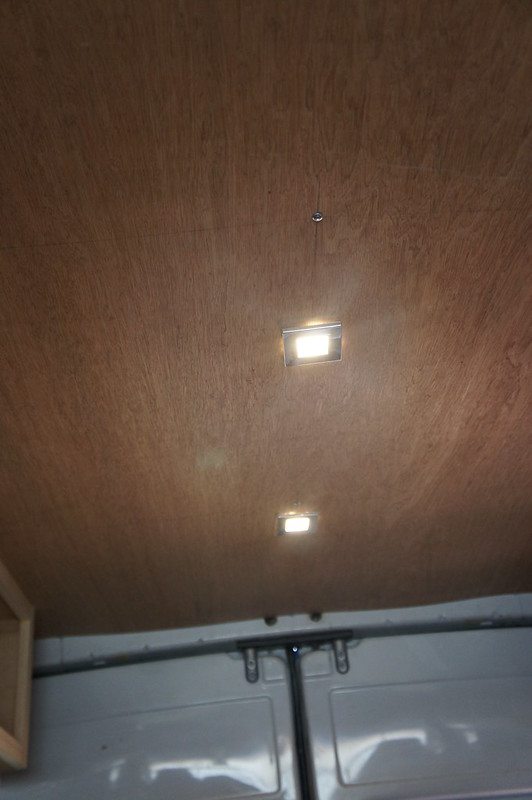
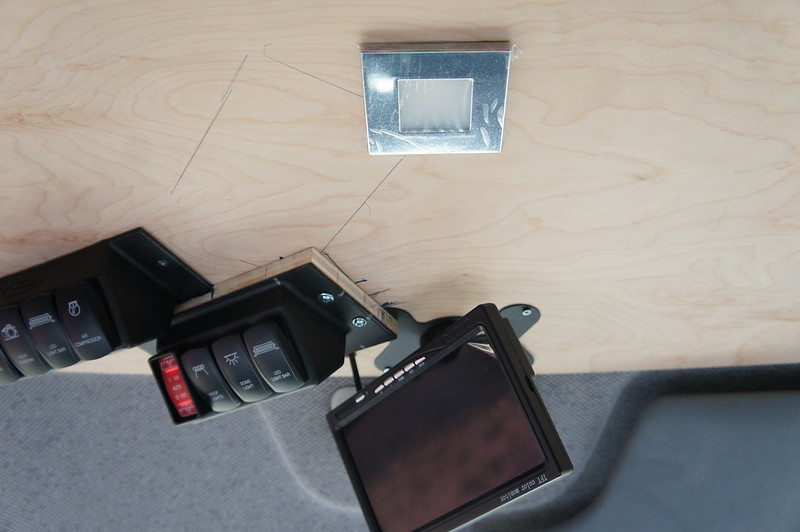
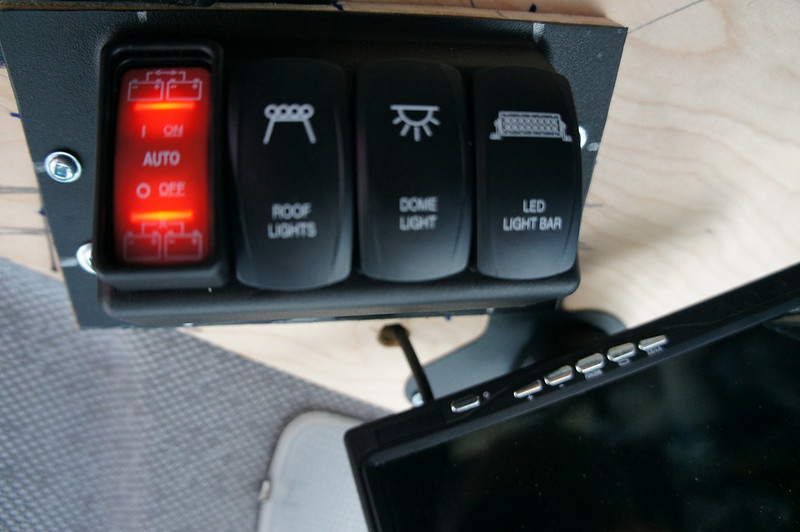
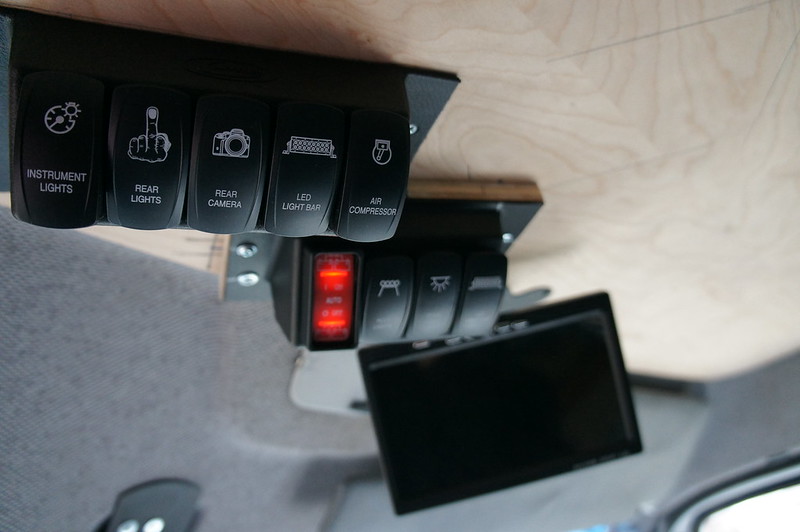
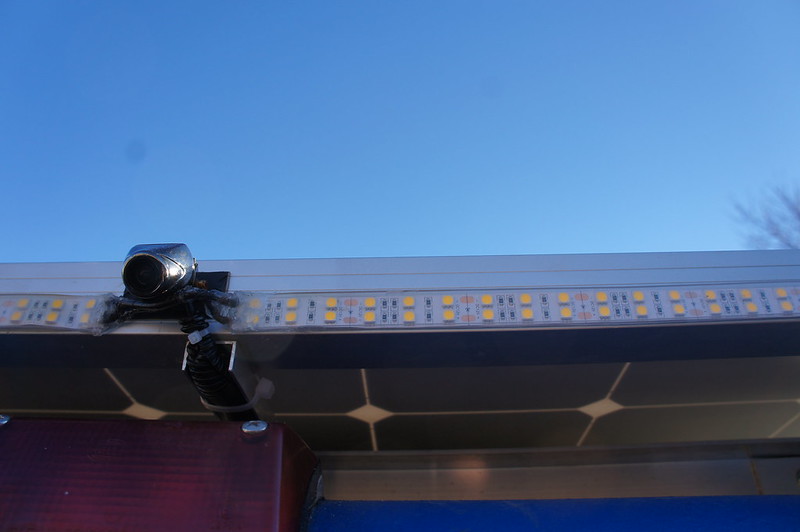
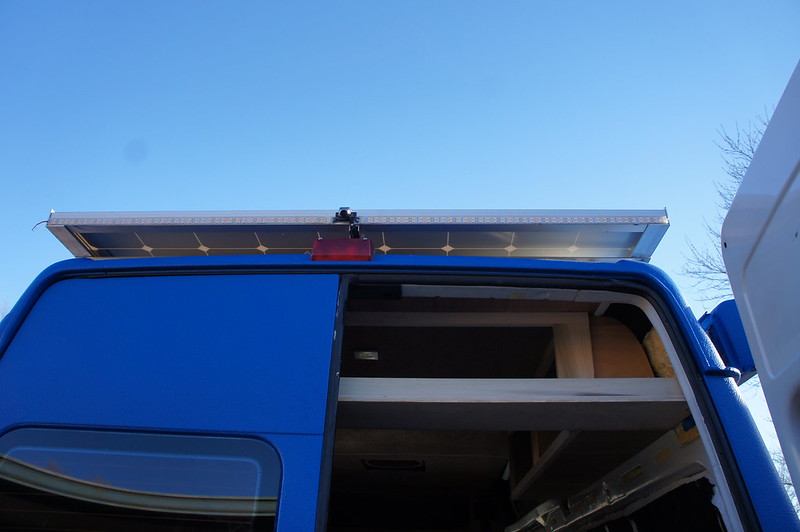
The roof lights are mounted. I ended up using CA (super) glue to bond them. The waterproof silicone casing is incompatible with most adhesives.


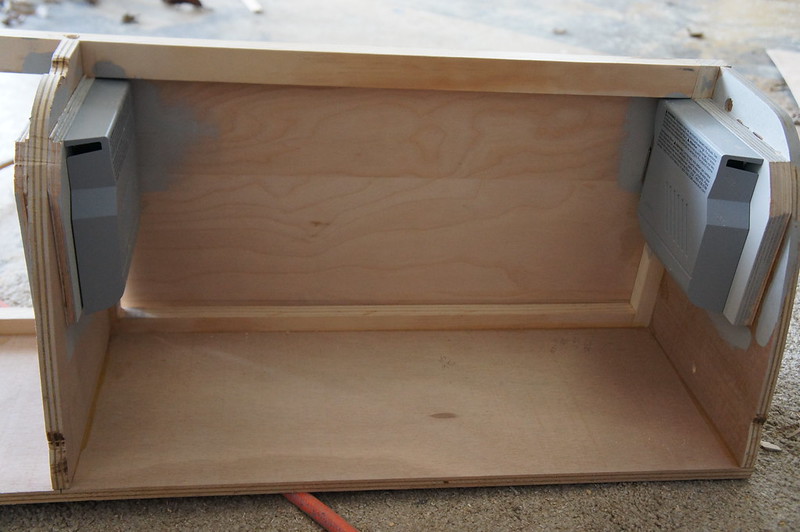
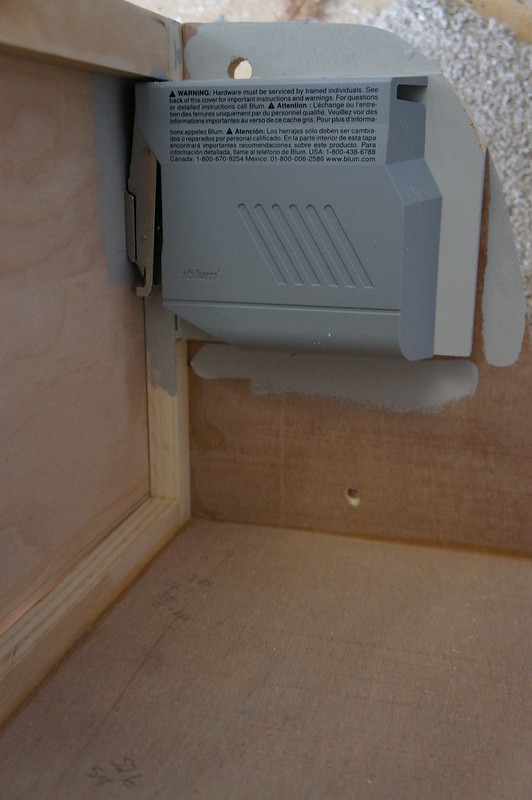
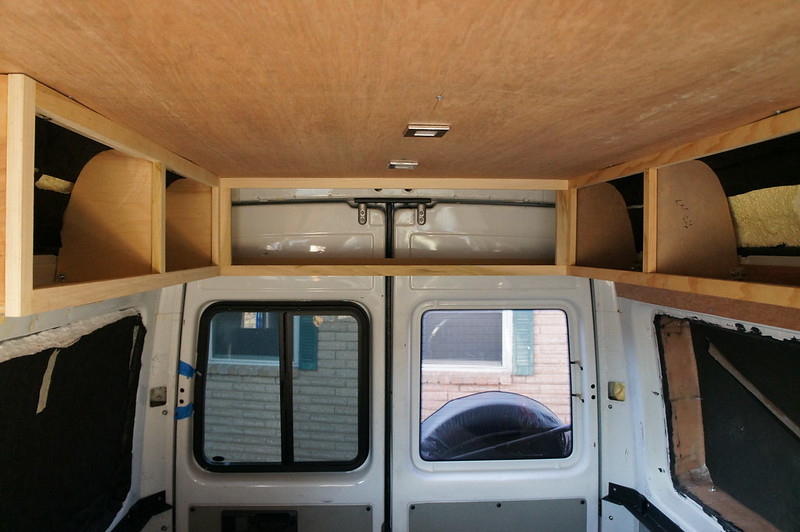
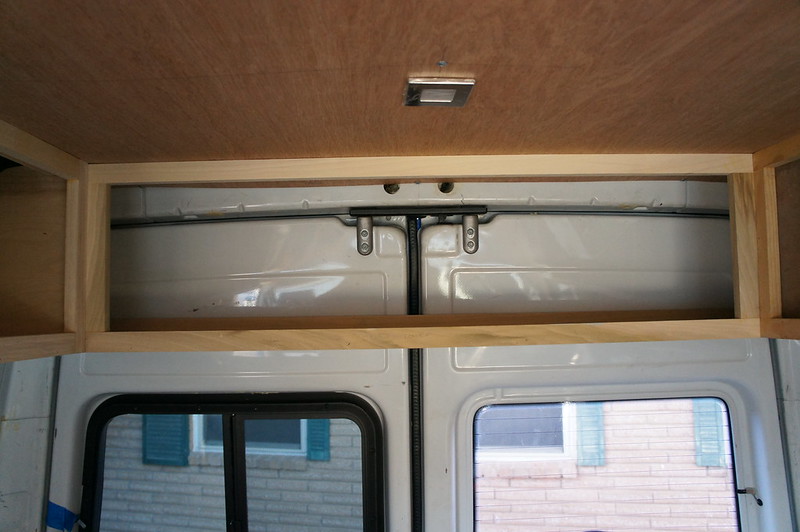
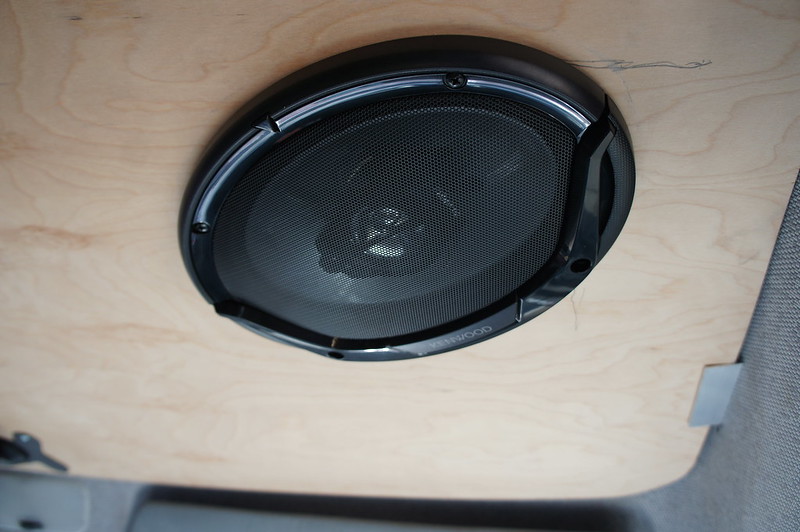
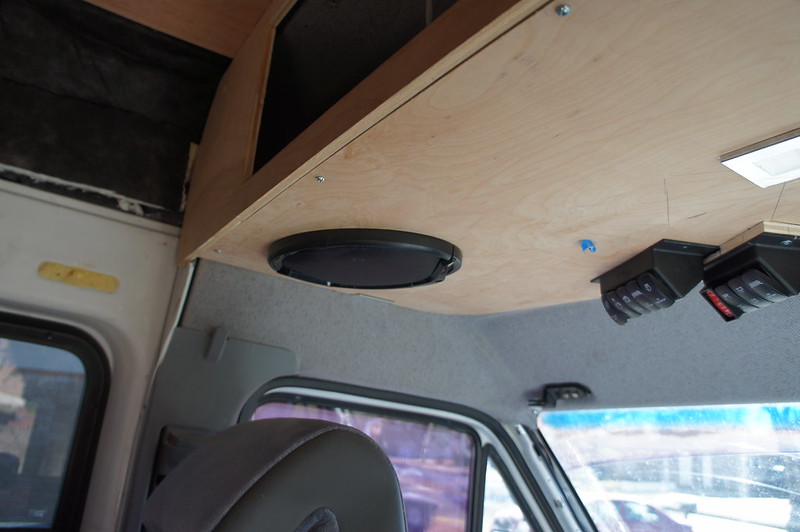
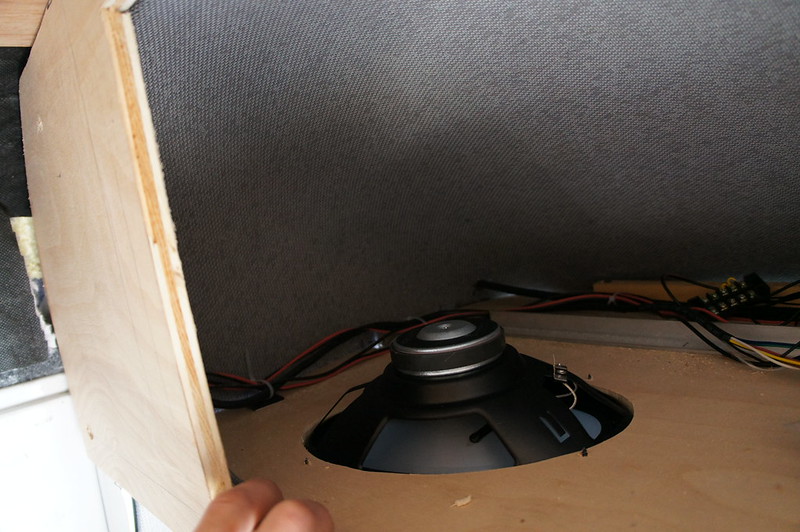
I installed some 6x9 Speakers in the over-cab cabinet.

http://amzn.to/1WYnnWT


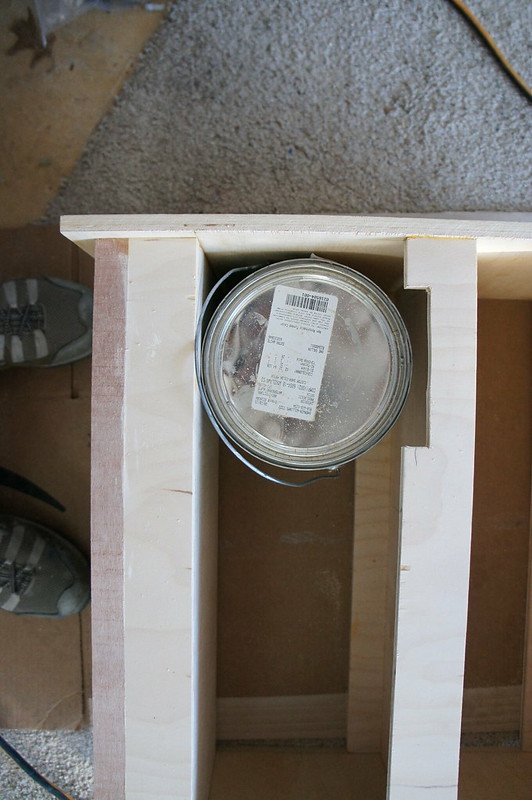
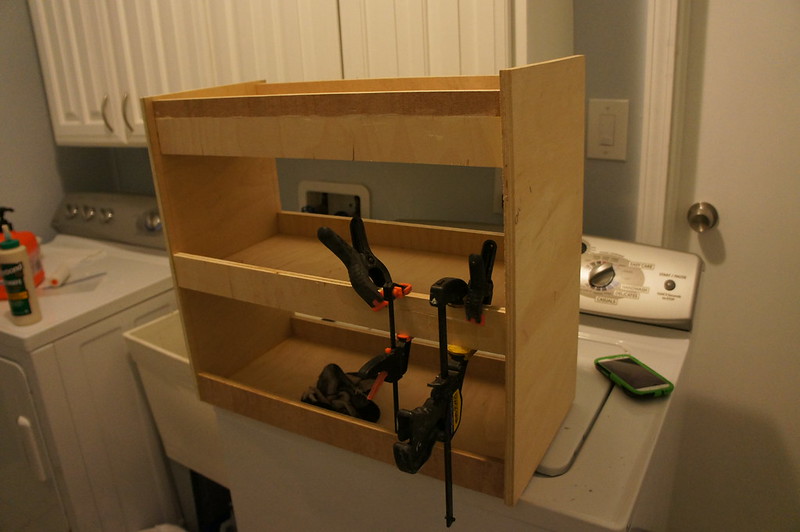
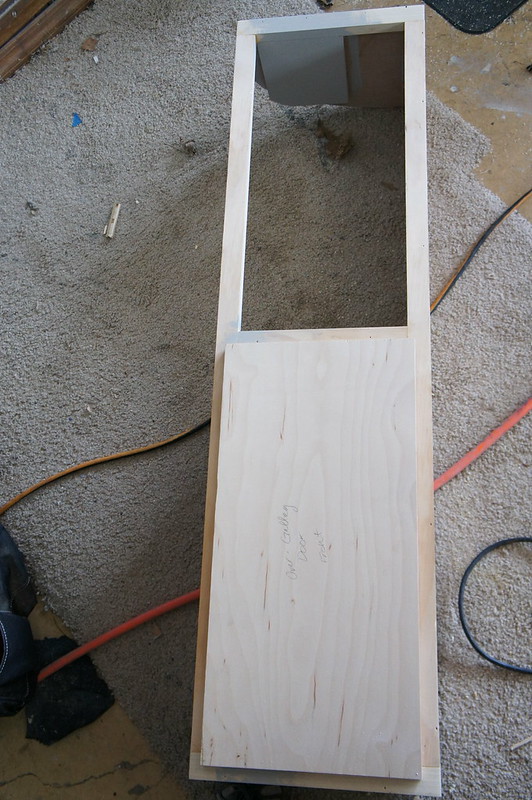
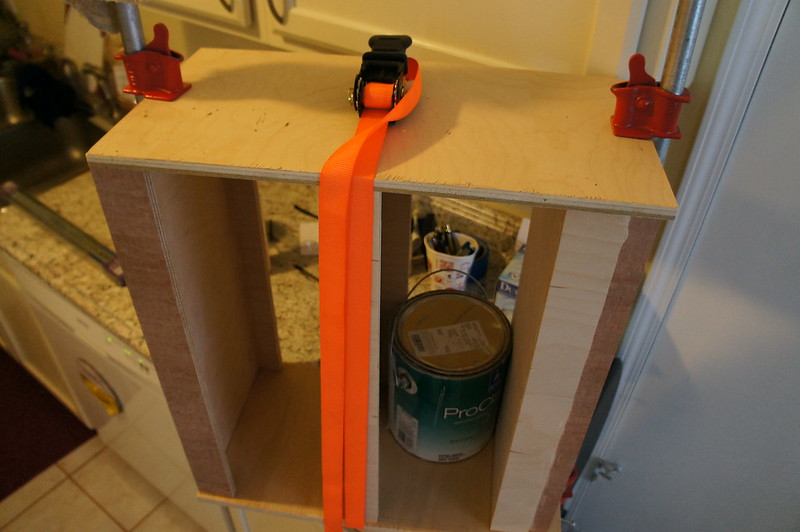
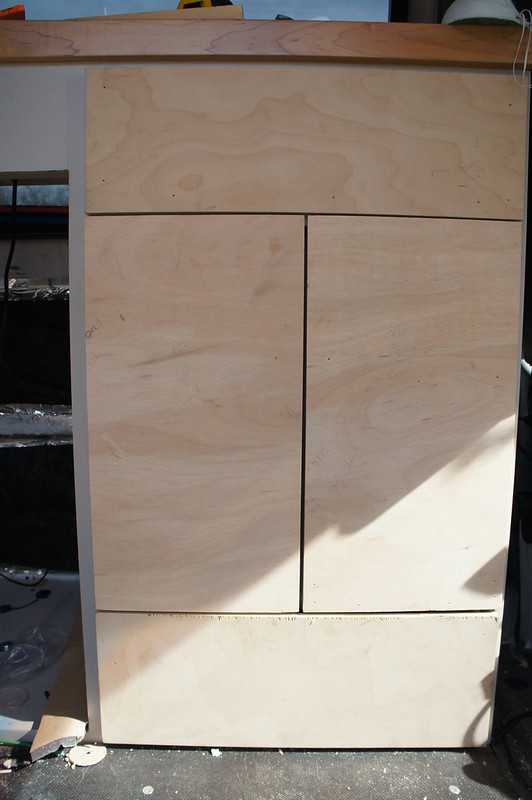
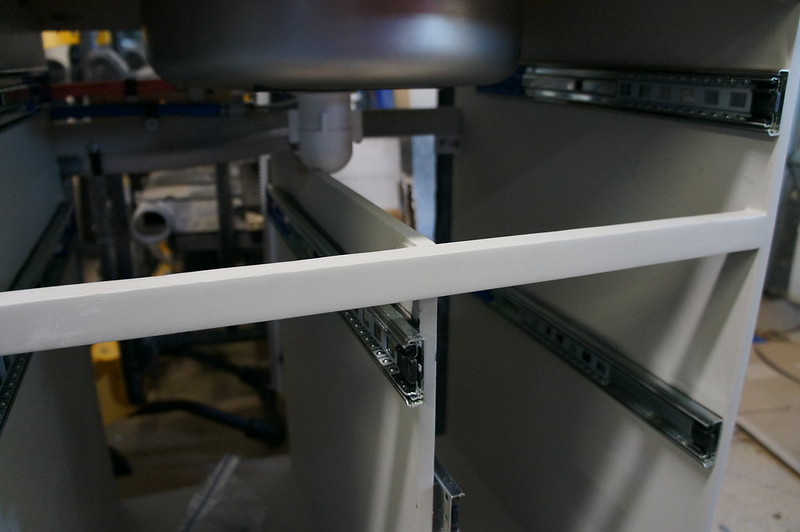
The Galley Drawers have been made and mounted.


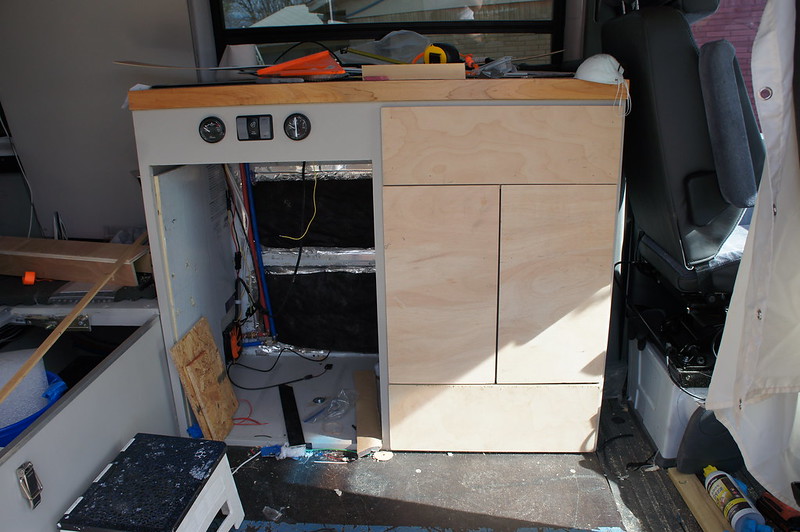
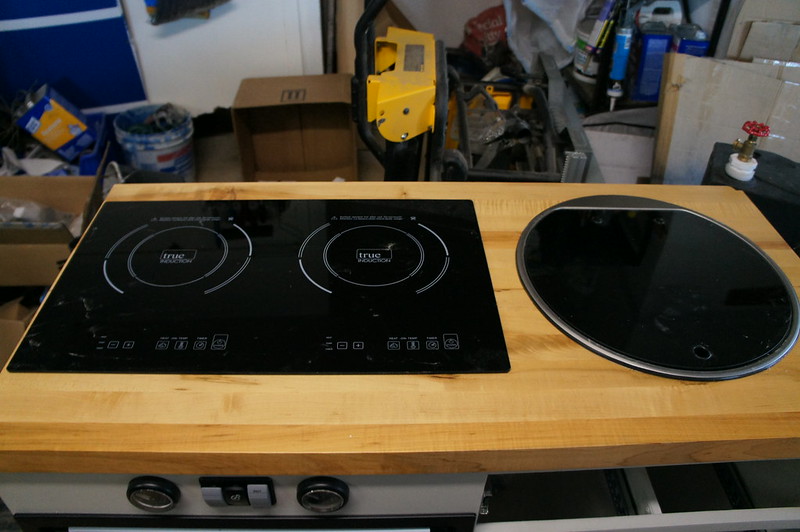
The Sink and Cooktop are screwed/glued down and sealed.


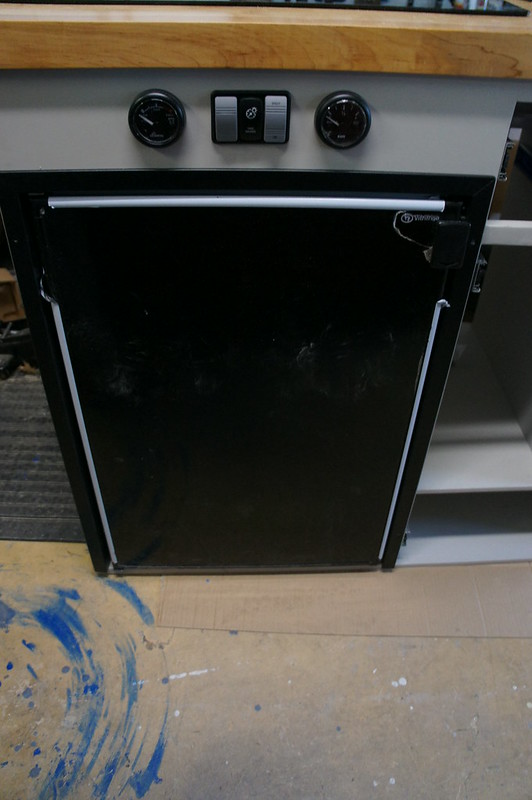
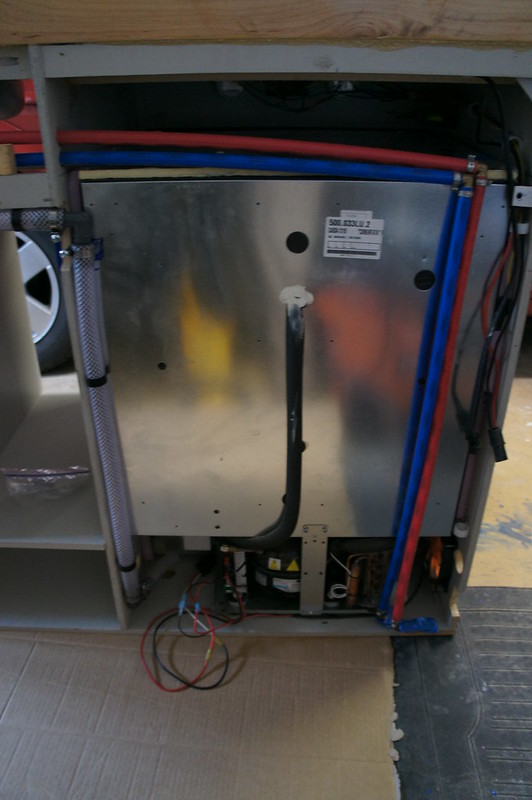
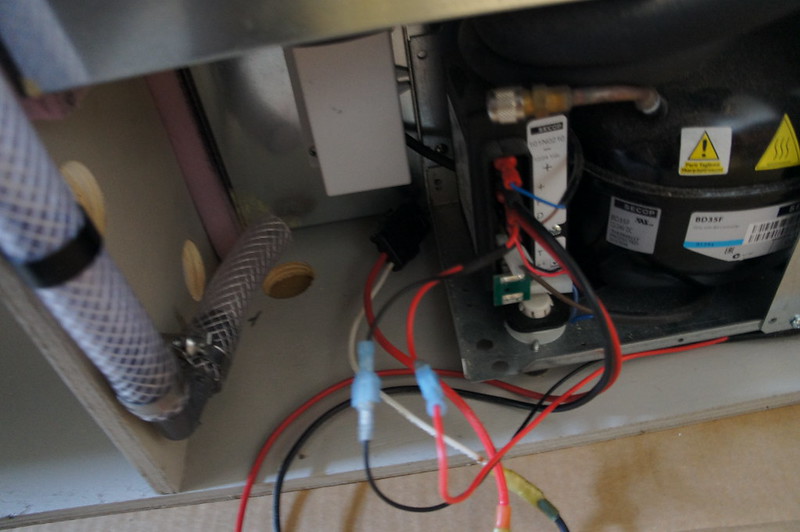
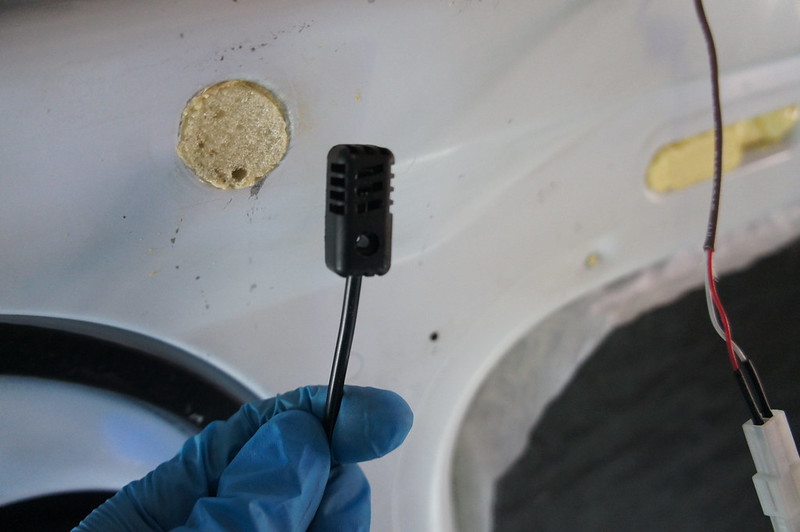
I did a final fit check of the fridge and finalized the wiring in the galley. There was enough room to install ¾” foam insulation on the sides and ½” on the top of the fridge.


Thursday, February 25, 2016

Spring Update #2

In case anyone was wondering, T1N Sprinter Paint is crap. I knew it wasn’t the best, but my recent experiences outline its poor adhesion. An example is the solar panel brackets on my van. The photo below is an intermediate bracket. These were attached with 3M VHB tape and sealed with clear silicone. In less than 1000 miles the paint to primer bond failed completely.


Here are where the forward brackets attach. These were attached with rigid polyurethane adhesive and #10 sheet metal screws for security. 1 of three had the paint bond fail completely. The others were showing signs off failure. The back brackets were bonded with 3M 5200 (flexible polyurethane adhesive). These brackets are 100% still attached and show no signs of failure. I prepped and painted the area and installed rivnuts. The brackets will be bonded back in with Sikaflex 252. The rivuts are directly over/inside a roof support, so this area is quite sturdy.


Given this evidence I strongly suggest that fasteners be used to attach all critical loads. Adhesives are still a great idea for extra strength, but the stock paint is the weak point.


Here is the Espar external temp sensor. I will be mounting this on the driver’s side wall panel above the bed.


The pull-out pantry shelves are built. Had to cut a piece out to remove a paint can…


All the general lights are installed.


We test fitted Blum soft close overhead cabinet hinges. They are a very high quality product. Not cheap though.


The shelf above the rear doors is also installed. There will probably be a mesh net on hooks securing gear up here.


I have the parts for a water separator and fuel filter setup on order. Given our intended travel destinations (rural areas, Central/South America) I figured it was cheap insurance.  Mounting might be a challenge though.

I have harnesses and light strips made up for the exterior lighting. I will be bonding those this week as well. LIGHT UP THE NIGHT!

Monday, February 22, 2016

Spring Update #1

First up is the Overhead Switch panel.


I do not anticipate adding any more switches at this time; which is good, because I have not room! The farthest left switch reads LED Light Bar, but actual controls the recirculation damper. I also ran wires for backup and side LED light strips. Relays in the electrical cabinet and ran 18-7 wire from the switch bank for driving the relays. I discovered I had my wiring diagram off in regards to my dash splices. So after some switching around all the switches work! I now have headlight triggered (dimmable) backlights on all the switches. In addition I can control recirculation and the LED light bar can be controlled by the bright/dim headlight switch.

I installed a surge protector.  This unit basically just connects to the incoming power in parallel (through a 20A breaker). In the event of a surge it dumps the surge to ground protecting (hopefully) all the very expensive bits. Not bad for $30

http://amzn.to/1U8fAnN


At this point nothing more will fit in this cabinet! I am glad I made it bigger than I originally planned.

The galley drawers are coming along well. We decided on 15lb pull soft close slides for the drawers.


We managed to trap a half full paint can inside one of the pantry pull outs…


The cabinet/shelf above the rear doors is mostly together.


I need to work out the details on the inside shower hookups. Once that plumbing is done final assembly can begin. We have the wallpaper as well, so one day we may even start covering wall panels.