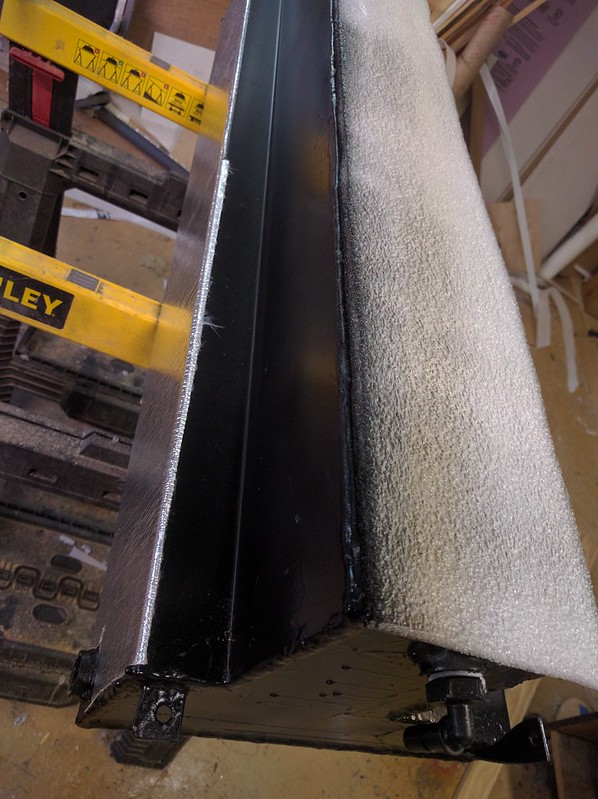
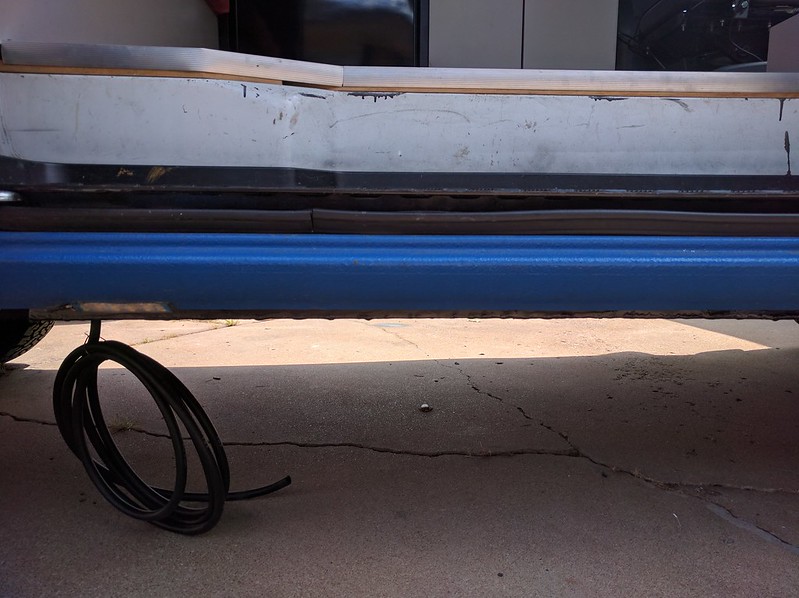
The Aux tank is now installed and the plumbing mostly done. I put some high temp reflective insulation on the exhaust side and some foam on the top for chafe resistance.
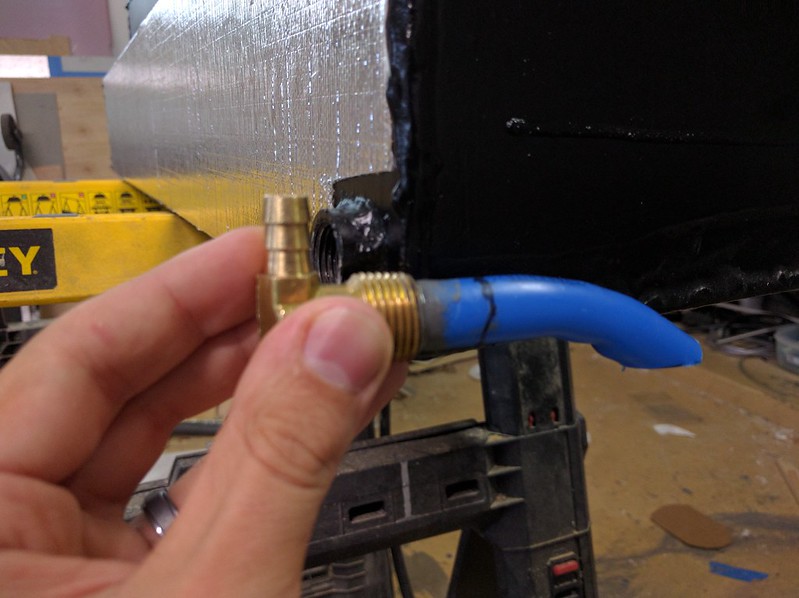
Since the fuel outlet is not flush with the bottom, I needed a pickup tube to allow complete utilization of the tank. I heated a piece of PEX tubing and pressed it into the outlet fitting. I bonded it with fuel resistant epoxy.
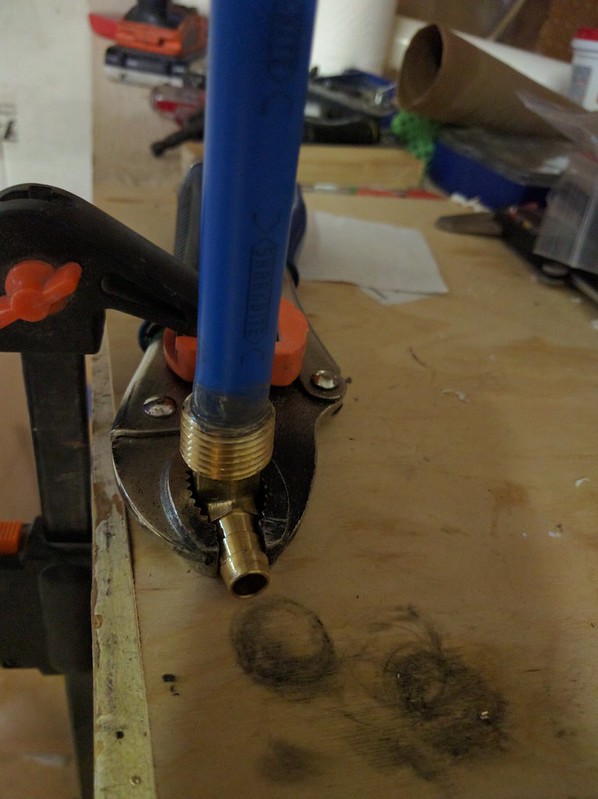
A bit more heat and it was ready to install.
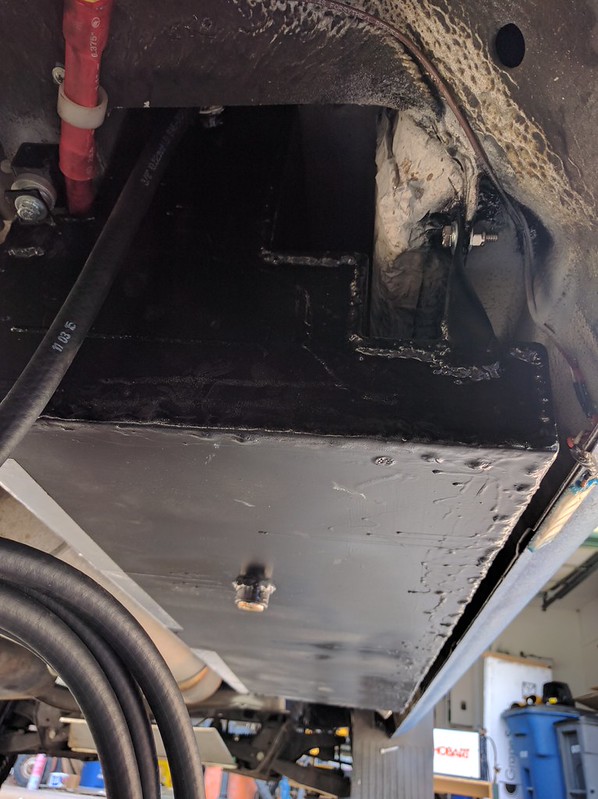
Here is some photos of the tank bolted up.

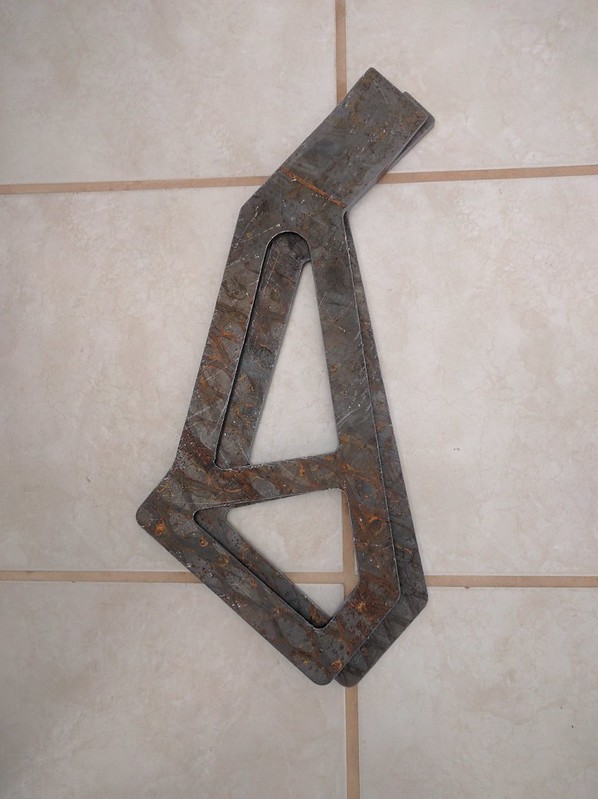
I also installed the bumper brackets. These were plasma cut from 0.25” steel. They will be bolted to the recovery points (where the skid plate attaches). I also discovered why the holes on the skid plate didn’t line up on the passenger side. The recovery point is pulled ½” to the driver’s side! Apparently the recovery hook is not designed for lateral loading!
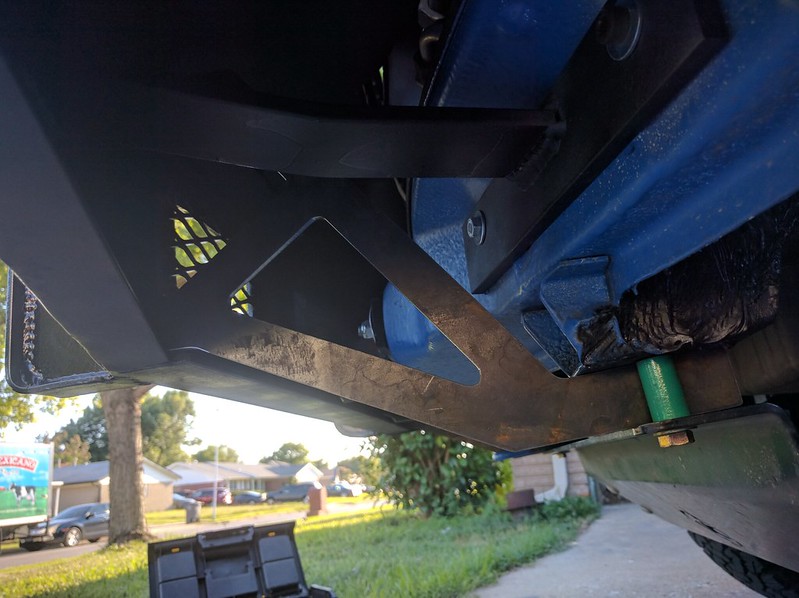
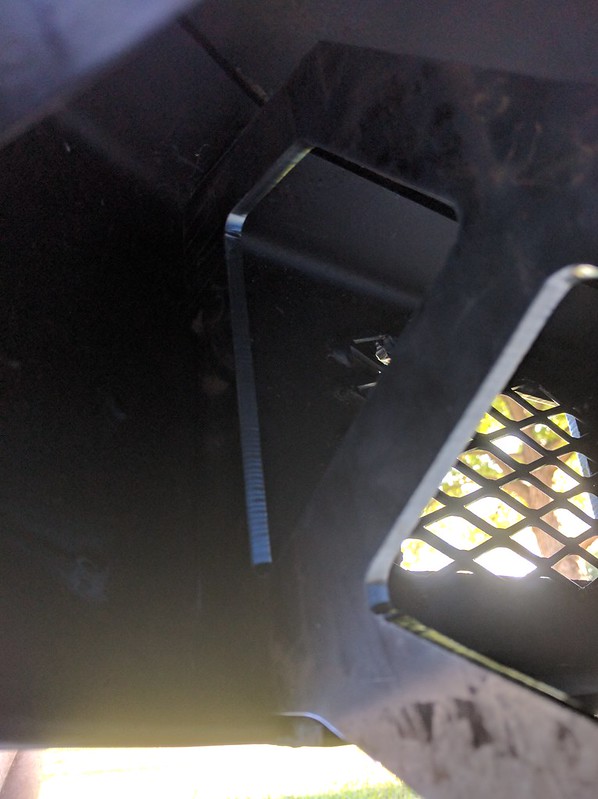
I welded the brackets to the bumper in situ as there was enough clearance. I am waiting to finish the install as the harmonic balancer was separated enough that I could move it slightly by hand. I have ordered the parts/tools and will replace it next week probably. It’s a good timing as I was going to replace the idler pulleys and tensioner as preventative maintenance.
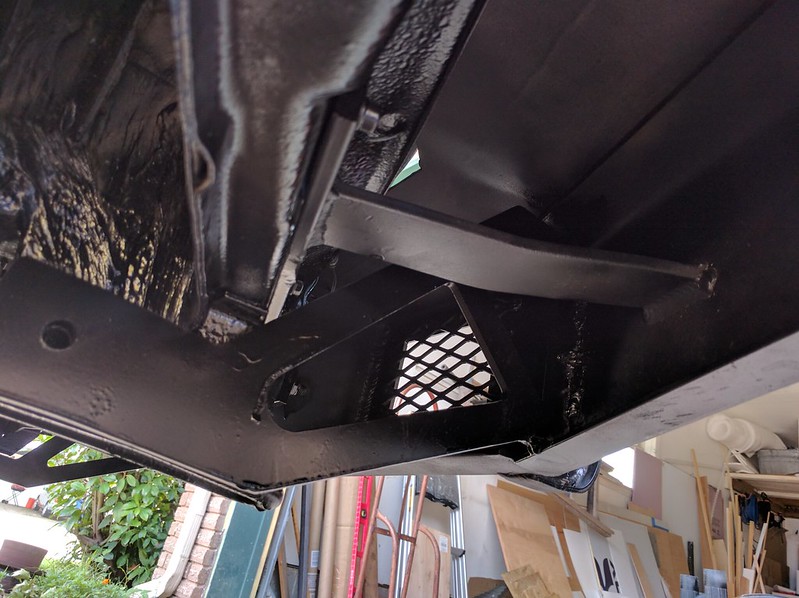
As desired, the brackets completely remove the pitching movement from the bumper. No amount of abuse from me will move the bumper more than a mm or two.
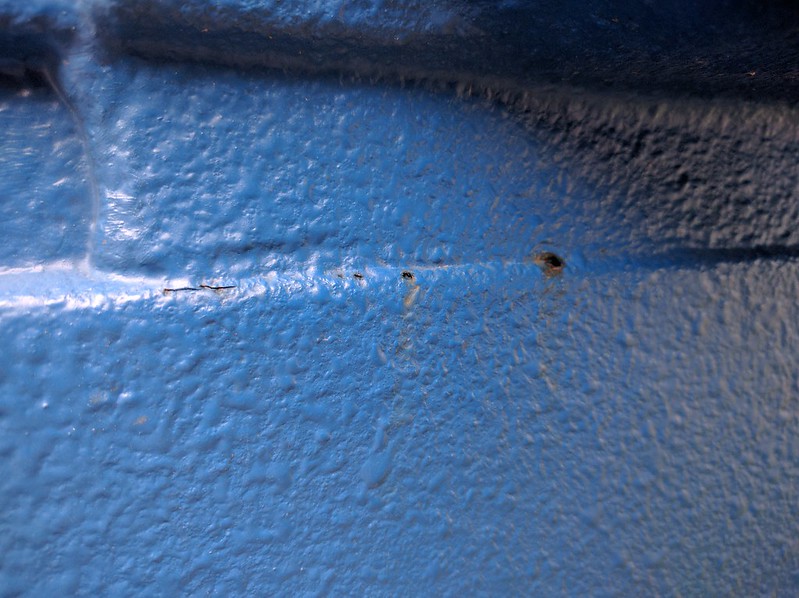
I noticed some staining near the edge of the flair. I thought at first that the monstaliner had failed. But it was the crappy OE paint again. It had failed around the sealant, allowing water penetration. I removed about 3 inches of sealant and paint, and resealed with sikaflex 252. Thankfully there was no penetration into the cabin.
No comments:
Post a Comment