I have no time for creative post titles. So get used to boring numbered posts for the next couple of months. So much work and so little time!
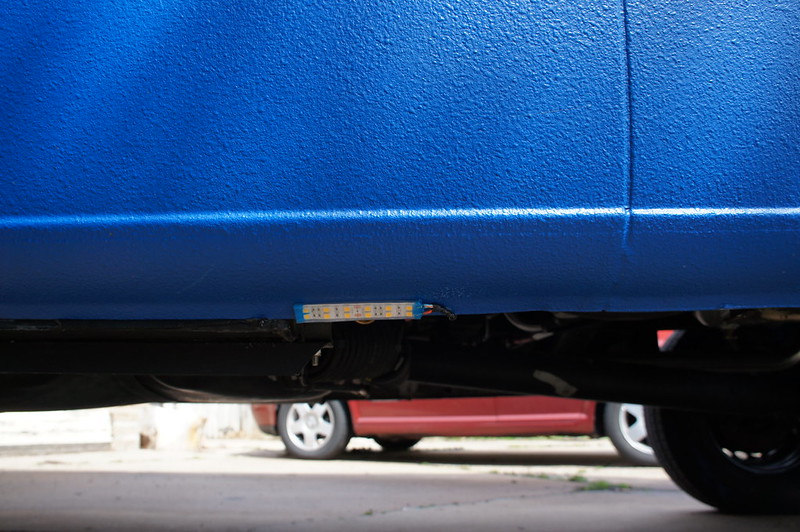
Here is where I mounted the ground lights I made earlier. Relieving oneself in the pitch blackness of a night at a remote campsite can be a challenge. A bit of indirect lighting makes avoiding the rocks much more pleasant without spoiling your night vision. They are mostly hidden except at great distance or low angles.
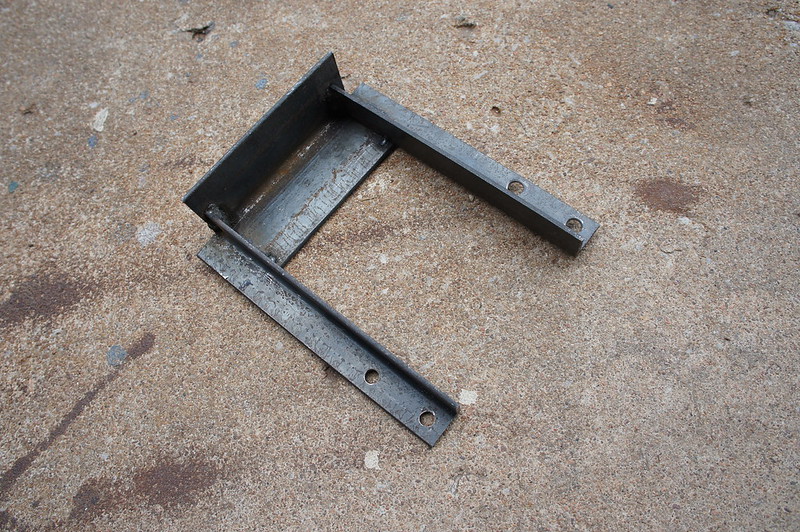
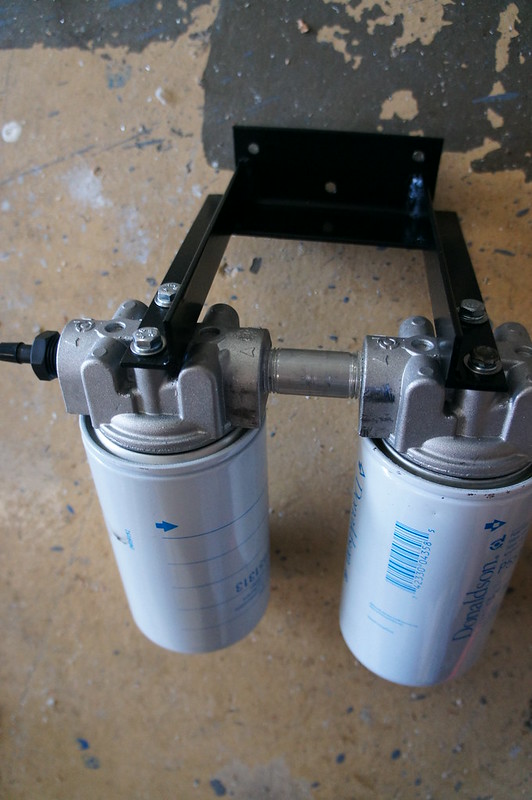
Here is the bracket for mounting the spin-on fuel filter assembly I made a few weeks ago. It mounts the driver’s side fender wall about 12” forward of the fuel tank. Clearance is good at about 18-20”. The filters are 5” or so above the lowest part of the fuel tank. The subframe assembly also provides substantial bash protection. I could have mounted the filters higher, but the D5/isotemp coolant lines are directly above the filter which drops it down about 3”
Here is is installed. Hopefully this will eliminate some of my fuel quality concerns.
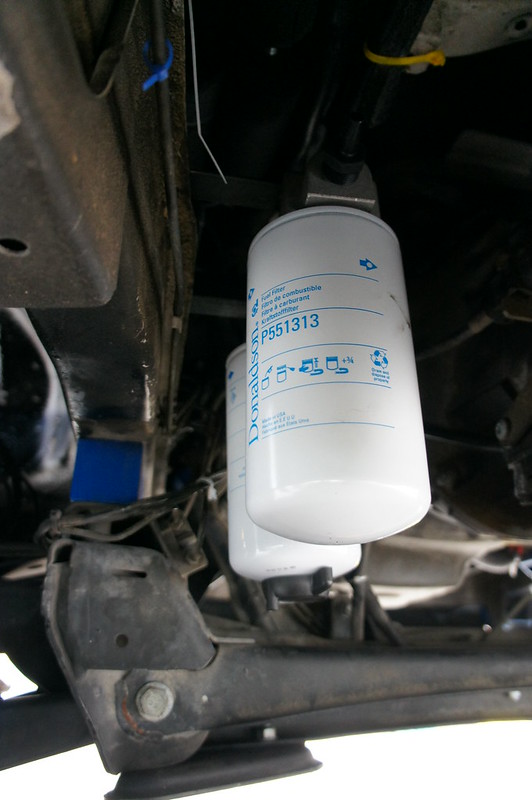
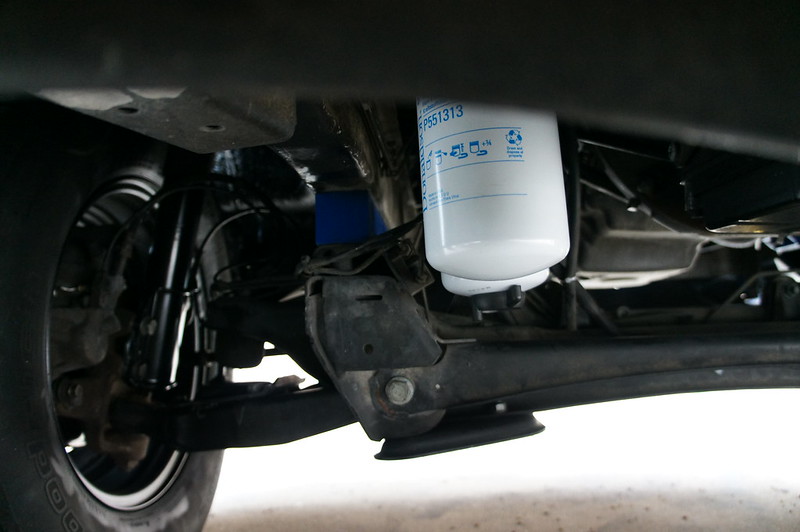
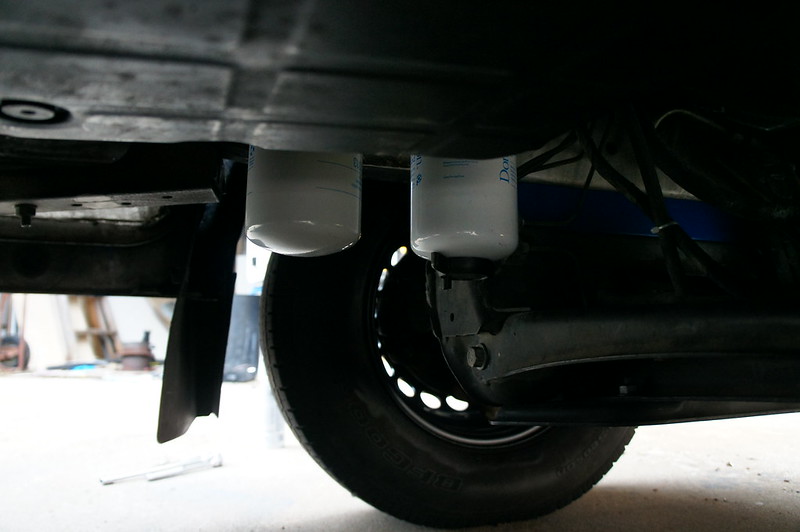
As a plus, filter changes take only a few minutes, with much less cursing. I started the van up earlier, and no leaks on the first try.

No comments:
Post a Comment