

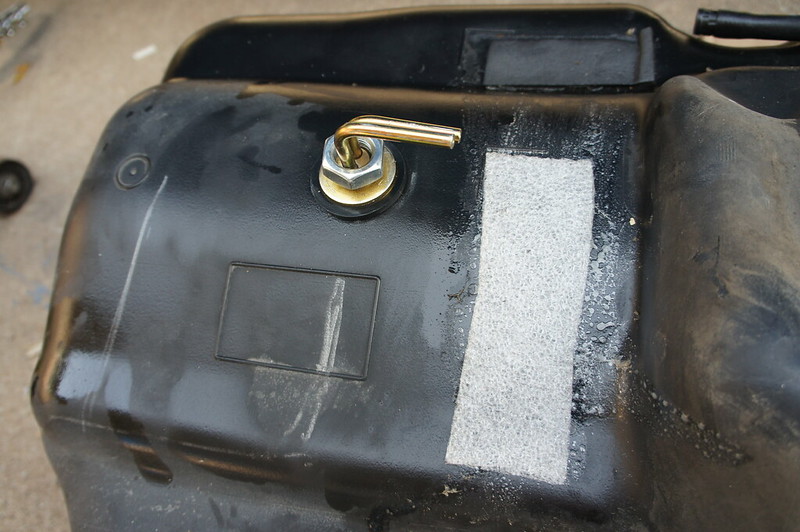
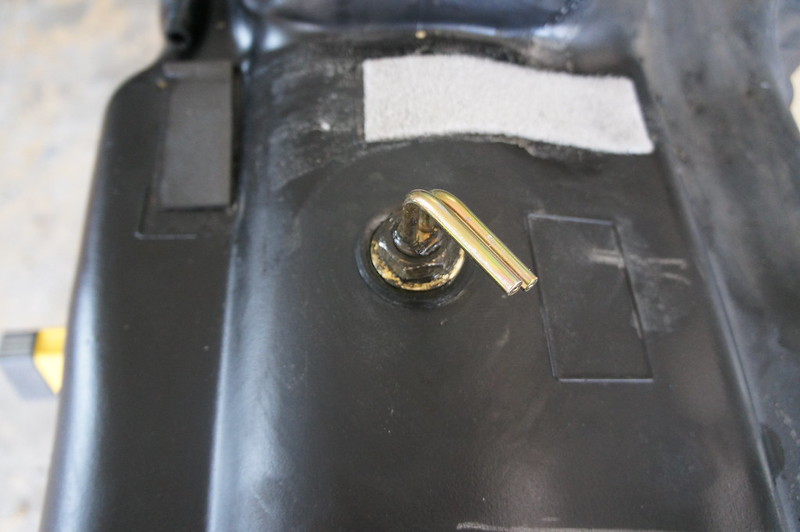
I dropped the fuel tank (again) to fix the leak at the Espar pickup tube. I should have have used a sealant (despite the instructions not requiring one).

Upon inspection the leak appears to have been through the threads on the pickup body. The rubber washer does not fully seal this area.
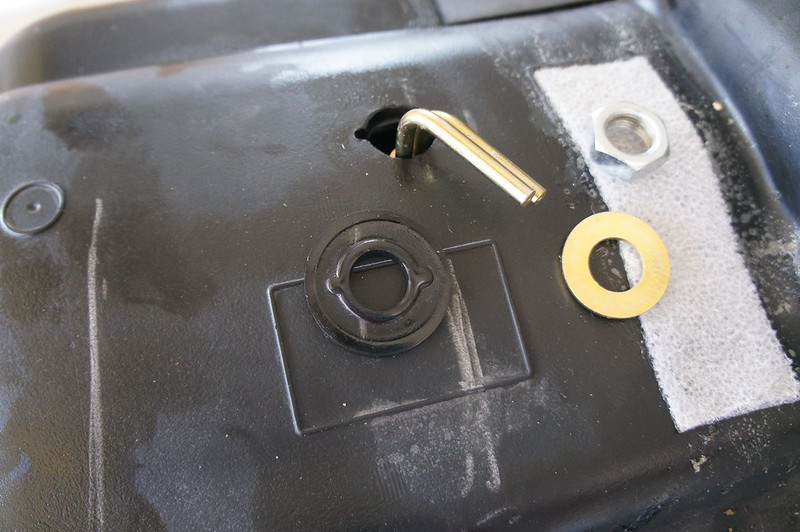

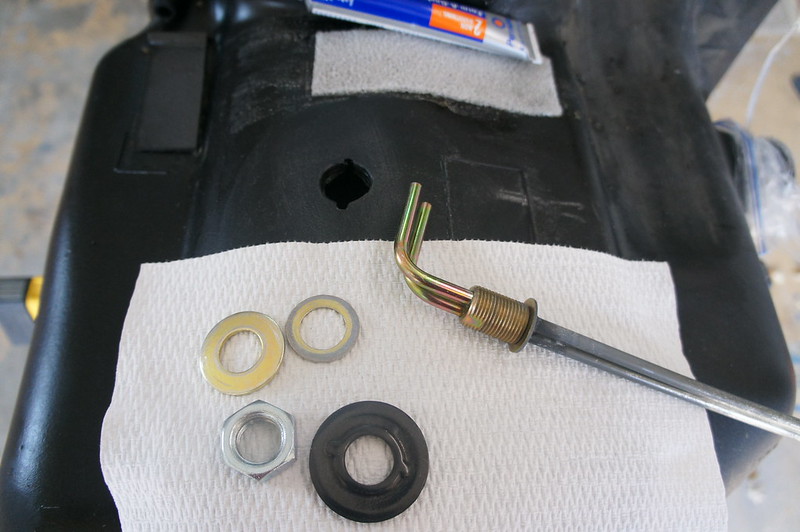
So I disassembled, cleaned, and applied permatex #2 sealant to all the affected surfaces and to the threads. Hopefully this is the end of leaks from here.
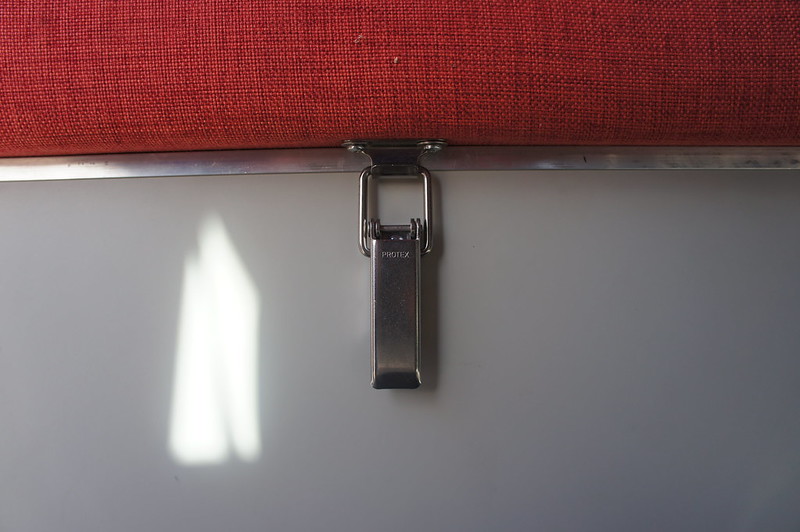
The bench seat latch is installed.
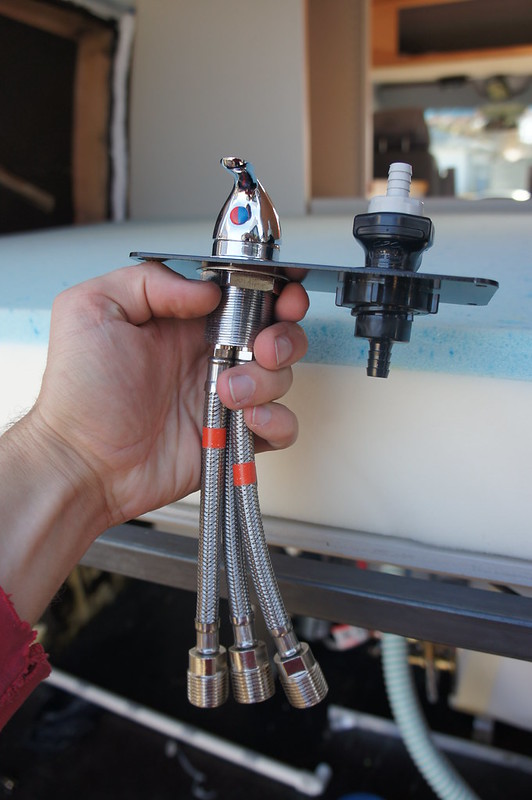
Here is the rear shower assembly. It is pretty compact, but still requires substantial room for the plumbing. Note the drip-less quick disconnect.
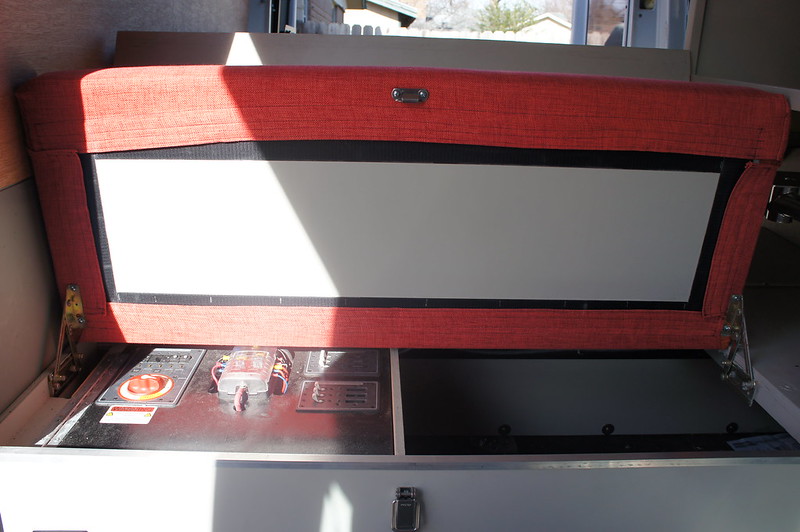
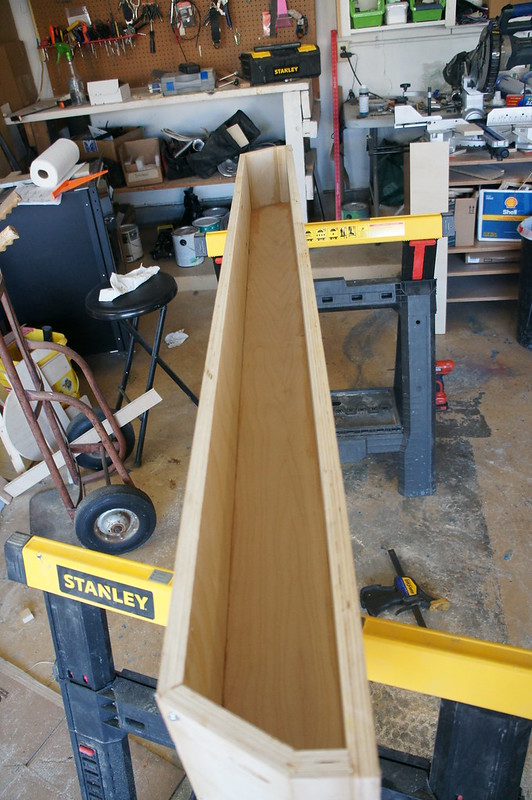
The filler/cabinet aft of the bed is partially assembled.
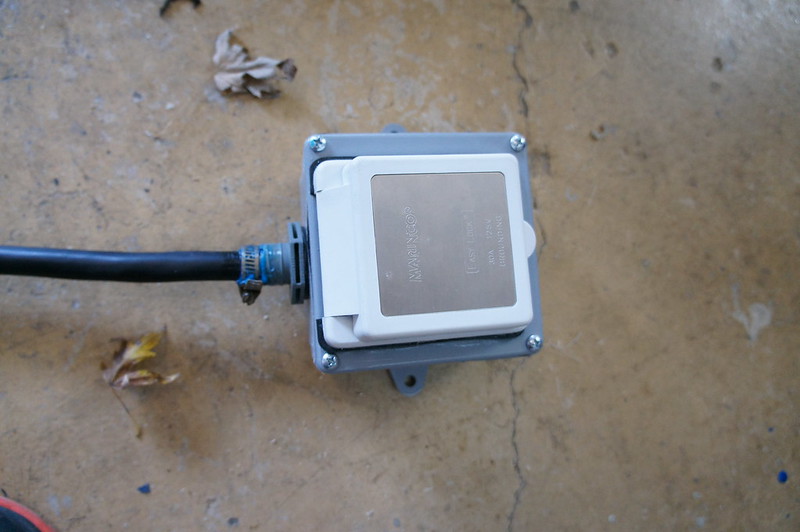
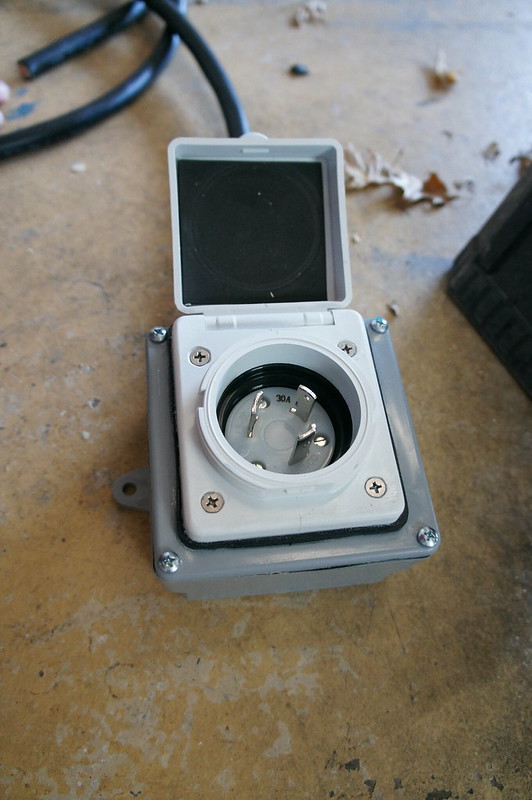
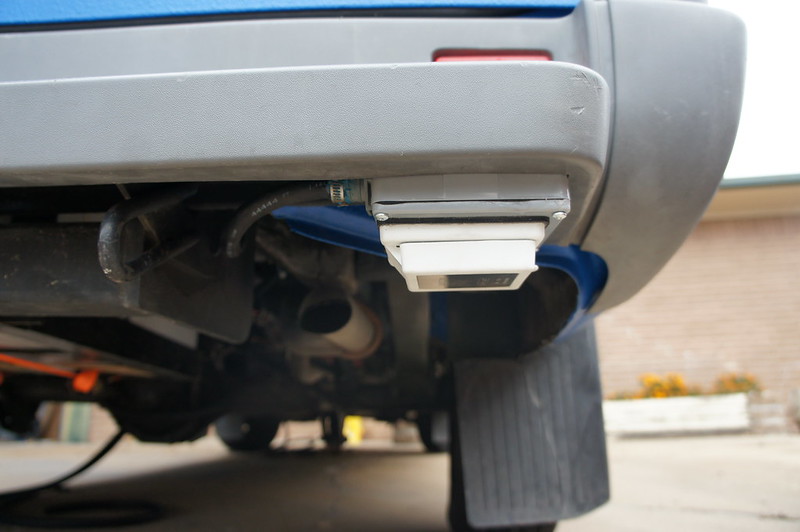
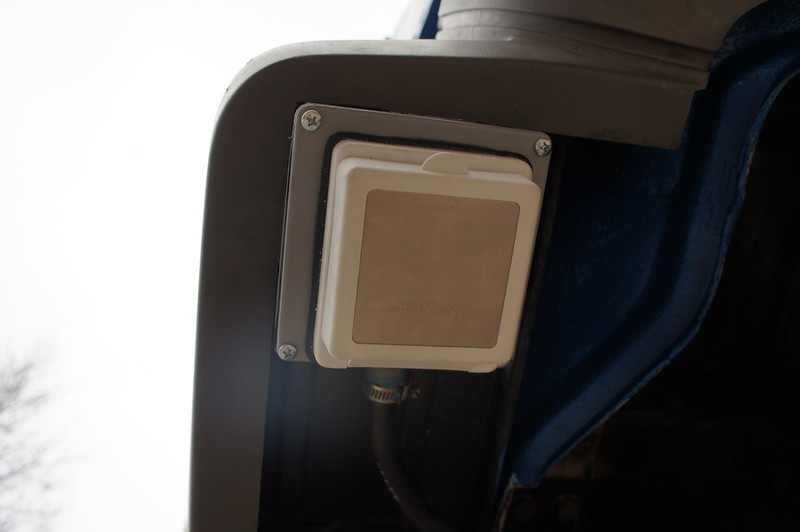
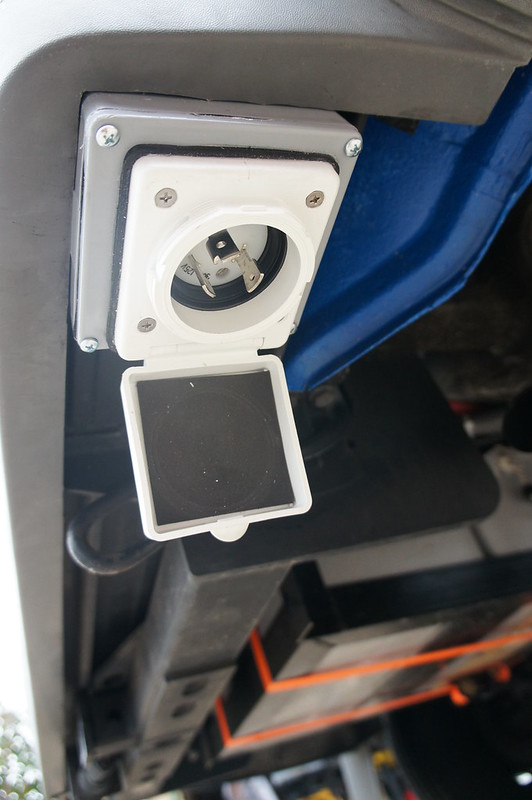
I made and mounted the shore power outlet box. I was originally considering a 15A connection. I only wanted to do this once, so I opted for 30A service. There are some very nice marine style plugs that don’t require twist to lock. I would suggest checking them out if you are in the market.
No comments:
Post a Comment