Tuesday, August 18, 2015

August Update

Progress has been slow this month.  Lots of obligations planned vacations etc.  I have a week of vacation I need to use, so maybe next week I will make some serious progress.

We started the finishing process on the cabinets.  It’s not nearly as time consuming as it first appears.  The key is to get the technique down prior to making a mess of things!  The galley and vertical cabinet are starting to come along.  They will need plenty of minor changes such as doors, wiring pass through and hardware.


I installed the backup camera and ran its wiring.  I am using the same pass through as the solar panels.  The wiring uses braided sheathing and runs under the solar panels.  I used VHB tape to attach the camera bracket.


I ran a 4x18 gauge drop cable down the A pillar and started splicing into various wires in the dash harness.  I am splicing the following wires for future use.


  • Reverse Light
  • Dash Backlights
  • High Beams
  • Recirculation Solenoid


I ended up needing to drop fuse block 1 to access the High Beam wiring.  On the cables I unplugged I noticed some corrosion on a couple of pins.  I cleaned them well and applied dielectric grease.  If you are have to drop the FB for any reason I would perform this step.


The reason for the cable drop is to run wires for the heads up switch panels.  I have two 45 degree switch panels I will be mounting to the right of the driver.  Below are the cut-outs in the overhead cabinet.  The switches will include:


  • Recirculate Override
  • LED Light Bar
  • Air compressor
  • Backup Lights and Camera


Here are the switch panels I am using.  They required some trimming to for my application.  They accept contura switches.  I got mine from otrattw.net.


I have one of these light bars in my living room waiting to be installed.


Here are links for the camera, monitor and maple countertop.

John Boos 13/4" Thick Commercial Butcher Block Maple Tops

Dragonpad 7" TFT LCD Color 2 Video Input Car RearView Headrest Monitor DVD VCR Monitor With Remote and Stand & Support Rotating The Screen

Car Rear Vehicle Backup View Camera (Waterproof)


The awning arrived on Monday.  F45 Eagle with pearl grey fabric and electric deploy/retract option.  This model will self retract in high winds.


This awning is about 12 ft long, and deploys to around 8ft.  Due to the this model being self supporting the mounting considerations are a bit more substantial.  I have plastic shim stock and sikaflex 252 on order.  Because I have wide rooftop solar panels I cannot use the rooftop mounting brackets (several could be made to work).  I will be mounting to the side of the roof above the rain gutters.


The gorillas at the freight carrier managed to find every single weak spot in the packaging.    Thankfully I will be repainting this unit so the scratches are a big deal.  However, I did have to request new motor side end caps as they were badly cracked.

Tuesday, July 28, 2015

July Update

Late last year we set ourselves a goal of having the van complete enough for a shakedown run in September.   Why September?  In Oklahoma (where we live currently) the devils own hellfire descends from late June through the end of August turning the air into the consistency of a hot wet sock.  Needless to say with daytime high temps over 90F and humidity rarely dropping below 50% camping is not a desirable option.  Thankfully come September it gets cool enough that sleeping at night is quasi-reasonable.

So, 9 months later, where are we on our goal?

Well, we have most of the cabinets built but not yet painted.  Noticeably lacking at this stage the galley, which needs a counter top before we can complete its build out.

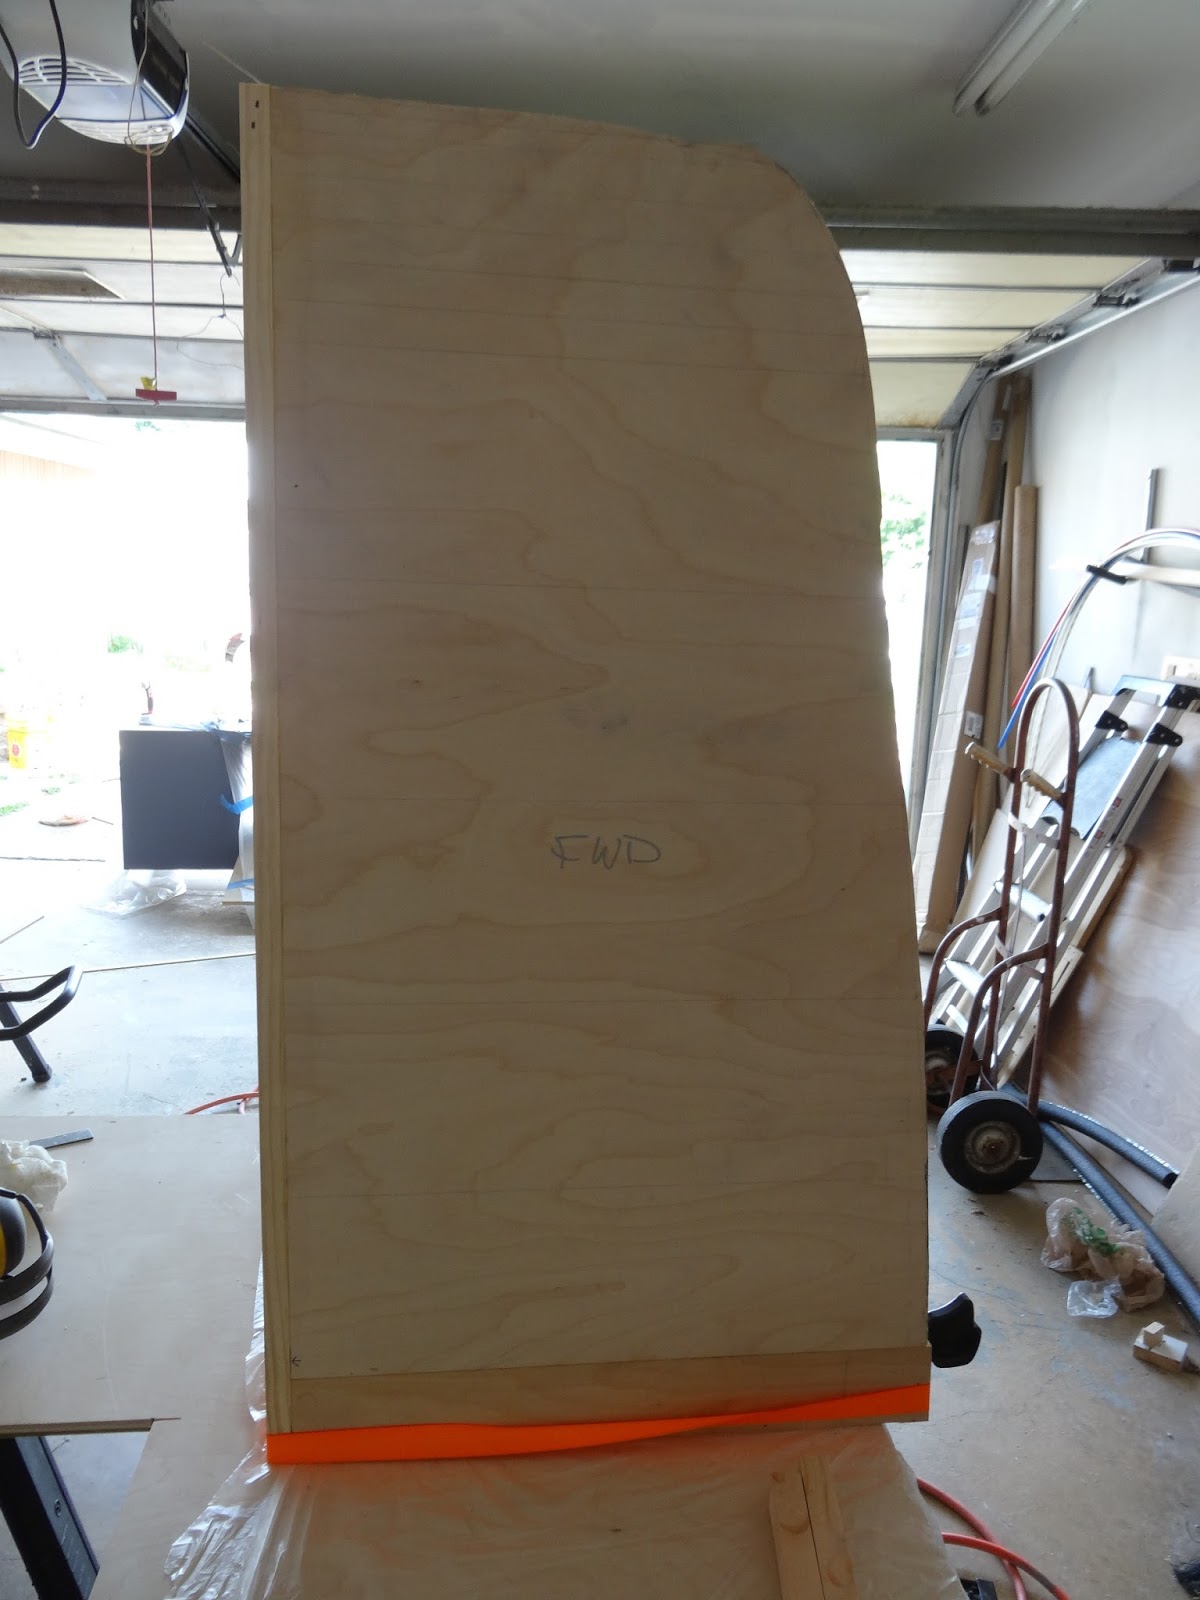
The drivers side vertical cabinet has been framed out.


The bench seat is ready for its upholstery.


Here the bench seat is getting its last round of structural reinforcement.  The aluminum angle is bonded with construction adhesive.  Several gussets were attached to the back wall in order to stiffen the backrest.  The bench is secured to brackets with through bolts.  The brackets are bolted to rivnuts in the van floor.  The same goes for the inverter and water tank.


 Here is the bench seat with one coat of acrylic alkyd paint.  This is the color we chose of the cabinets.  The exposed surfaces were smoothed with primer surfacer (3 coats with 220 grit sanding in between).


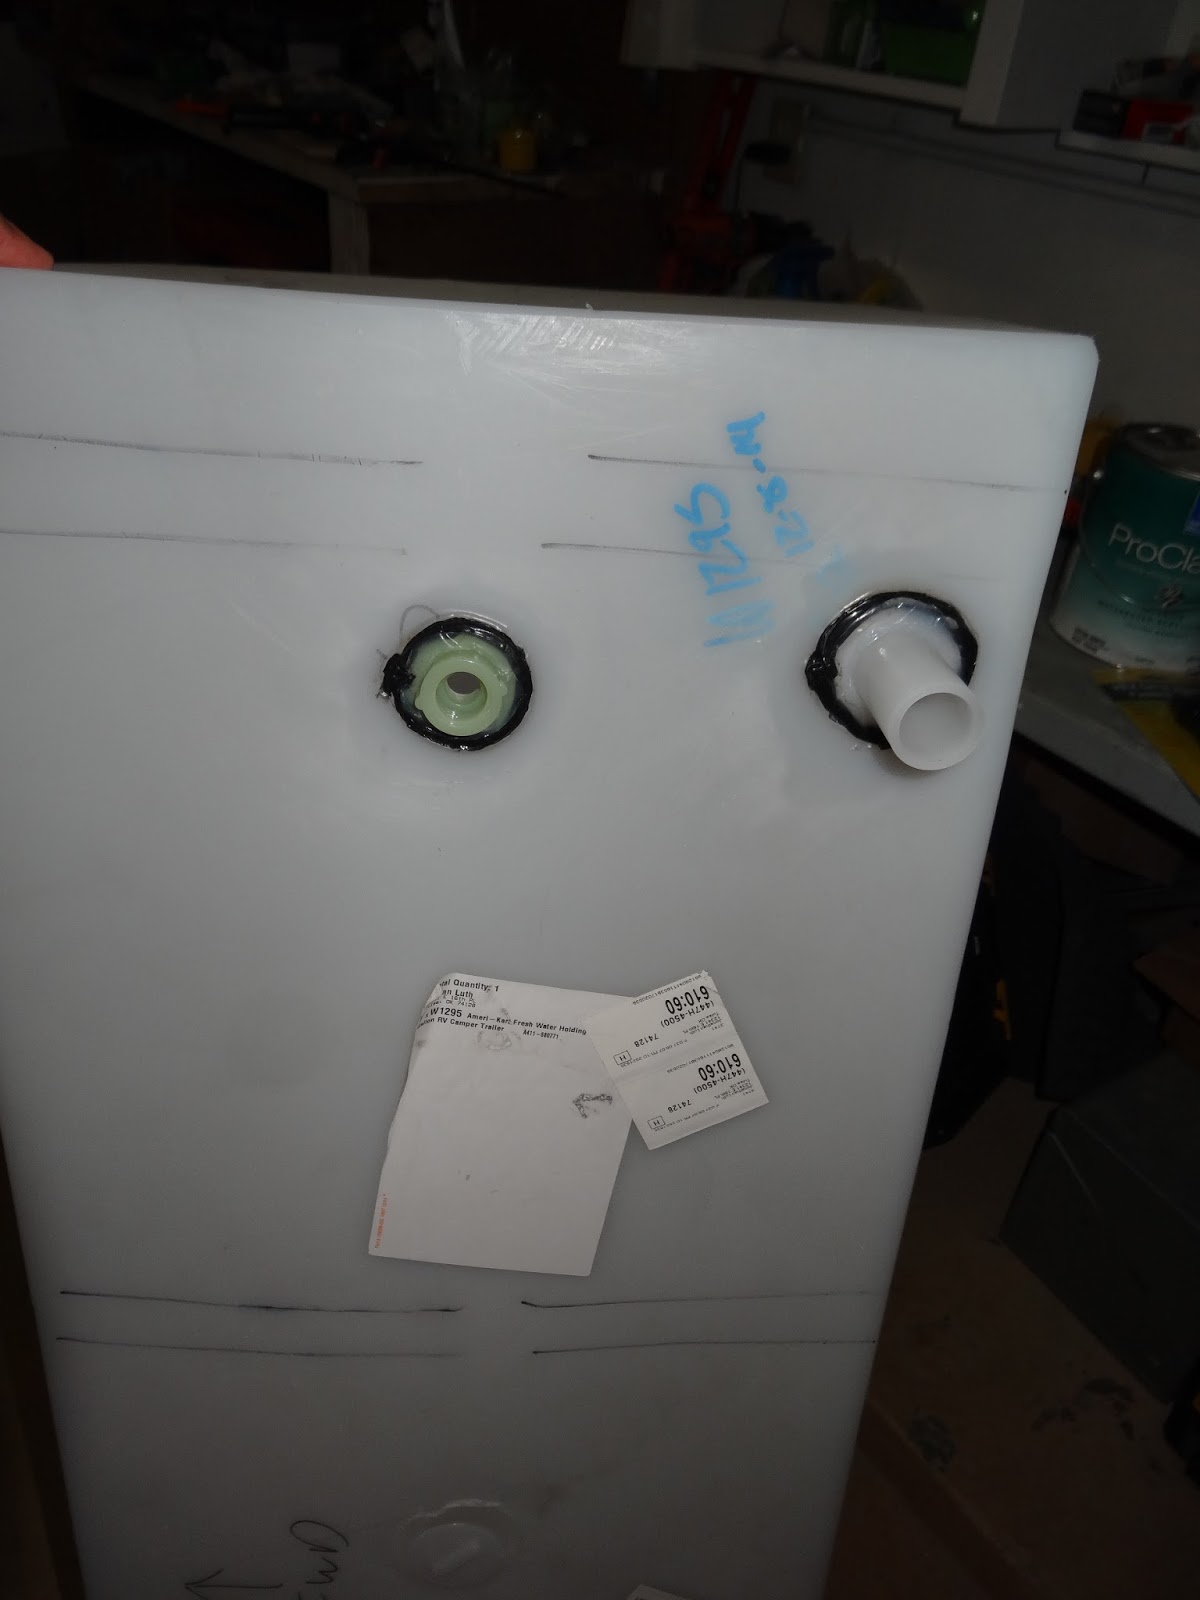
The water tank mounts have been fabricated, and the tank has its fittings welded on.


Here is the water tank in-situ with one of the hold down brackets.  The brackets will be backed with 1/2" and 1/4" closed cell foam to protect the water tank.


The water tank we chose is a 40 gallon unit from Ameri-Kart.  It comes blank with no fittings installed. Normally the fittings are spin welded to the tank.  However spin welding requries special tooling and a powerful router.  Having neither of these I picked up a plastic welder from Harbor Freight for ~$80.  The tank is made from polyethylene so I chose fittings and filler rod to match.  After a bit of googling and some practice we have a custom tank!  My total costs were about the same as a custom tank.  Difficulty?  Surprisingly low.


The water heater is ready to install, and I have an pile of hose and fittings to plumb it in with.


The over-cab cabinet has been framed in and is ready to accept the switches and rear view camera.  The visible brackets are anchored to the van with rivnuts.


Some of the major unknowns at this point are:

  • Indoor shower (pan, head, plumbing)
  • Air heater (location, ducting)
  • Curtains/shades (fabric, mounting)  
  • Bench Seat belts (math needed)
  • Gray water tank (will likely be a custom affair)

Will we make it to our shake down in September?  If we do the van will most likely be lacking a few of the desired options (cabinet doors, flooring, storage nooks, paint).  Of course, as long as the sink, cooktop, and bed work, we should be good to go!

Thursday, July 2, 2015

June Update - Electrical and Paneling

I am running out of creative names for posts!  So we will have to put up with boring and informative ones.


We got the bench seat fitted.  It was fairly difficult with quite a bit of gymnastics involved.  It just barely squeaked in.


The galley and bench fitment.


All the storage under the bench.


Here is a shot of the roof paneling.  3mm for the center panels and FGRP for the curved sections.  


It took a bit of convincing to get the FGRP panels to conform.  about 300 degrees F is a good temperature for bending.


The beginnings of the electrical nexus.  Inverter, solar controller, relays, fuses, 40lbs of copper...


And we have power!  Still lots of wiring to go though..


Here is the display panel and system control.  So nerdy, mmmm numbers.


 Up Next; Galley outfitting, Wall Paneling, table mounting, and maybe some plumbing?