Wednesday, August 31, 2016

When Is a Project Really Finished?

In this case, a project is finished when you need to start living in it!  We need to be out of our house in a few weeks, so the last few major van items need to get done NOW!  Thankfully the list of van items continues to dwindle as we chip away at the final touches.  We are feeling the crunch now though.  Gratefully, we can change our schedule if necessary.

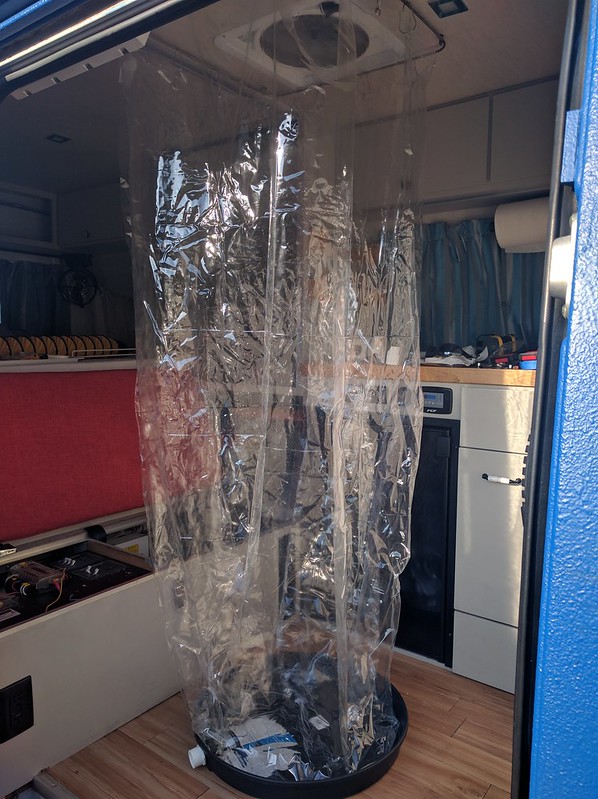
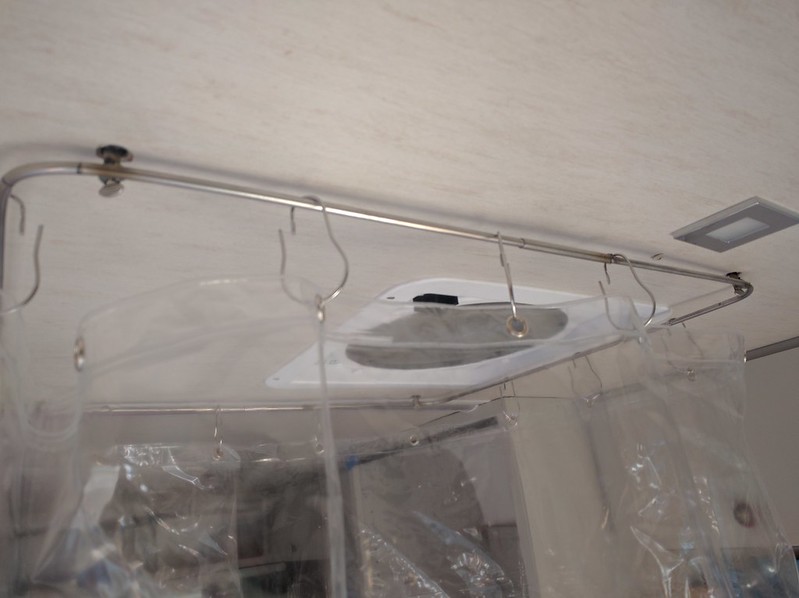
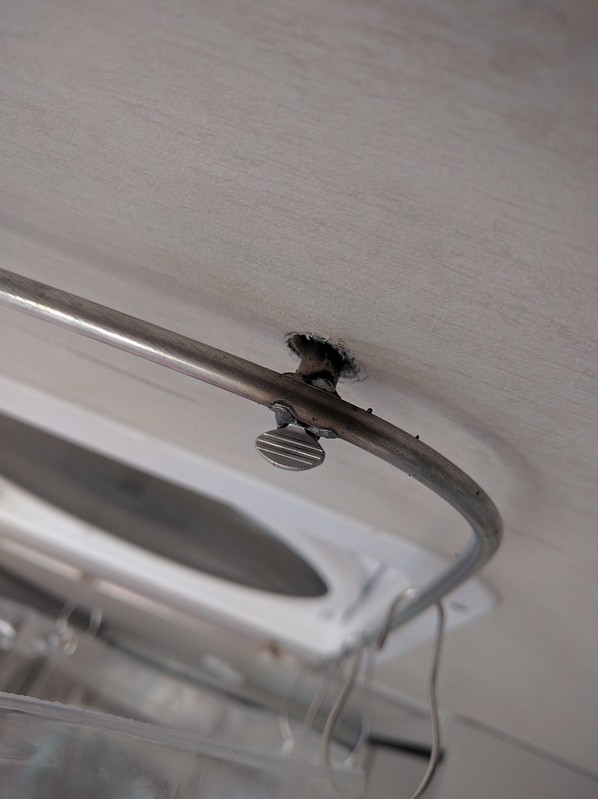
First up is the indoor shower. I used stainless rod and tubing to make a curtain rod that attaches to the roof. I set 4X 10-24 rivnuts into 2 of the ceiling frame tubes. These receive captive thumb screws which attach the rod. The rod/frame splits into two halves for storage under the bench seat. I used ¼” OD rod and 0.27” ID tubing. The pan is a water heater drain pan. We have the option of draining it into the sink (by hand) or running a drain tube out the slider door.


With much cursing the solar panel assembly was removed from the roof. I added a third frame member and beefed up the mounts. The new panels use a slightly different frame extrusion, so I had to re-drill the mounting holes. Of note is that the new panels have a different solder patter on the cells, and they are about 1/8” less tall due to the altered frame profile.
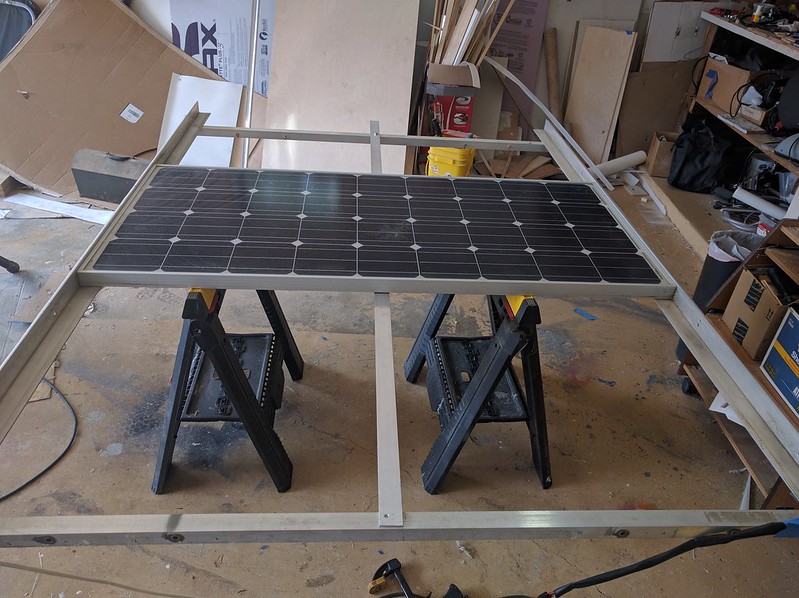
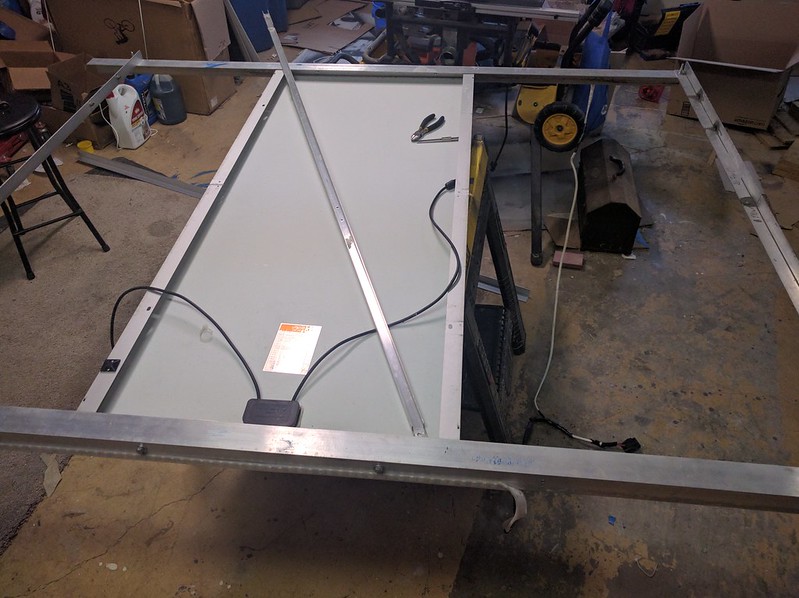


After much thought and debate, I decided to bond ribs to the back side of the panels. The glass on these panels is fairly thin, and flexes quite a bit when loaded. I used aluminum U channel bonded with sikaflex 252. I made the adhesive layer 1/8” thick to reduce the risk of delamination due to thermal expansion mismatches.
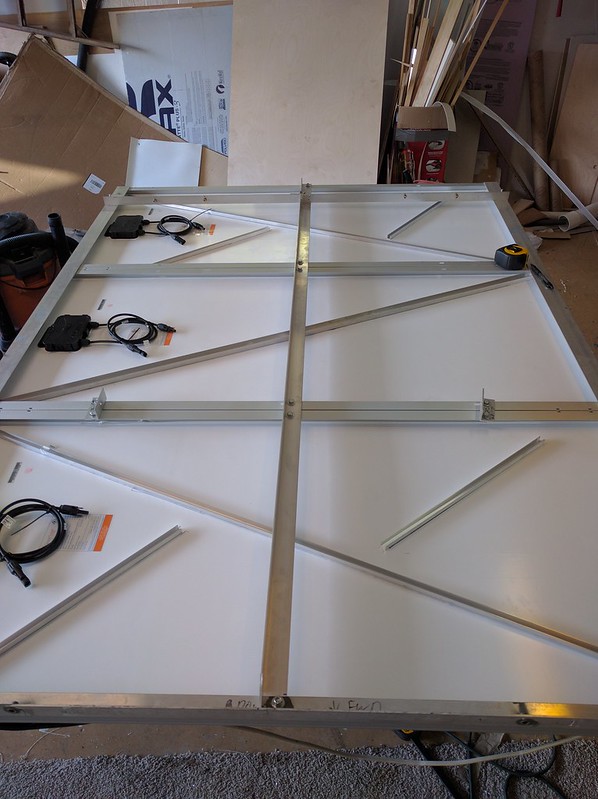


I will also be making a few aerodynamic shrouds to reduce turbulence, and hopefully eliminate the buffeting of the roof vent, and wind loading of the panels.

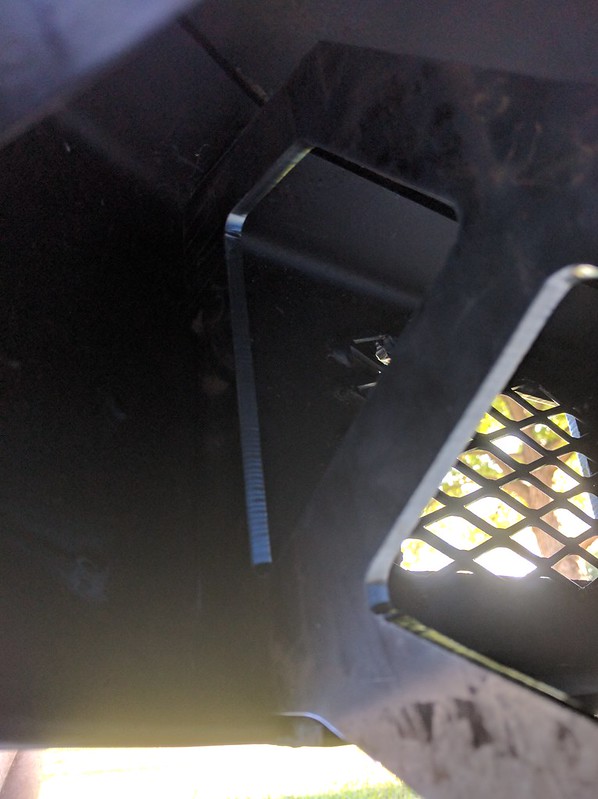
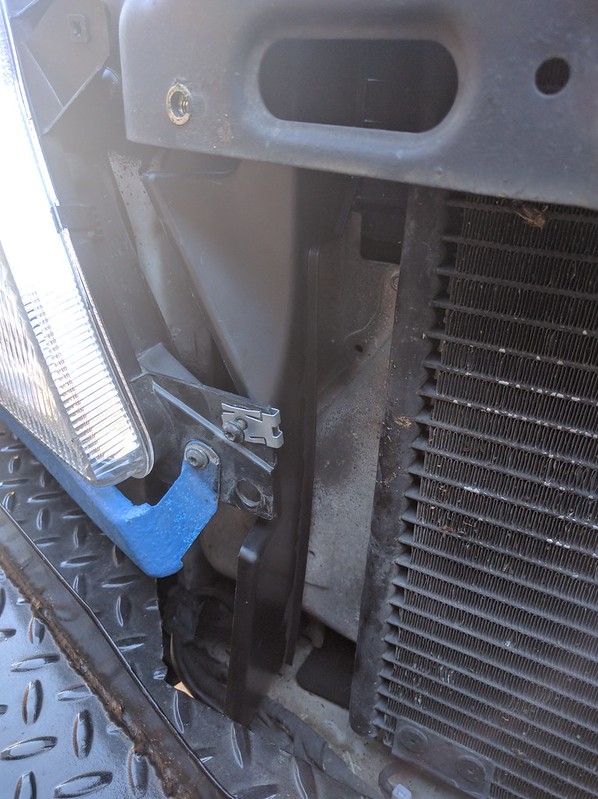
In order to maximize cooling and AC performance, I replaced the missing air deflector on the passenger side. I am also going to add some shrouding to the bottom of the bumper and around the skid plate. This should ensure that more of the high pressure air at the front of the van flows through the cooling pack. The new fan clutch is noticeably louder when driving at low speeds, and coolant temperatures seems to be better controlled. I am seeing 180-195 on the freeway with 90F ambients, which is much improved.


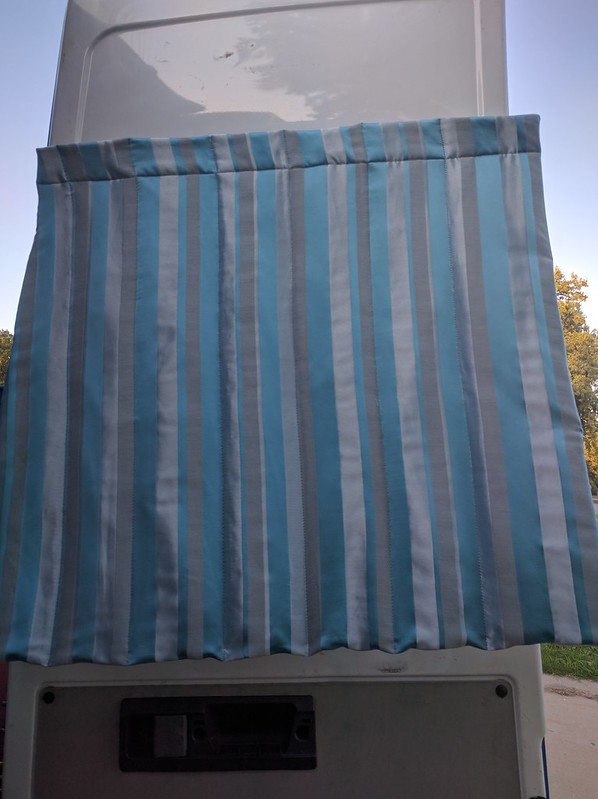
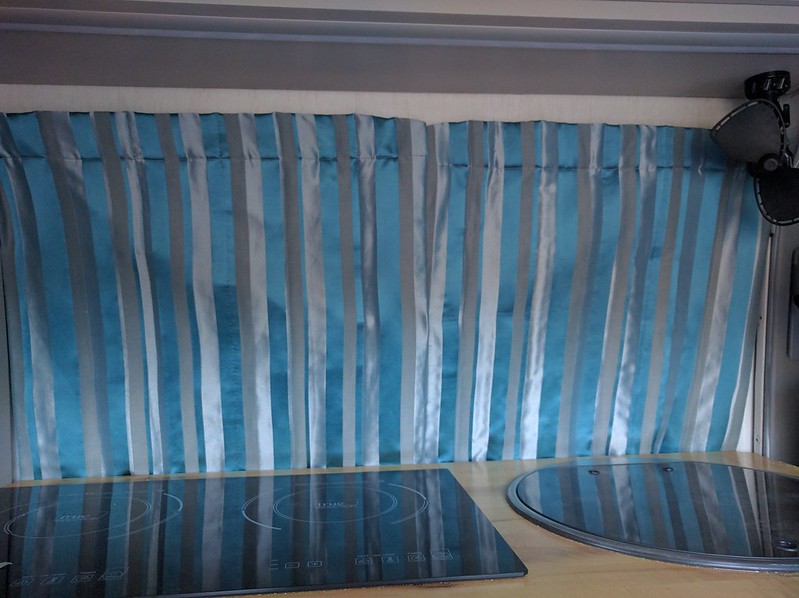
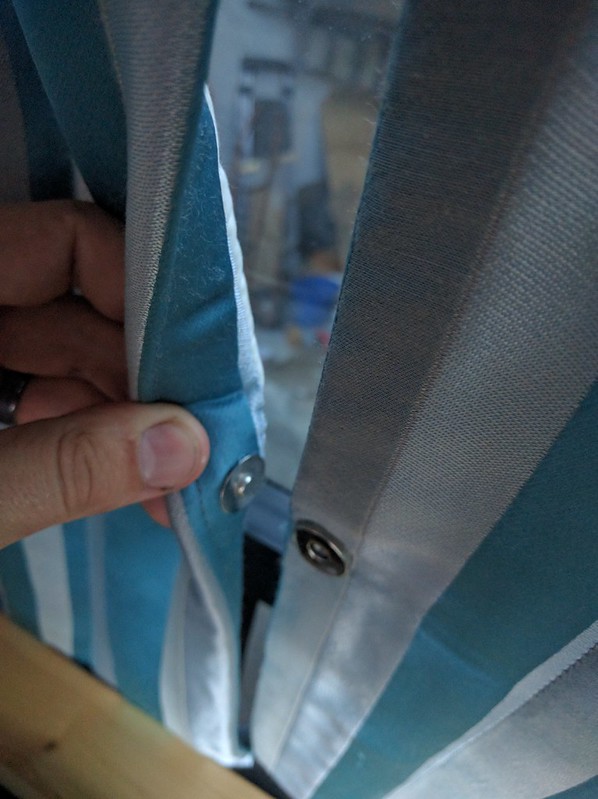
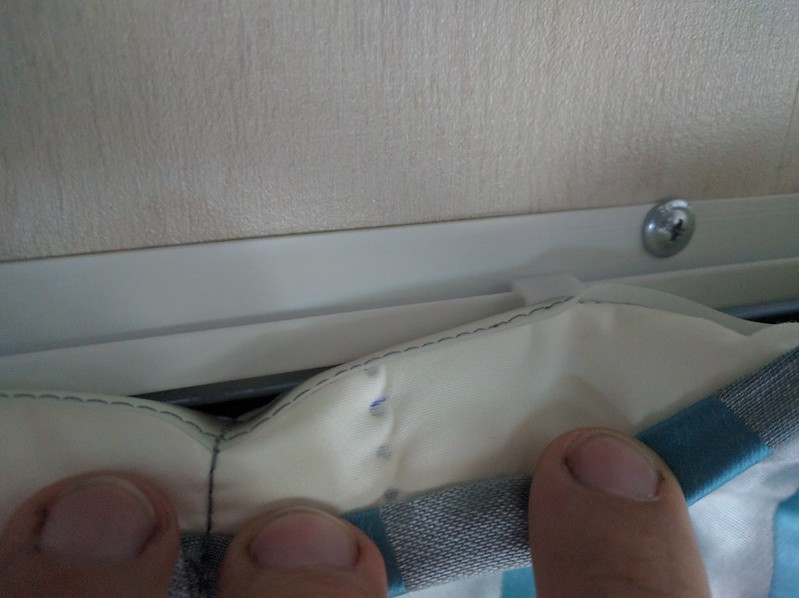
Jen has made some really nice padded covers for the front seats and she has nearly finished the interior curtains. We are still working on attachment methods for the slider and front curtains, as our first attempts were not secure enough.

Thursday, August 25, 2016

Vagabonds Once More

A quick update.

Jen and I put in our 2 week notices, so we will be out of the office by the beginning of September. Finally! One more month behind this desk and I might have gone insane...

We have 30 days to move out of our house, sell the crap we don't want, and move everything else into storage. I have some offers on free storage locations, but of course they are 3-4 hours away, so we will need to rent/borrow a van/tuck. So we have A LOT of tasks to complete to make this happen.

I am still working on the van of course. I have a final batch of parts inbound, and the finishing touches on curtains, shower, window coverings, and storage compartments are coming together. Hopefully we get this mostly wrapped up before we become vagabonds again.

After that the true challenge of getting the van to Australia begins.

Thursday, August 11, 2016

Summer Update #12, Time to Beat the Heat

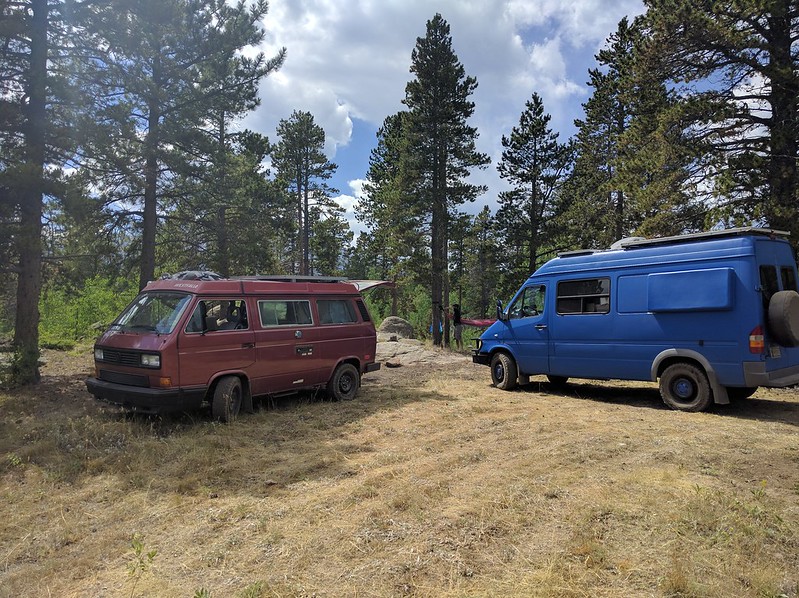
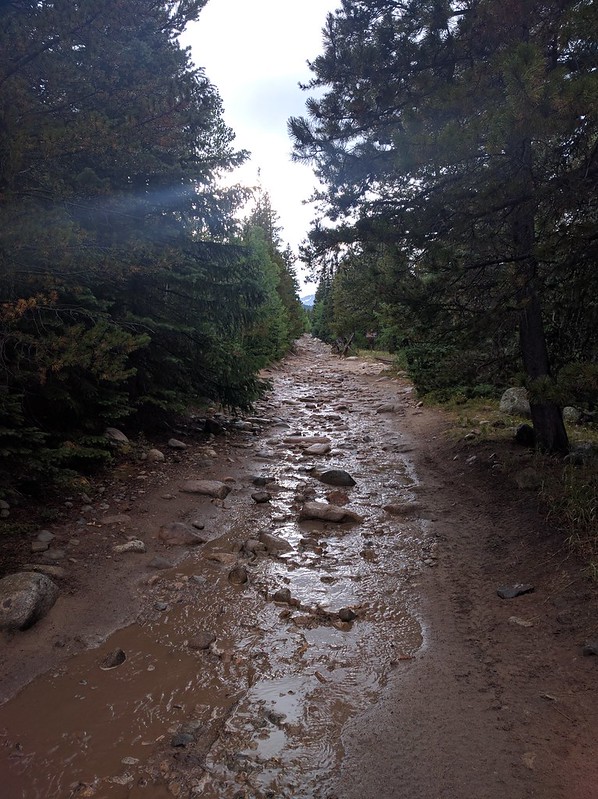
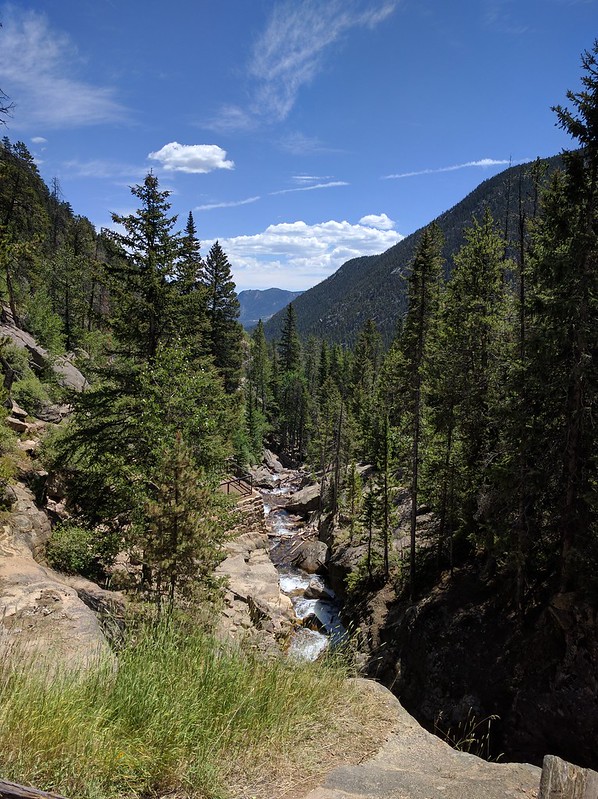
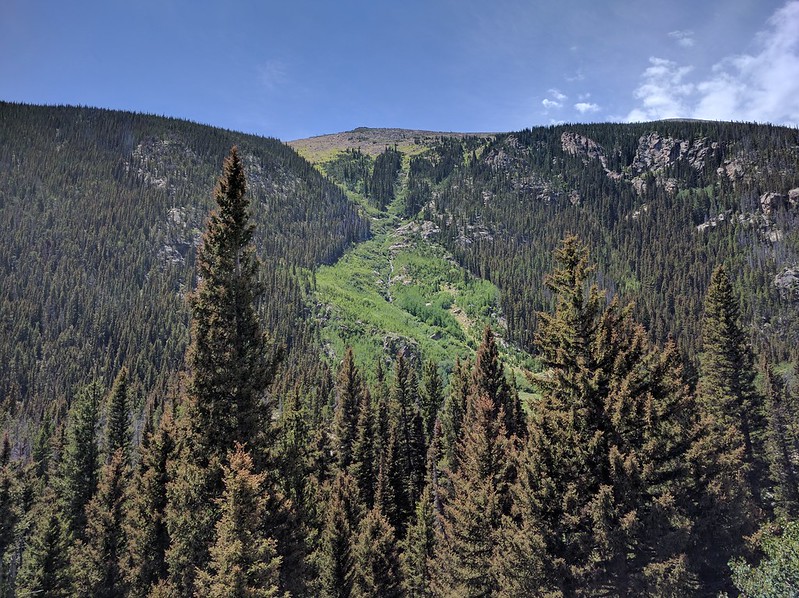
It has been a while since my last update. We took an impromptu shake down trip to Colorado, Arkansas, and Missouri over the last two weeks.  Managed to escape the heat for a while. It was quite successful overall, but I am regretting returning to the heat here. 118F with heat index today…

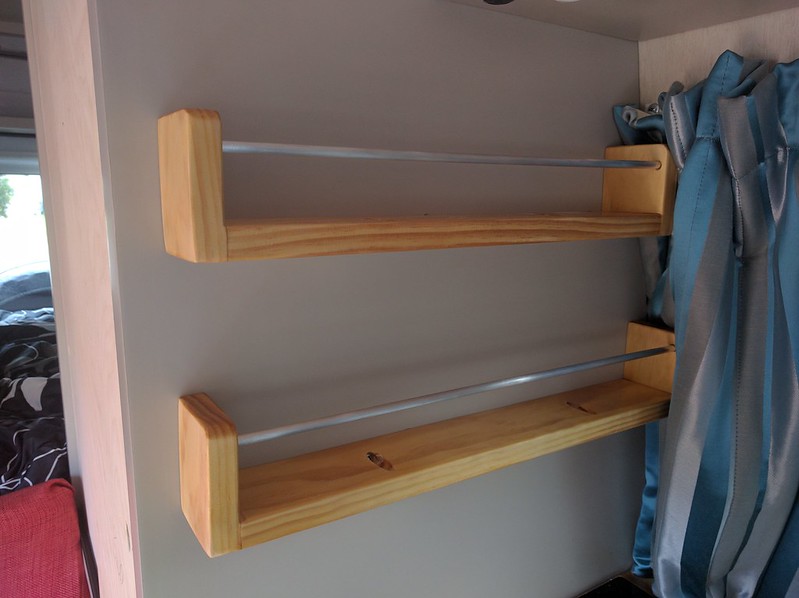
Prior to the trip we mounted 2 spice racks that Jen built. We used the same polyurethane as the table and countertops. They turned out good.


We packed just about everything for the trip. Still had lots of space left, I need to work more on organization aids for the under bed storage.


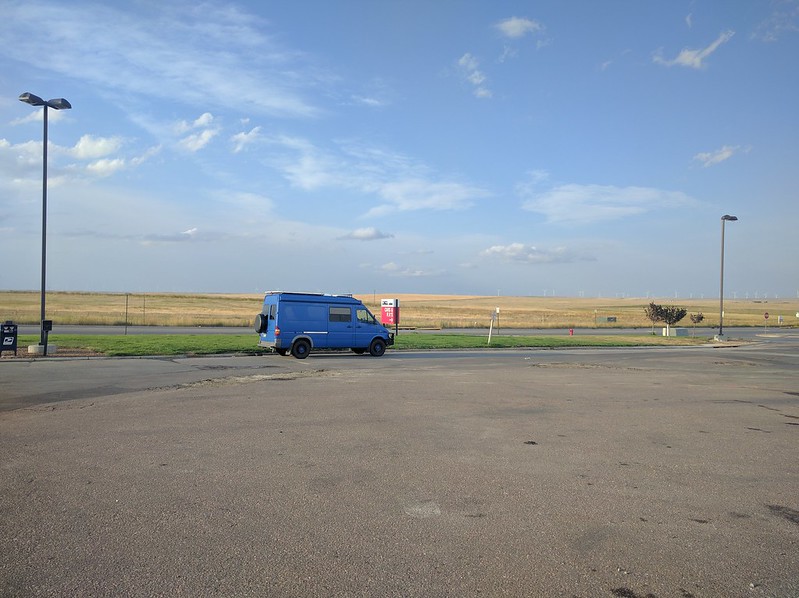
Great Plains, They can be boring after 10 hours.


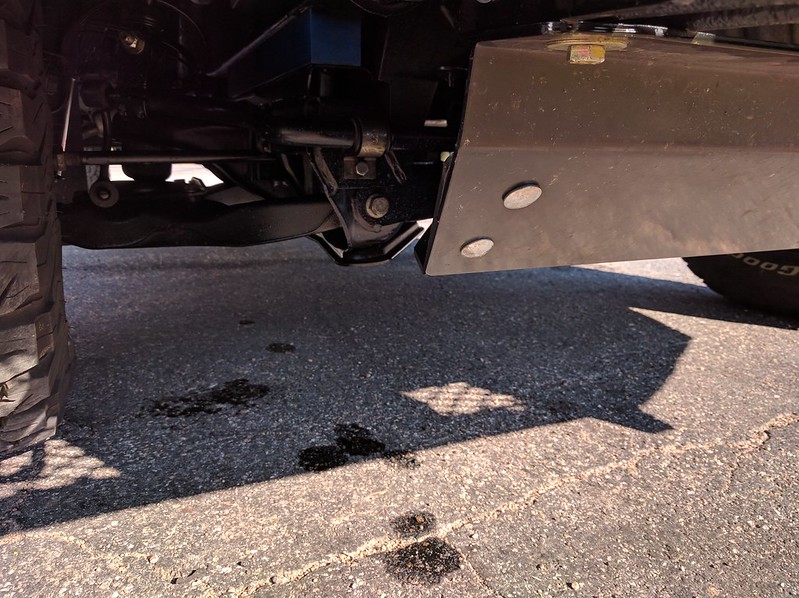
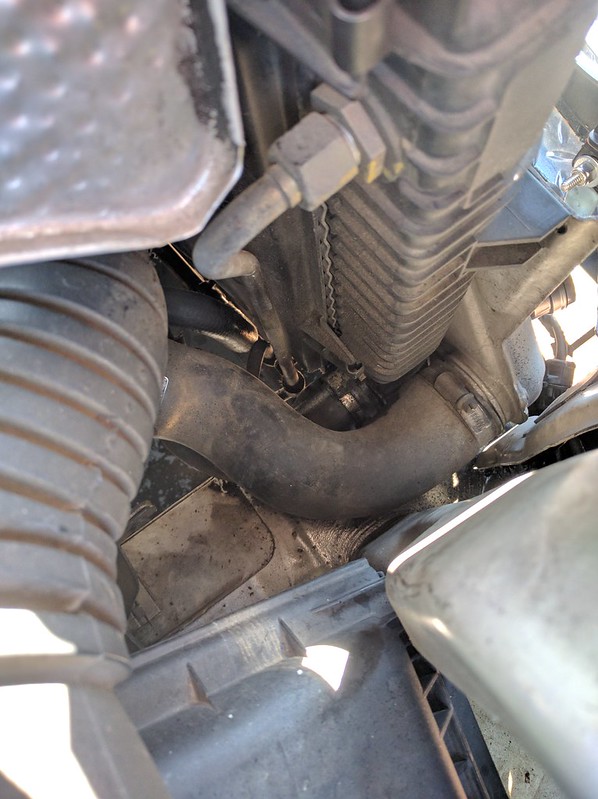
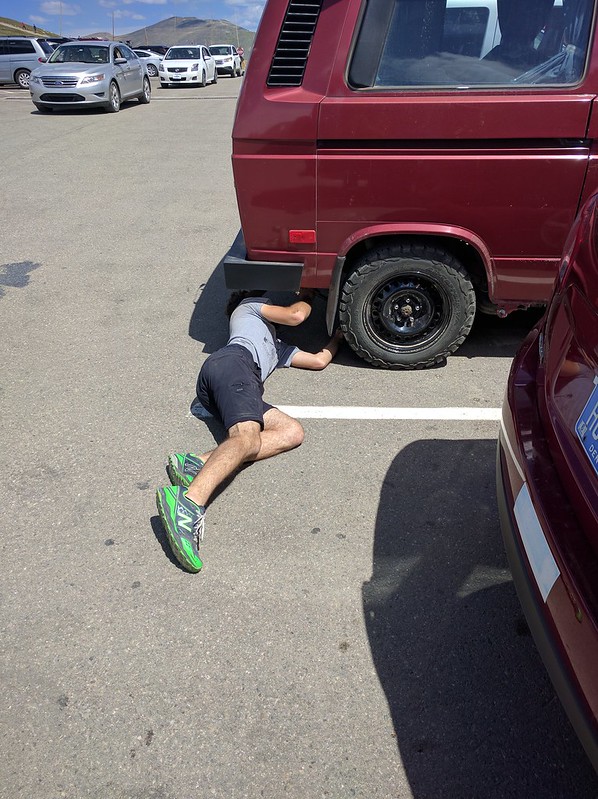
One morning I noticed a few drips of oil under the van. Further investigation showed the skid plates and right front wheel well coated. I eventually traced the leak down to the lower trans cooler fitting.


I must have loosened it accidentally when I was moving the lines around in order to replace the harmonic balancer. It was only ¼ turn loose! But that was enough to cause 1/2 quart of loss over less than one thousand miles. I also had a loose hose clamp on a coolant line which caused a few drips, easily remedied with a screwdriver.

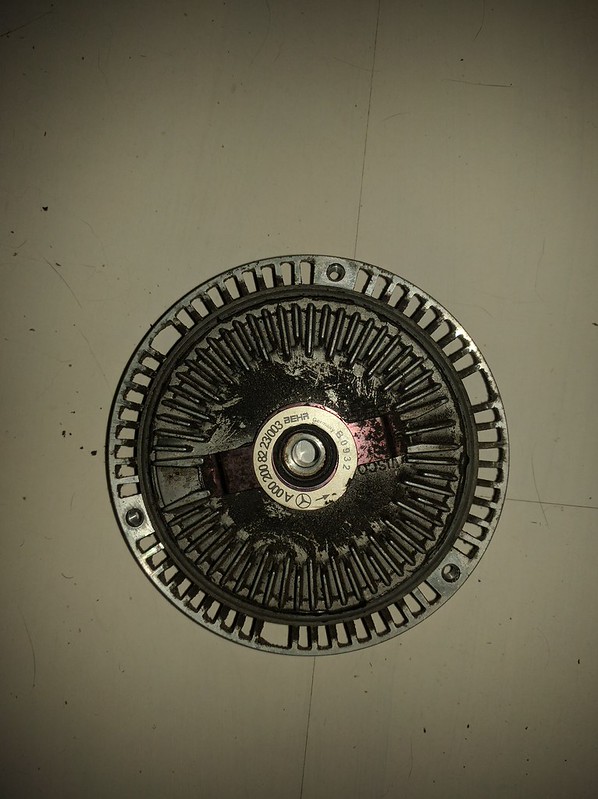
Another discovery on this trip, is that the radiator fan clutch was inoperative. It does not lock up at any temperature, and it has much less resistance when hot. With some conservative driving the electric fan was sufficient thankfully. I replaced the original unit once we got back home. I managed to only cut a couple of knuckles.


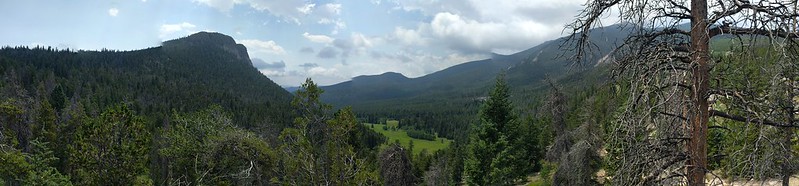
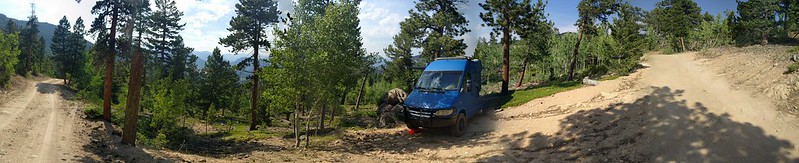
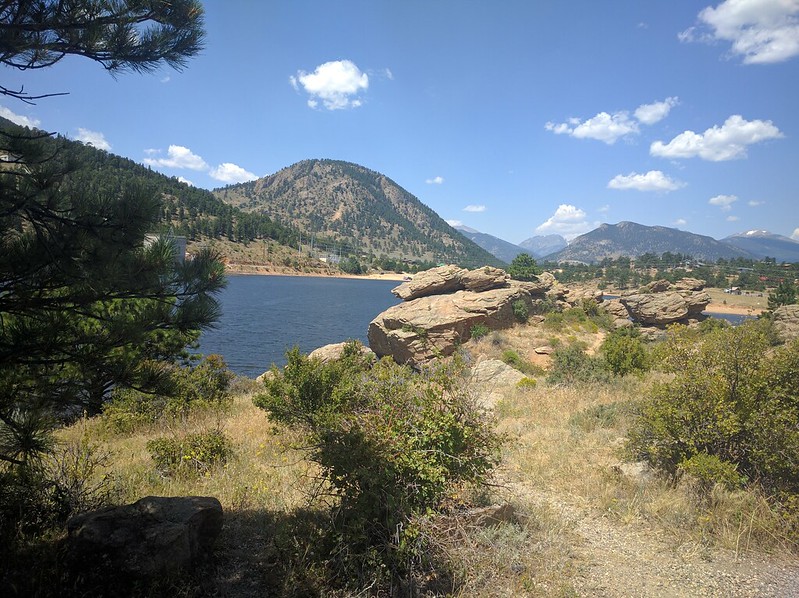
Here are some photos from the trip.


Some days I miss my vanagon. If there was a 21st century version available in the USA, I would considering buying one. But for now, I am happy with my sprinter.


We are getting really close to warping up major van projects.  The big ones left are:
  • Inside shower curtain
  • Finish window coverings
  • Replace Solar Panels
  • Re-coat and install Aux Fuel Tank
Soon!

Wednesday, July 27, 2016

Summer update #11, Curtains Tables, and Last Minute Maintenance

Jen has been slaving away sewing curtains (Inside, In the air conditioning). These are made using a multilayer insulating material that supposedly has very good R value. All of them have been treated with silicone water repellent. A variety of curtain tracks are being used, as well as some magnetic snaps and fiberglass rods.


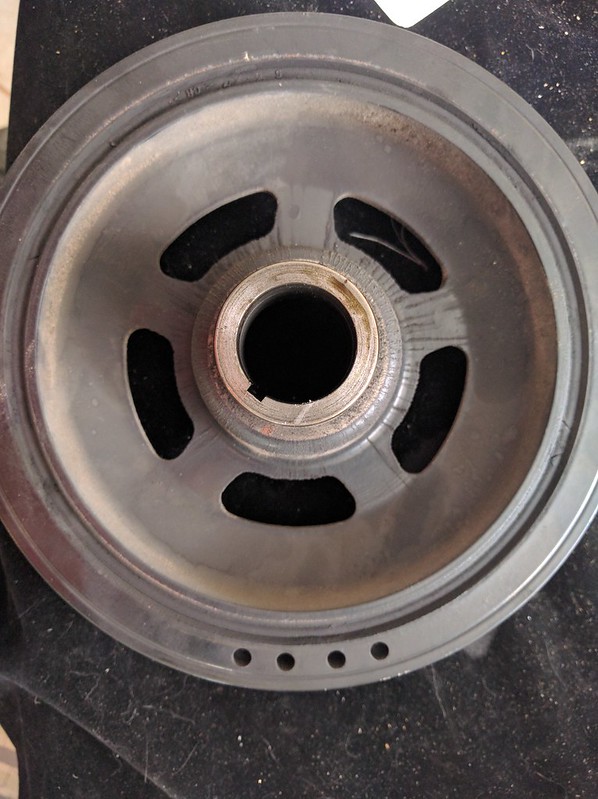
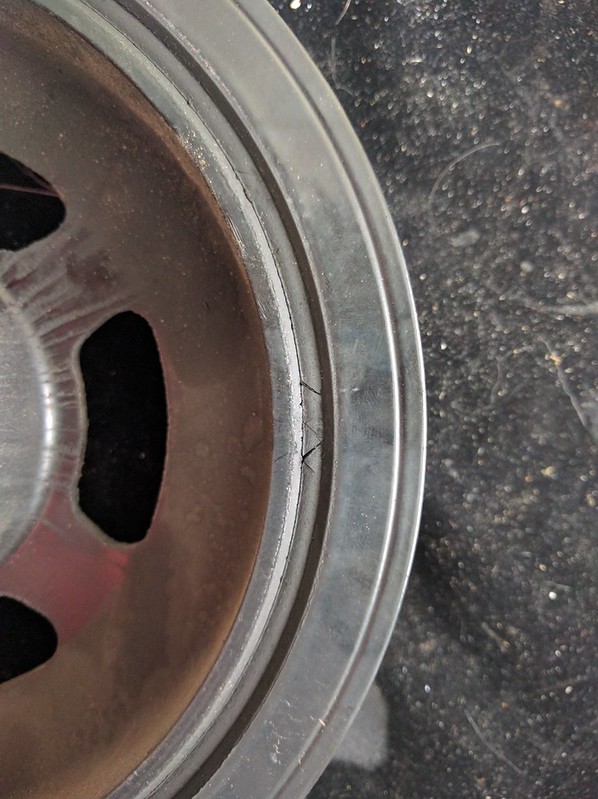
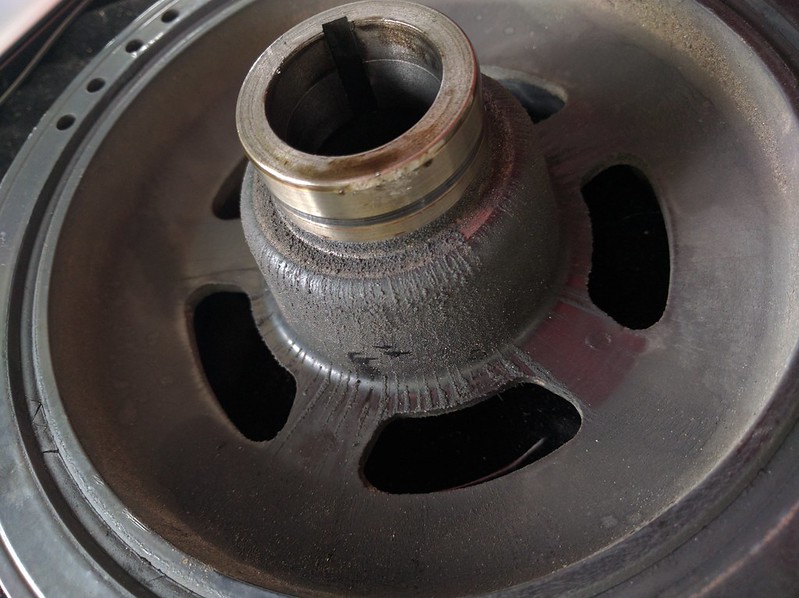
The harmonic balancer on my van looked alright, but when I pulled on the outer ring, it moved visibly. So I ordered a replacement. Autohaus AZ had the best price on the Corteco replacement (supposedly OEM to Mercedes). Upon removal the original unit showed delamination on the back side. I estimate over 50% of the rubber was disbonded. The new part is rock solid.


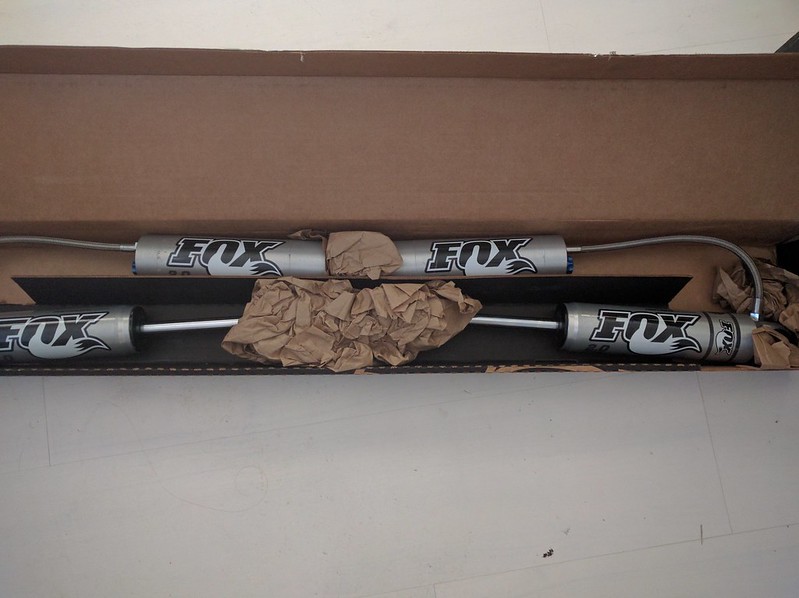
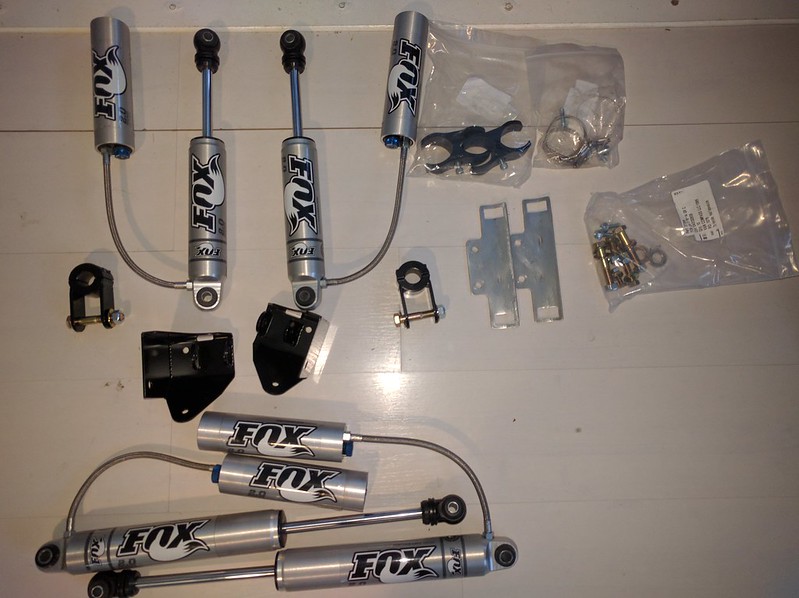
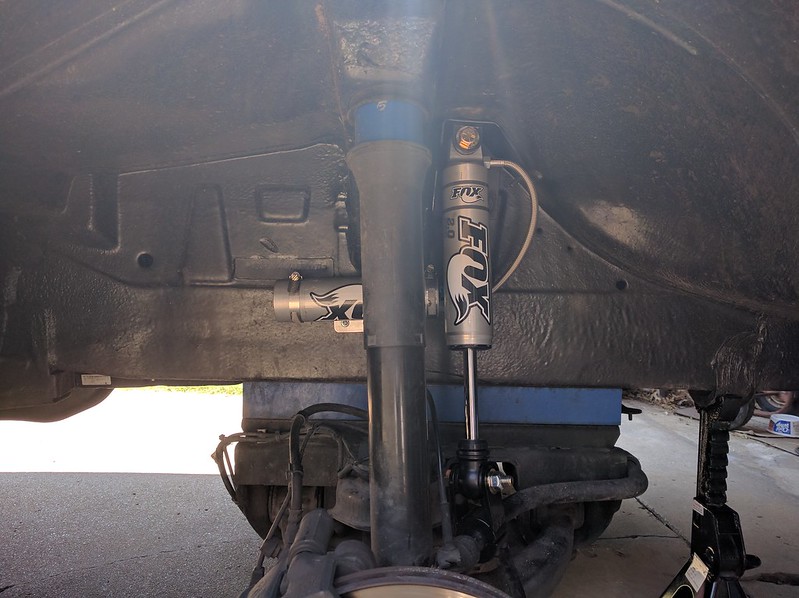
One last upgrade to the van, that we could not resist, was Fox shocks. The guys over at Van Compass have put together a kit with replacement rears, and add-on fronts.

The rear shocks are an easy job, and no modifications are necessary. The fronts require drilling 3 holes per side, and attaching a bracket for the upper mount. The lower mount clamps to the sway bar. Some care needs to be taken when drilling the bolt holes as there is some equipment in the engine compartment which could be damaged.


After a few short trips, I can say the shocks have really firmed up the ride. Control is better, and body sway/rocking is much reduced. It basically drives like it did empty, despite all the conversion weight. Another bonus is that these shocks have external rebound adjustment, so additional damping can be added on road if needed.

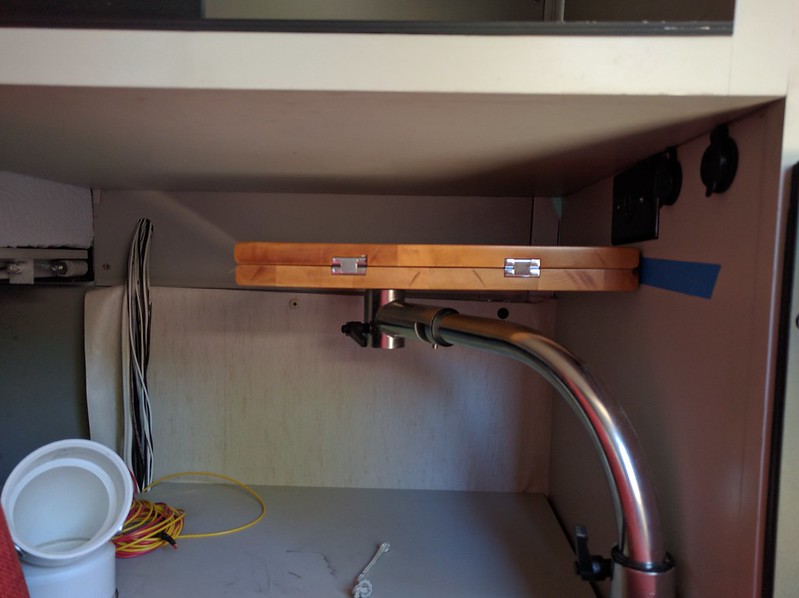
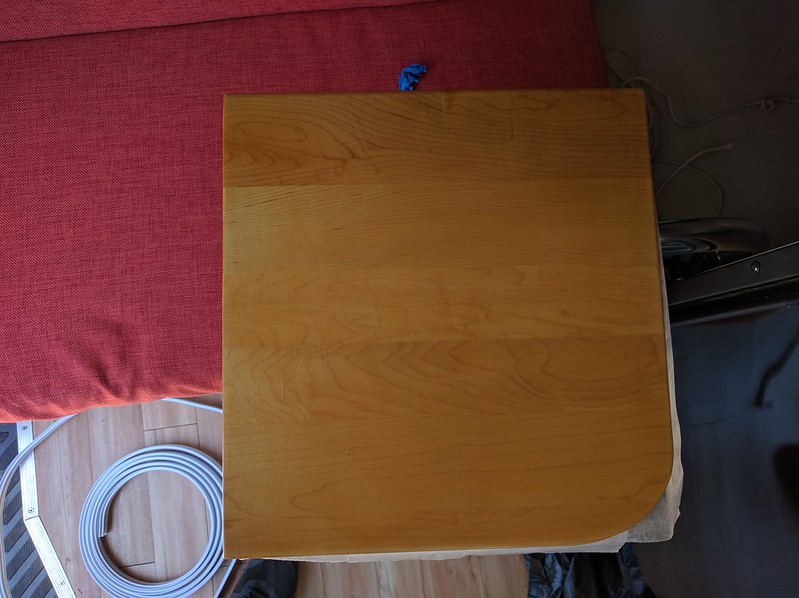
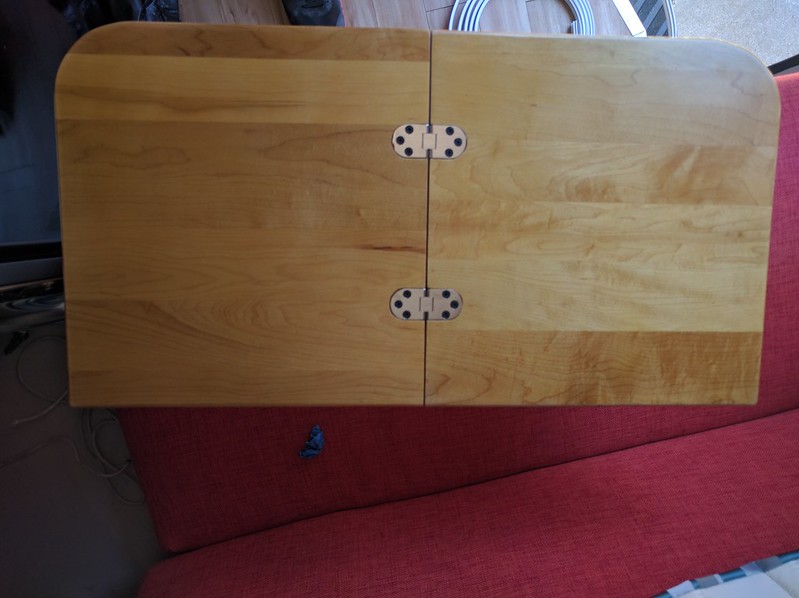
Jen finished up work on the folding table. It came out quite nice.


Monday, July 25, 2016

Summer update #10, Wait it gets hotter?

Still slaving away, but getting close to mission ready. Progress is slow when we need to take breaks in the shade due to 110F heat index temps.


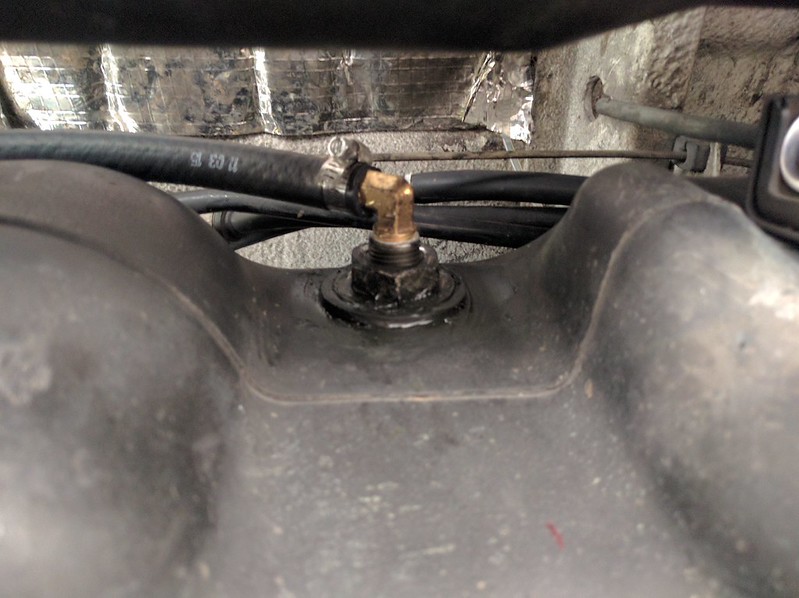
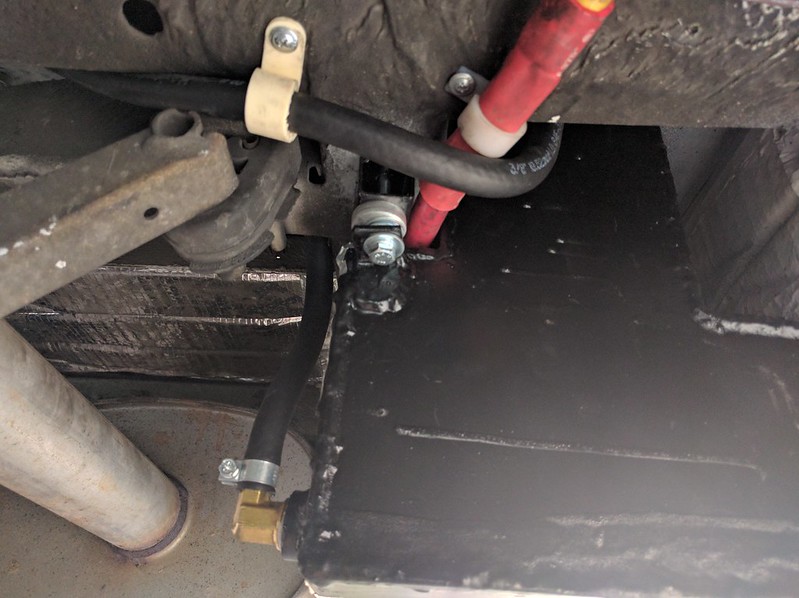
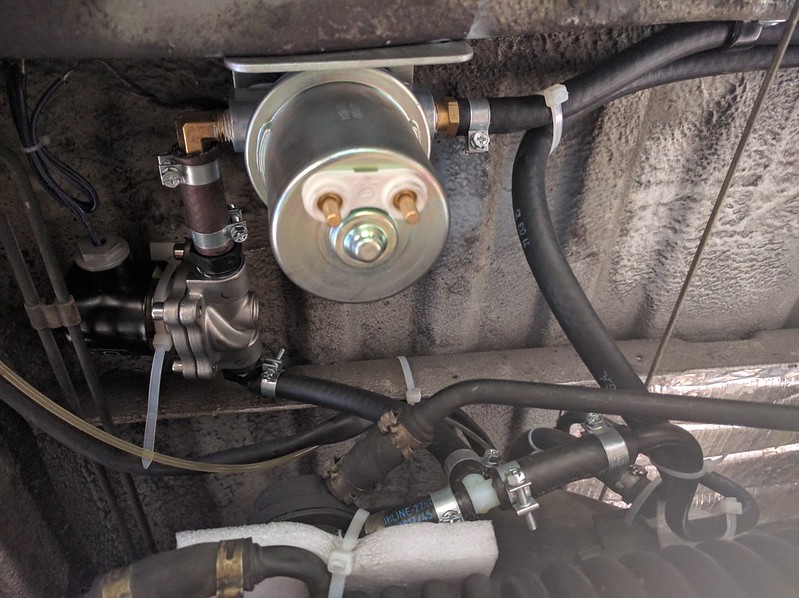
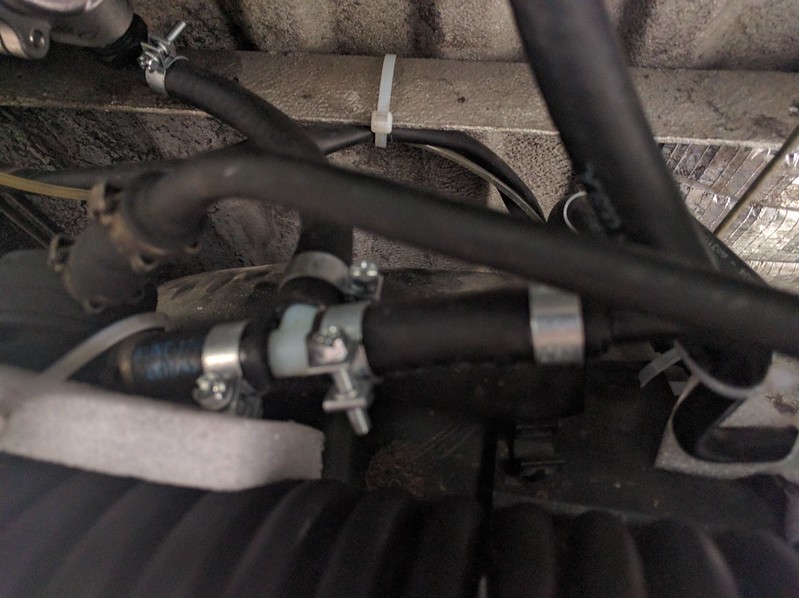
Fuel tank is plumbed in. The plumbing is as follows.

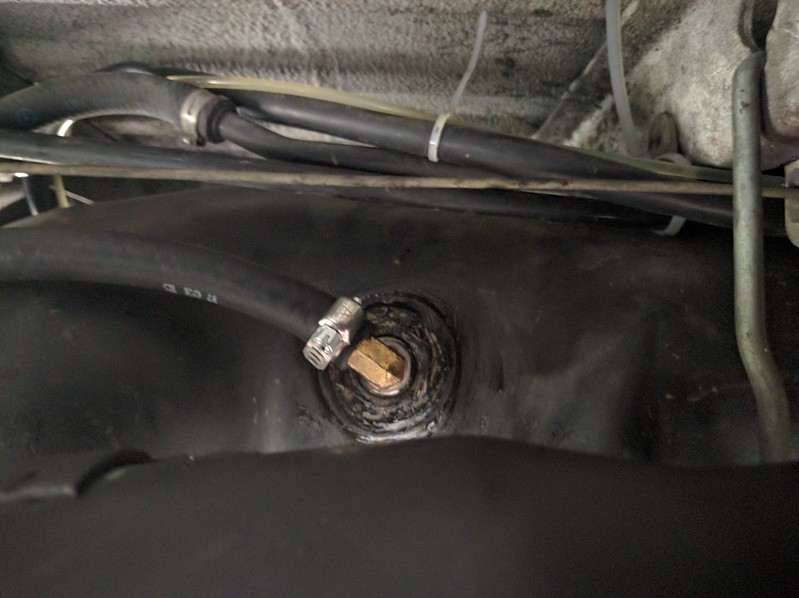
A vent/return line was added using a blind bulkhead fitting on the right hand aft corner of the tank. This line connects near the top of the aux tank.


The fill/drain line is connected to the bottom of the aux tank. From there it runs to the aft end of the main tank where it connects to the pump and valve. The connection to the main tank is made on the main fuel return line after the fuel cooler coils and thermostat.


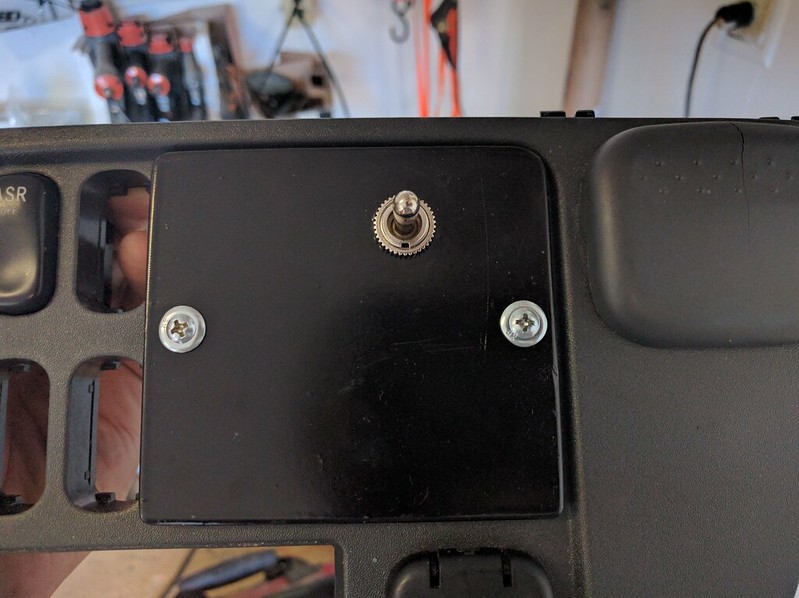
Here is the switch for the fuel transfer pump.  I installed a blanking plate on the center console and used a DPDT switch. Power comes from the 12V dash outlet circuit.
Wednesday, July 20, 2016

Summer Update #10, Its Too Hot!

Never has a bank of freshly fallen snow sounded more appealing. The sweat running into my eyes, grit sticking to my face. Dirty, nasty, sweating smudges on every surface... Must keep working, I am only prolonging my own suffering.   Back under the van I climb.

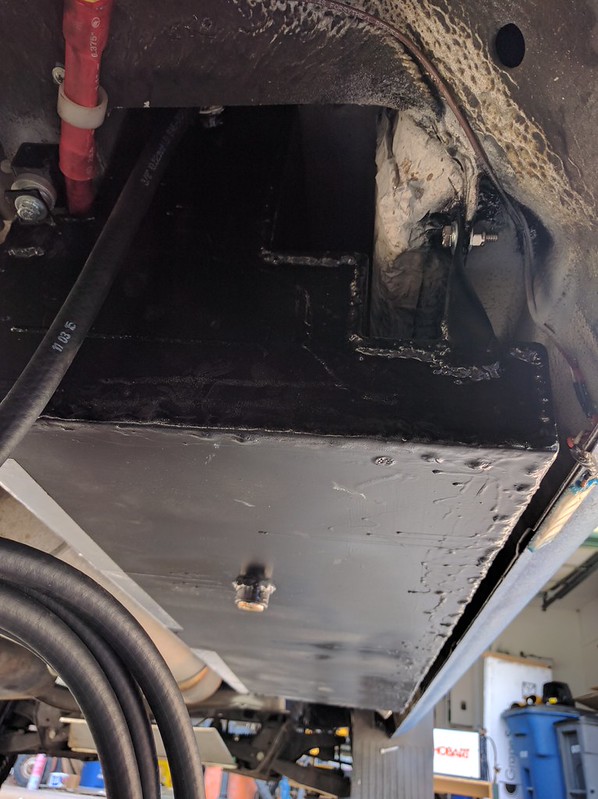
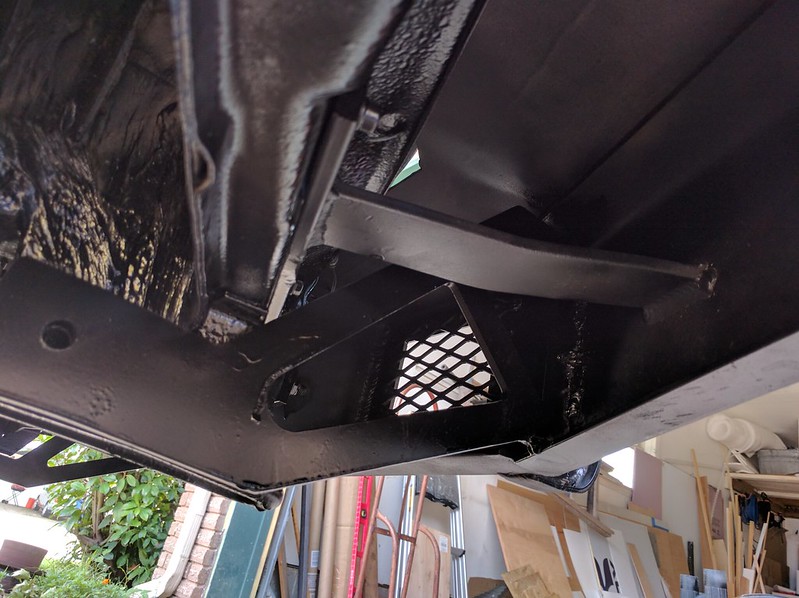
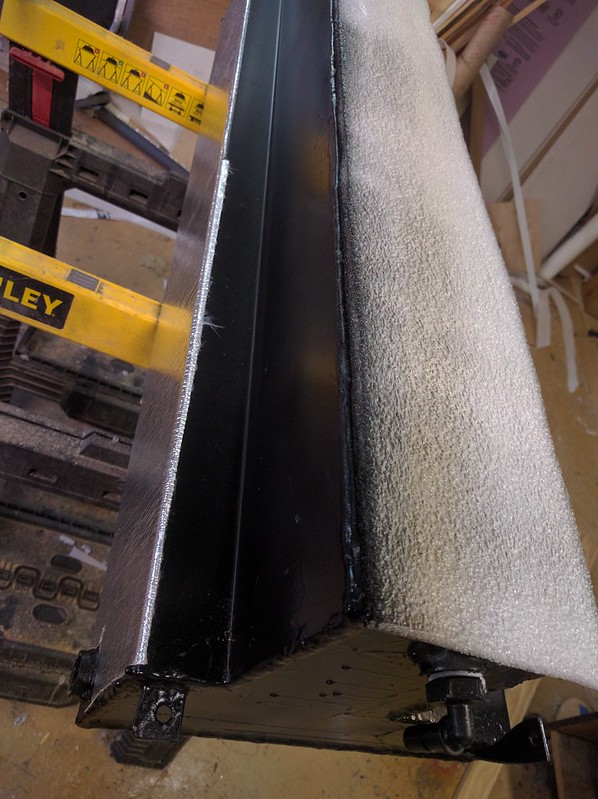
The Aux tank is now installed and the plumbing mostly done. I put some high temp reflective insulation on the exhaust side and some foam on the top for chafe resistance.


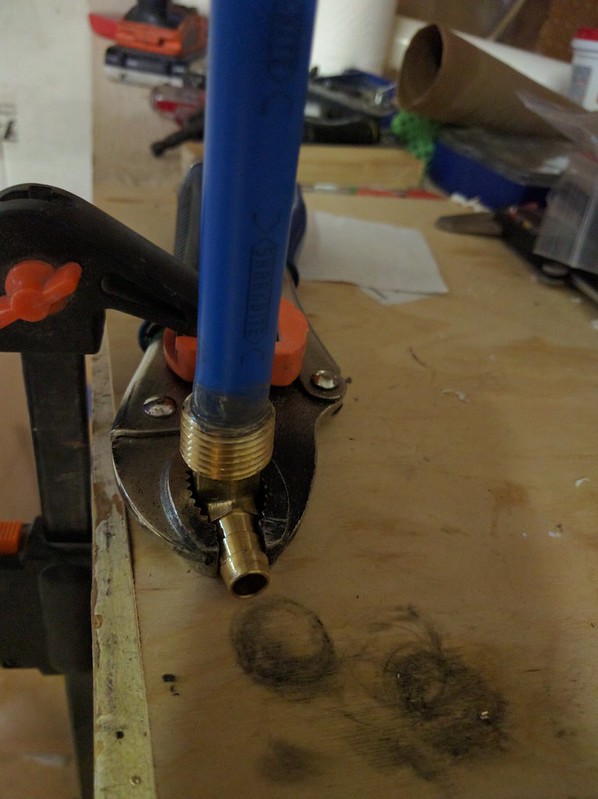
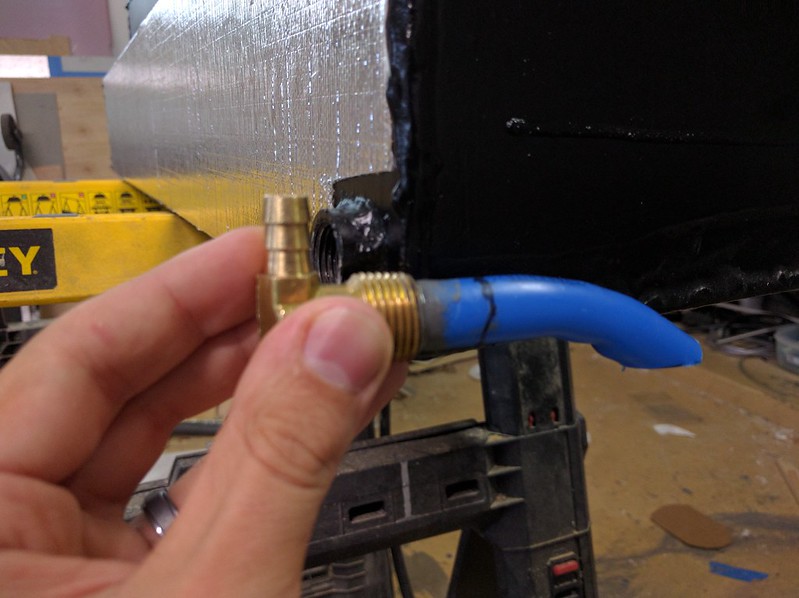
Since the fuel outlet is not flush with the bottom, I needed a pickup tube to allow complete utilization of the tank. I heated a piece of PEX tubing and pressed it into the outlet fitting. I bonded it with fuel resistant epoxy.


A bit more heat and it was ready to install.


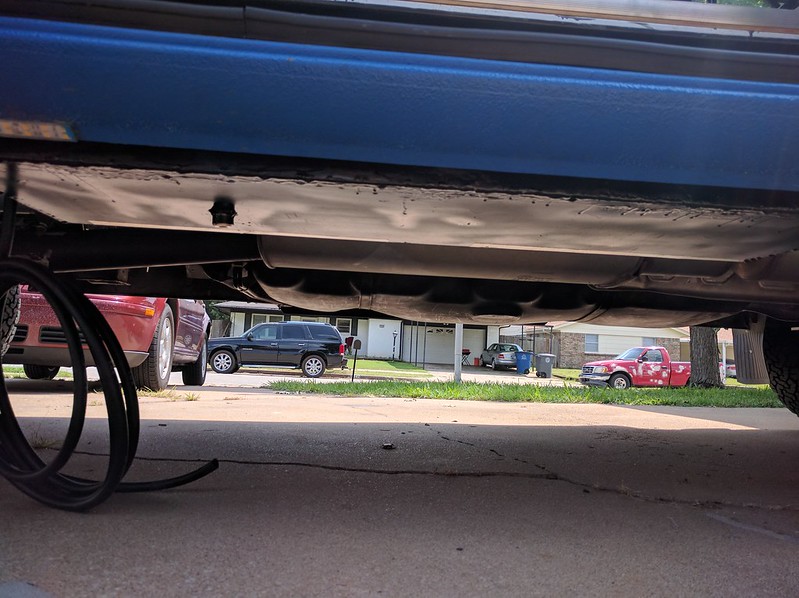
Here is some photos of the tank bolted up.


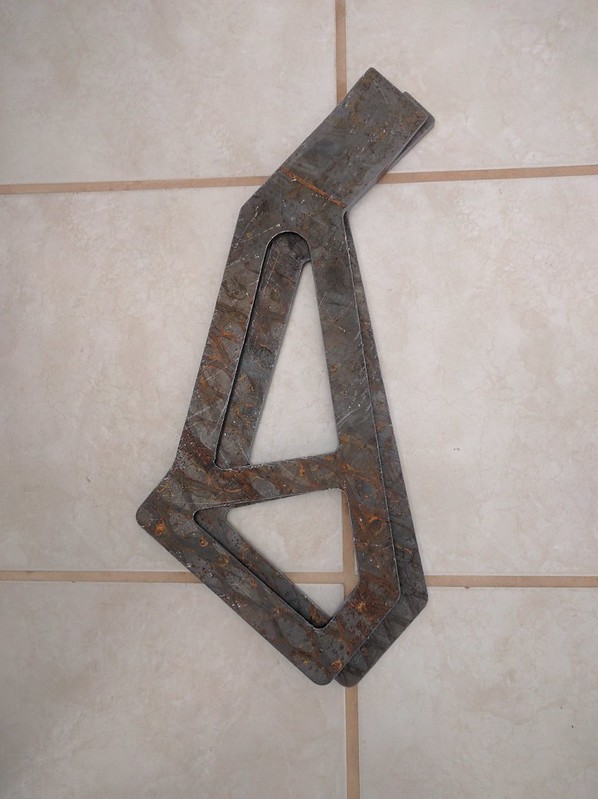
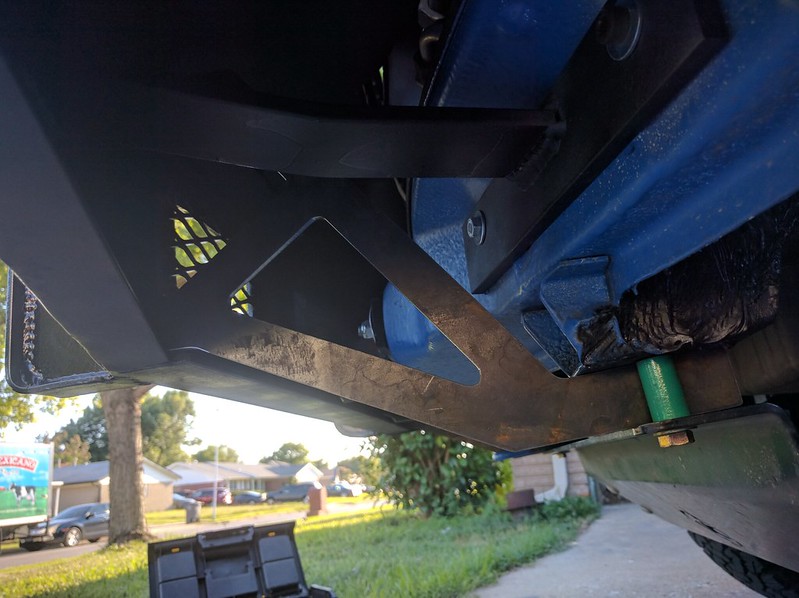
I also installed the bumper brackets. These were plasma cut from 0.25” steel. They will be bolted to the recovery points (where the skid plate attaches). I also discovered why the holes on the skid plate didn’t line up on the passenger side. The recovery point is pulled ½” to the driver’s side! Apparently the recovery hook is not designed for lateral loading!


I welded the brackets to the bumper in situ as there was enough clearance. I am waiting to finish the install as the harmonic balancer was separated enough that I could move it slightly by hand. I have ordered the parts/tools and will replace it next week probably. It’s a good timing as I was going to replace the idler pulleys and tensioner as preventative maintenance.


As desired, the brackets completely remove the pitching movement from the bumper. No amount of abuse from me will move the bumper more than a mm or two.

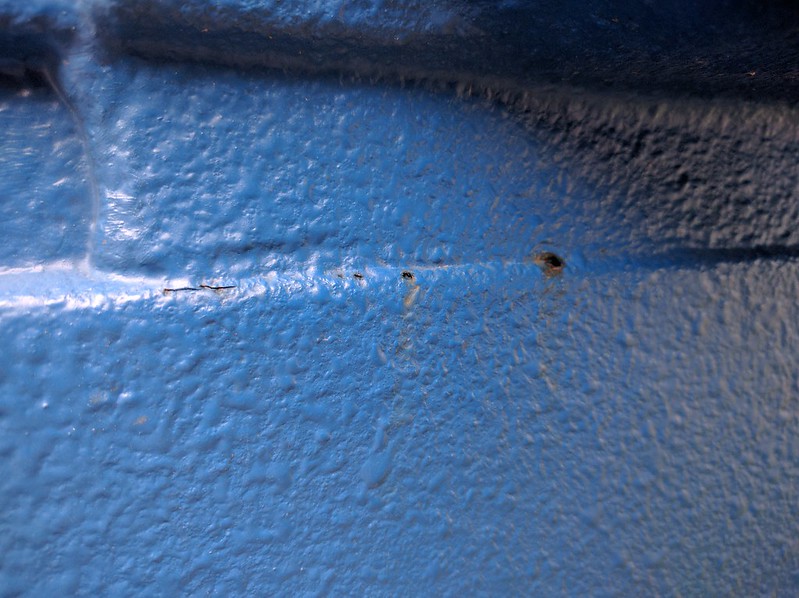
I noticed some staining near the edge of the flair. I thought at first that the monstaliner had failed. But it was the crappy OE paint again. It had failed around the sealant, allowing water penetration. I removed about 3 inches of sealant and paint, and resealed with sikaflex 252. Thankfully there was no penetration into the cabin.