Monday, April 25, 2016

Spring Update 15: Finish Work Continued

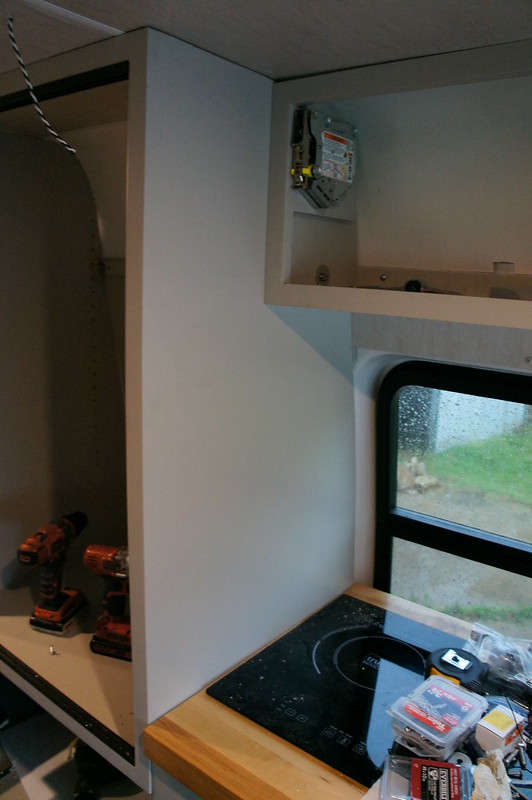
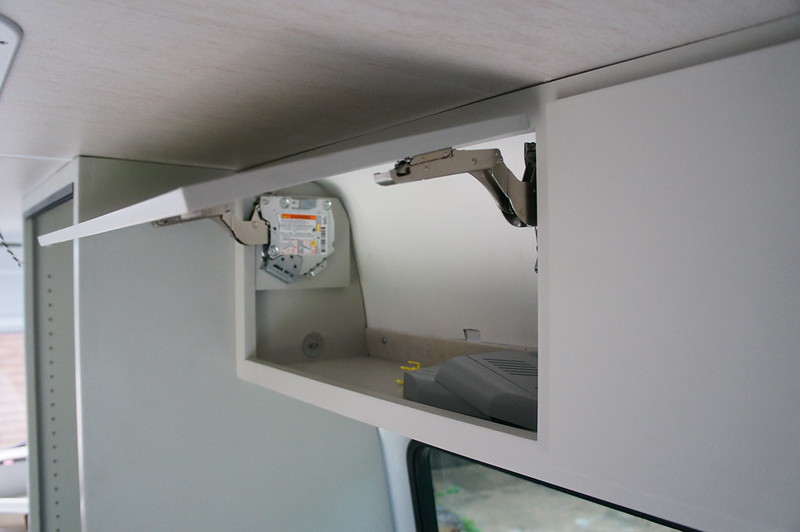
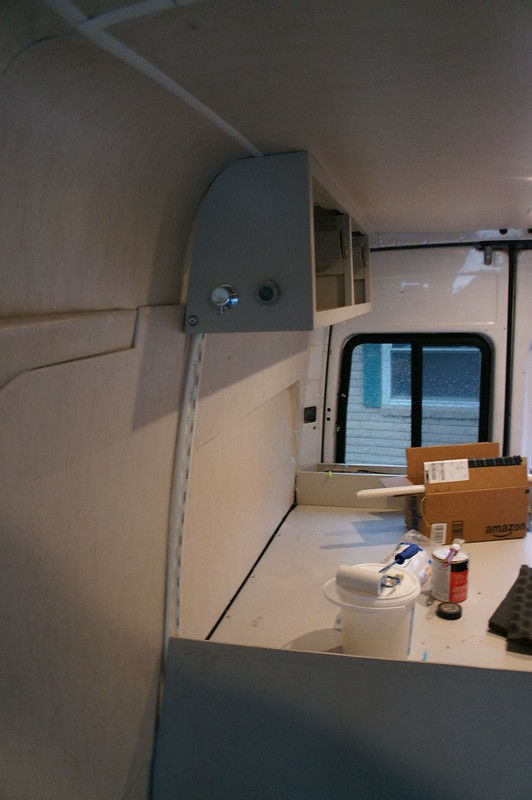
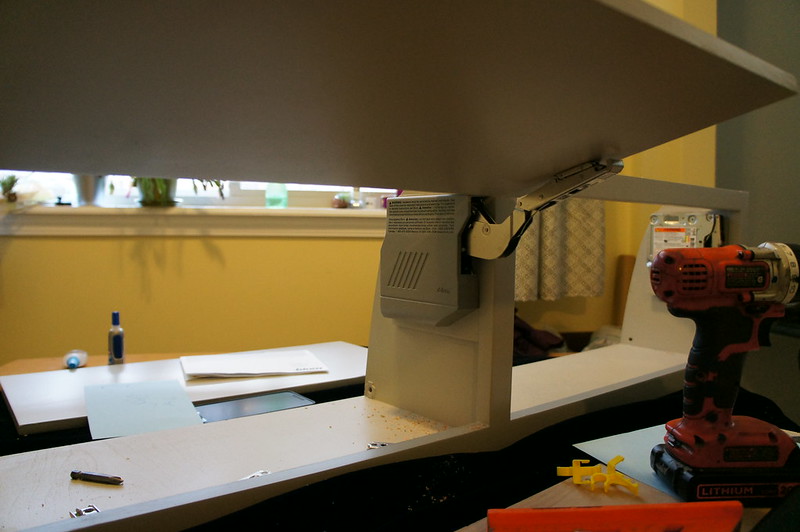
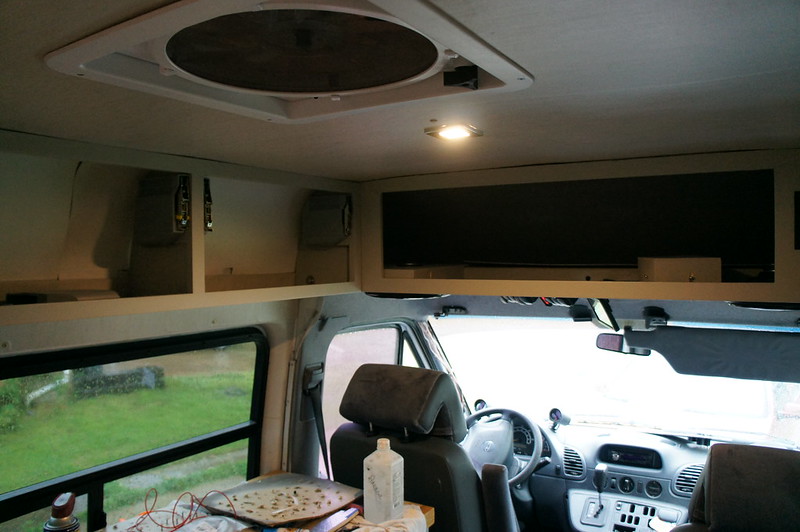
Still working on assembly and wall covering. Have half the cabinets are mounted. All the hinges and doors are mounted as well.  Some 75 degree limiting clips keep the doors from hitting the roof.


I hooked up the inside shower mixer. Unfortunately it leaked badly at the fittings. Turns out the fittings are ½ NPS. The PEX swivel fittings I am using are 1/2NPT… So the male side won’t completely seat. Fun stuff. I don’t want a bulky hook-up hose, so I need to located a female 1/2NPS->male ½ NPT adapter. Most of the NPS fittings available are for hydraulic systems and are made of steel. So freaking close….

Friday, April 22, 2016

Spring Update 14: Finish Work!

We are digging into the finishing work in earnest now.  Which means lots of hours for minimal visual change.

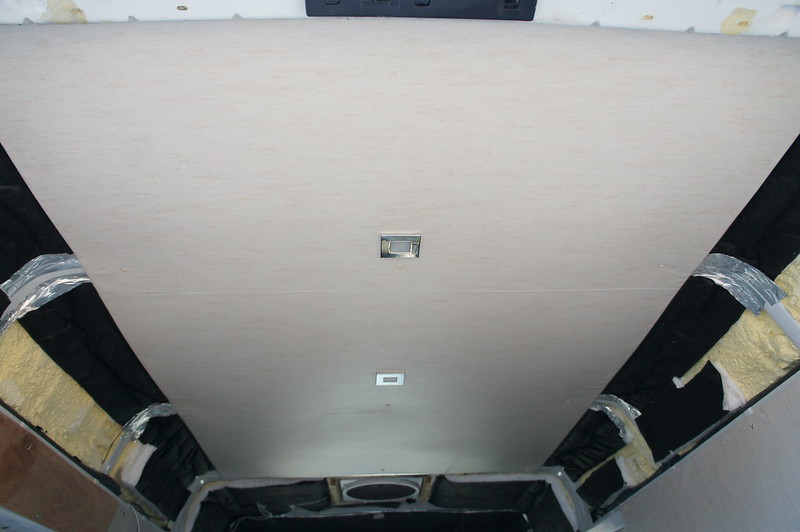
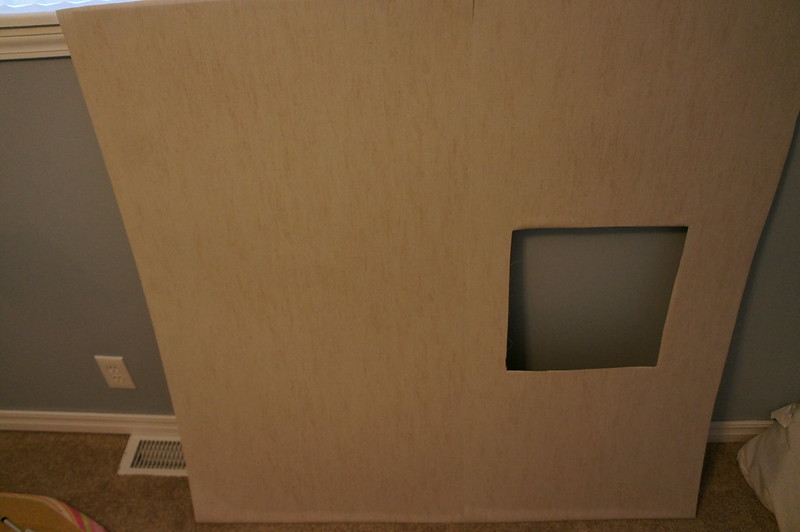
Started with covering the ceiling and wall panels. Jen picked out some vinyl wallpaper for this. Lots of brushing and rolling.


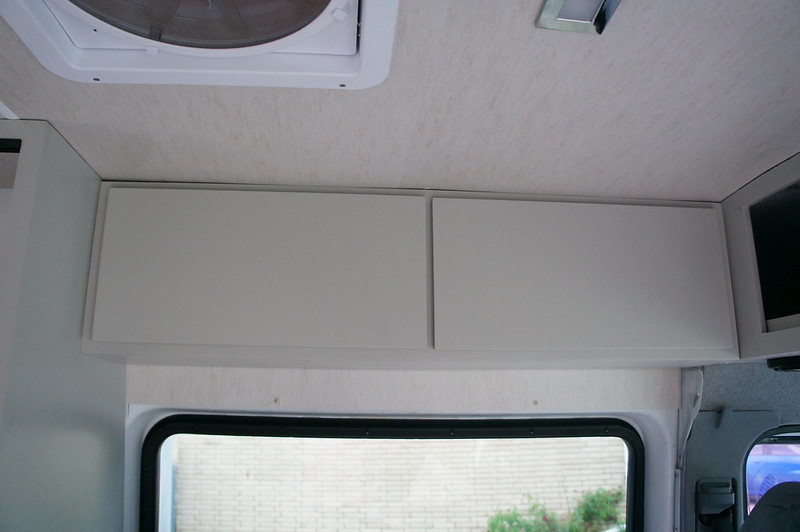
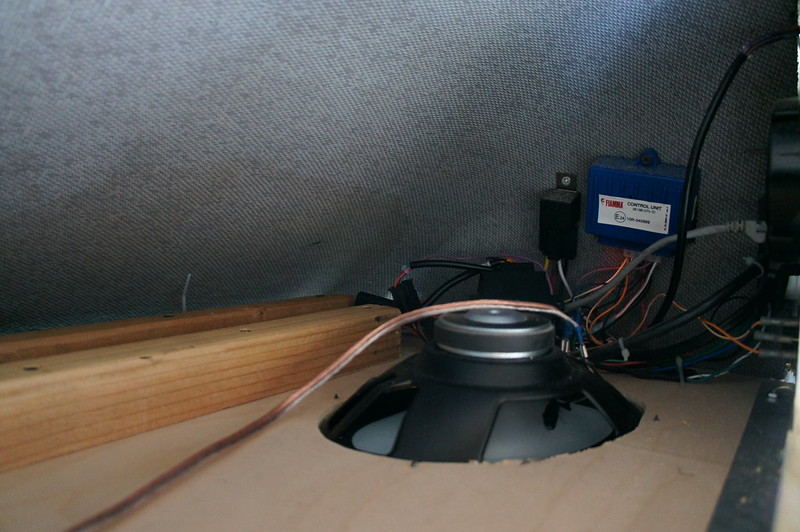
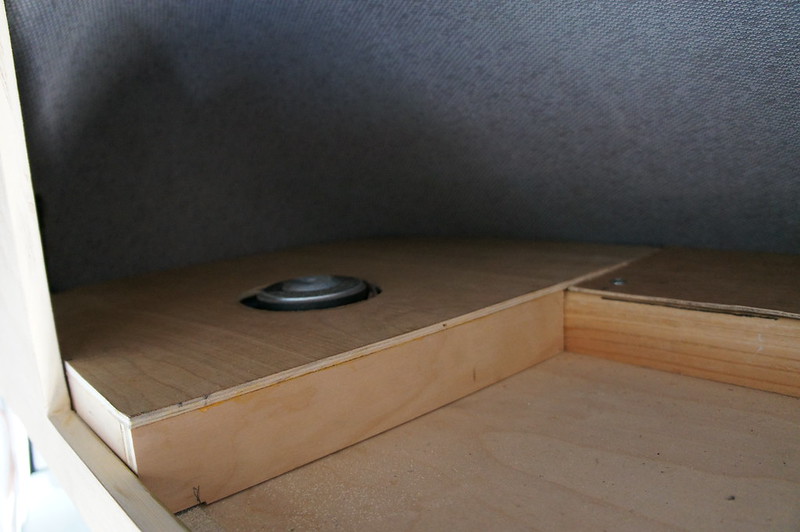
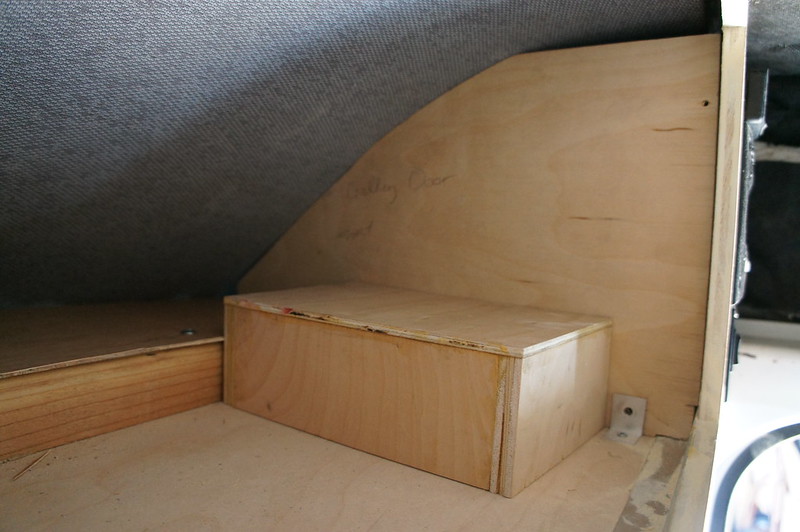
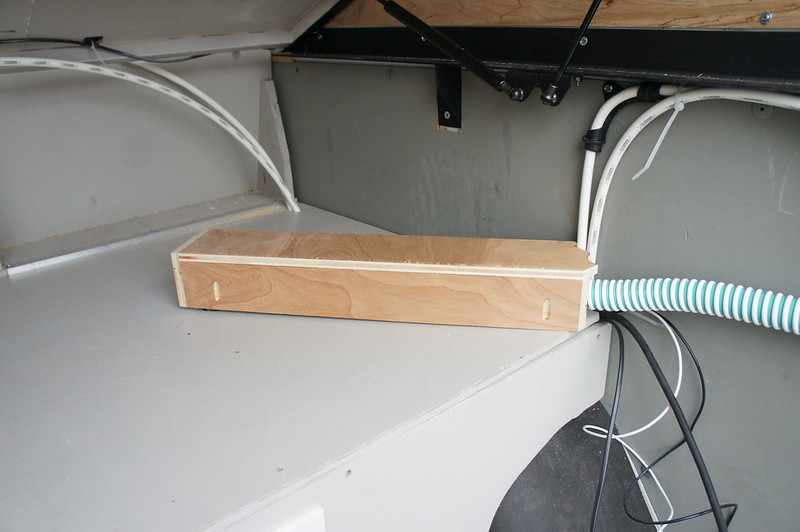
I secured the wiring in the over-cab cabinet and added some stiffening ribs. Covers for the wiring and speakers were also made.


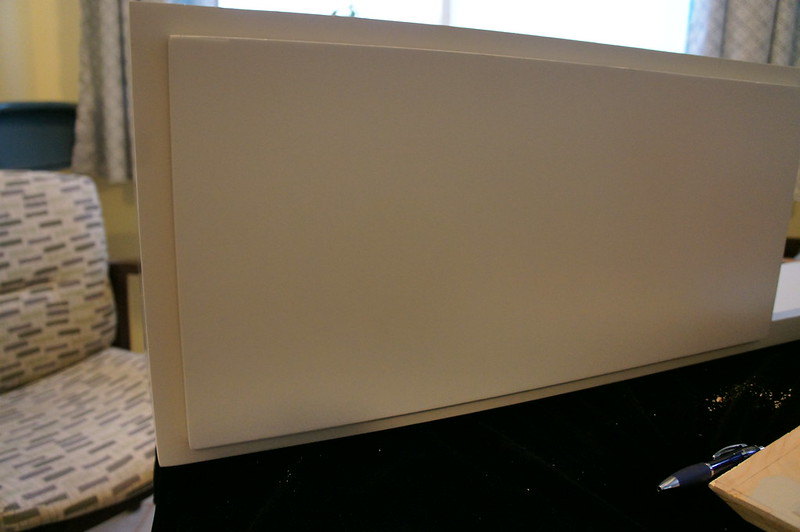
The cabinets are finally painted and I mounted the Blum soft-close hinges. These have some hold-closed force. We will see if additional latching is needed (probably).  The hold open and soft close features are really nice.


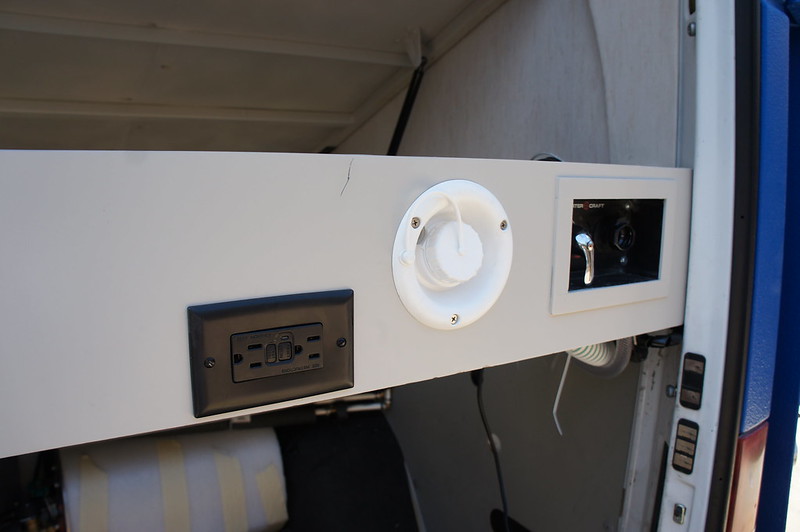
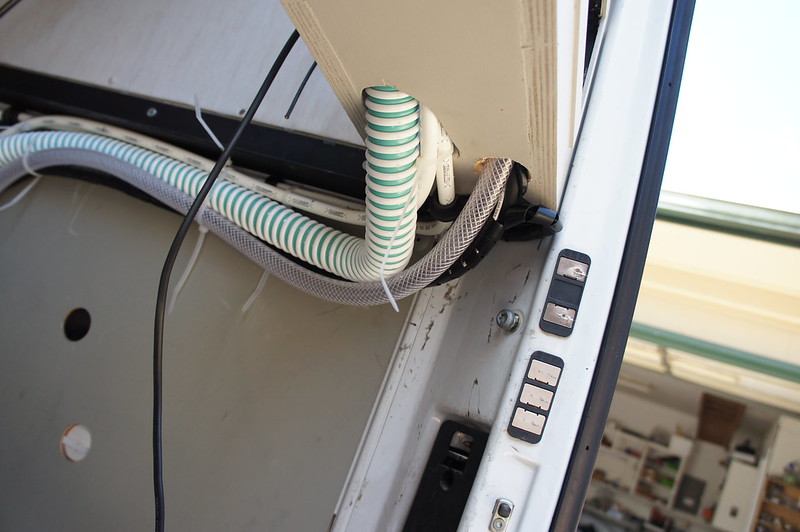
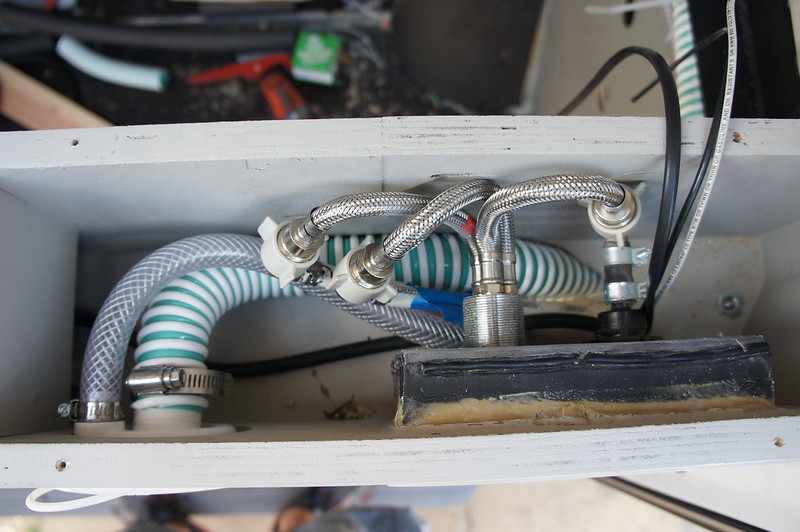
I installed the bedside cabinet as well. Plumbing is installed. Wires are run, but not connected yet. I have 12V and USB charge ports as well as overhead lighting control. Once I get the forward shower hookup attached I can do a final leak check, and call the water system done! So close...  And I managed to scratch the cabinet somehow... Grrrrr.


Tuesday, April 5, 2016

Spring Update #13

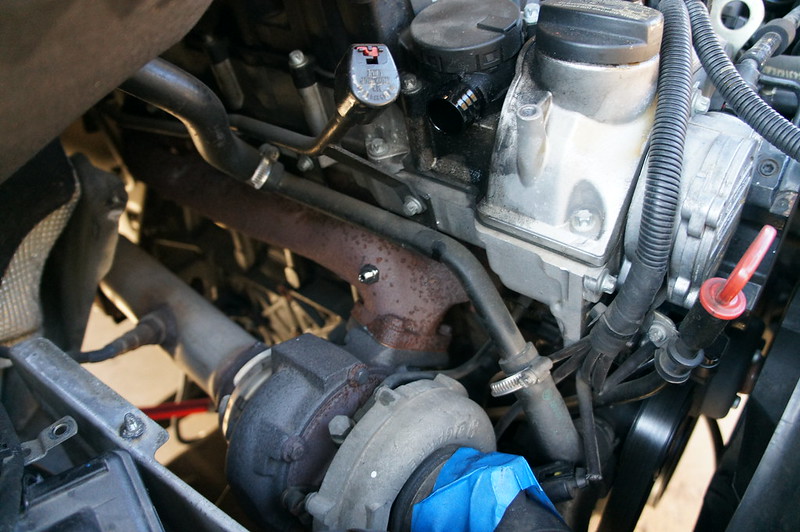
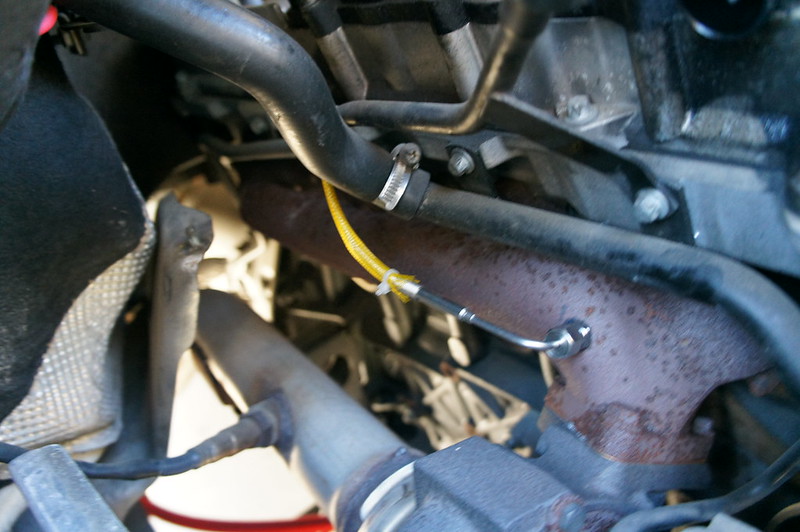
I was able to install the EGT (Exhaust Gas Temperature) Probe over the weekend.

I pilot drilled the manifold pre-turbo using a 3/16 bit. I was careful not to penetrate all the way through. Once I was nearly completely through I followed up with a 21/64 bit. Again I did not go all the way through the wall. It is about ¼” thick.

Once I was ready to drill through the started the engine up. The exhaust pressure was sufficient to blow the chips out the hole.

I followed up with a 1/8-27 NPT tap. The exhaust gases are only 250-300F at idle, so I used some high temp grease on the tap to ease the cutting process.


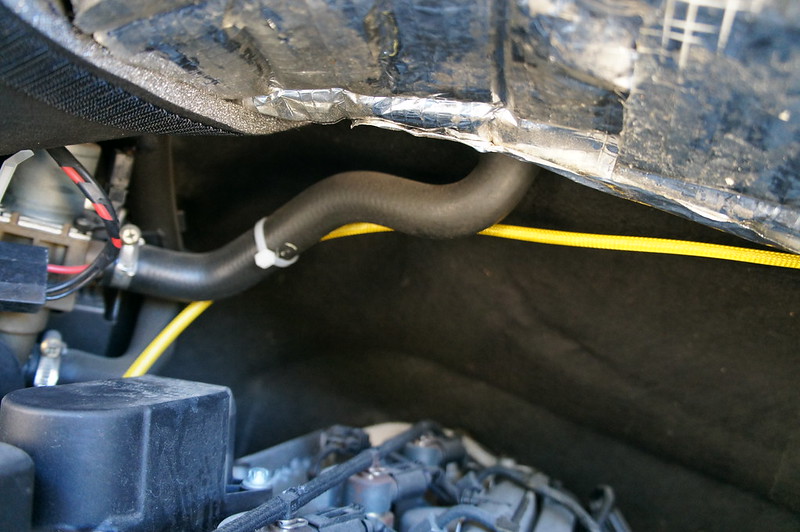
The wire was run behind the coolant line and over the engine following the heater core coolant lines. I put some sleeving over the wire because I didn’t want the stainless braiding rubbing on the coolant lines.


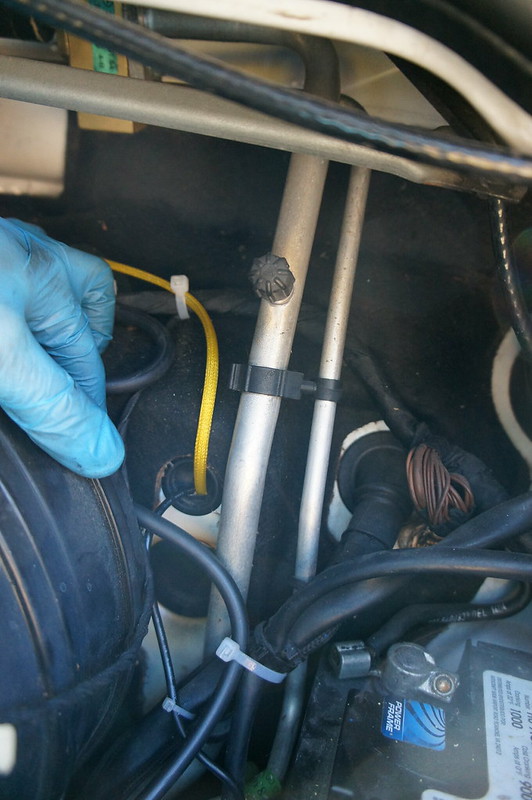
I used the same grommet as the boost sensor wires.


A quick test drive confirmed no leaks.

If you need ignition switched 12v power near the cluster the rear window defrost switch is a convenient source.

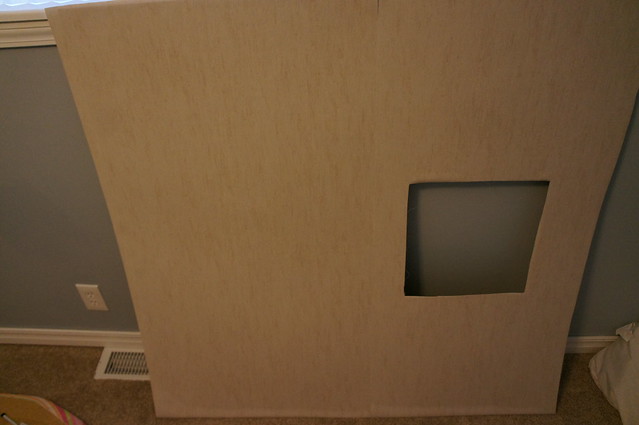
The cabinets are nearing the end of the painting process. So time consuming.... Jen started covering the ceiling panels. Its going fairly quickly. Hopefully the adhesive meets our expectations.  

DSC06569

Saturday, April 2, 2016

Spring Update #12

A brief update. Not much post worthy happening. Devoting a lot of time to finishing the cabinets. The doors are painted, and the frames are getting their last (hopefully) coat of filler/surfacer.

I am trying to get the small stuff taken care of any time I have an our free.

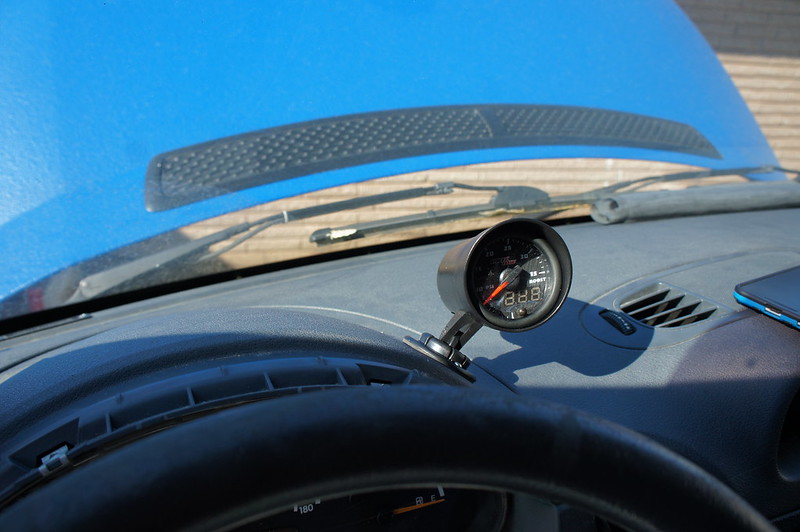
I have had boost and EGT gauges in the parts bin for almost 6 months. Here are the gauges.

http://amzn.to/1RxoUyj
http://amzn.to/1o5ccPF

Here is the pods I am using. I will be using a bit of clear silicone to retain the the gauges in the housings, as the provided o-ring is just a bit small thickness wise for a firm grip.

http://amzn.to/1U6B47L

These gauges are not strictly necessary, but they give a good readout on engine load.  Hopefully they will let me get a drop on any unlikely issues.

They have analog and digital readouts, in addition to being fully digital. I started by pulling the plastic coupler between the intercooler and intake manifold hoses. I drilled and tapped it for a 1/8" NPT fitting. I ensured a leak free seal using some CA glue. The fitting is not coming loose.
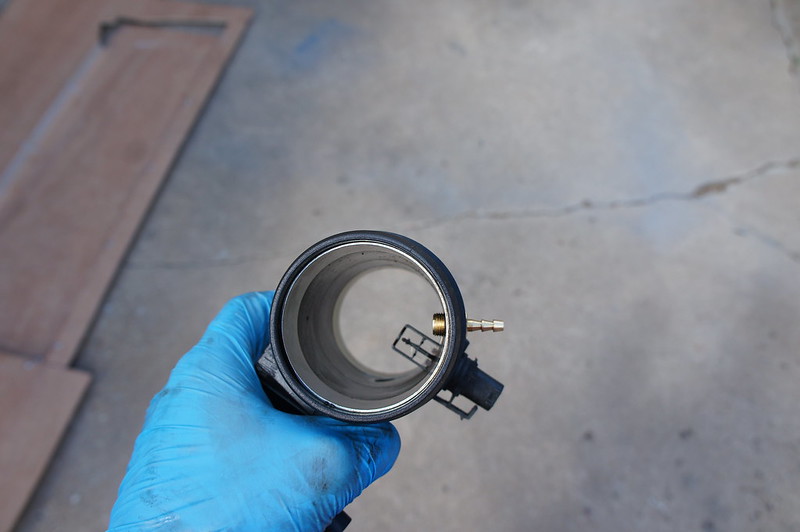
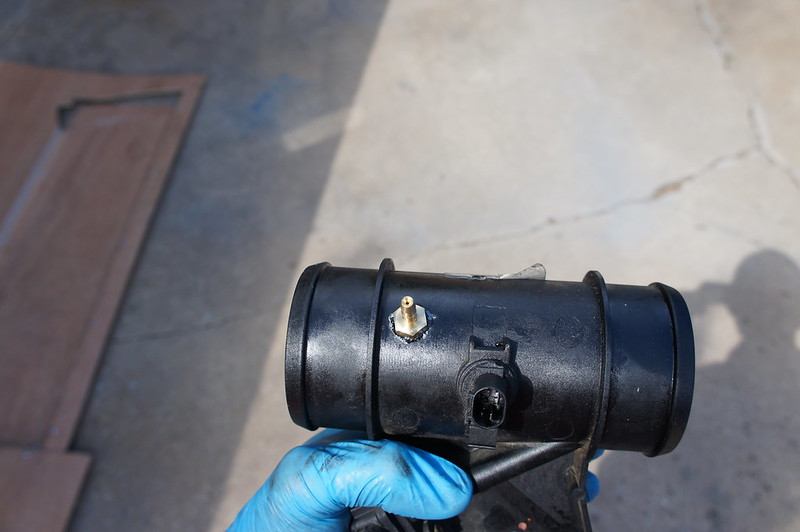


I mounted the supplied pressure sensor to the coupling.
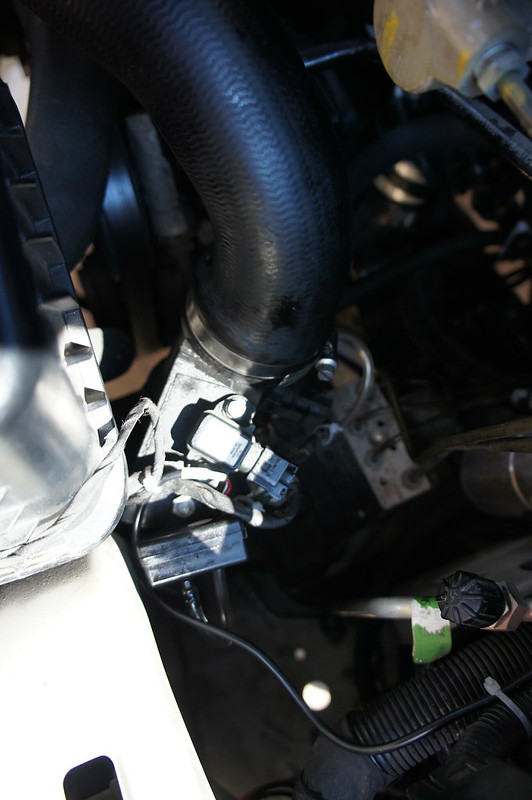


The wiring runs through a unused pass-through grommet above the drivers feet.
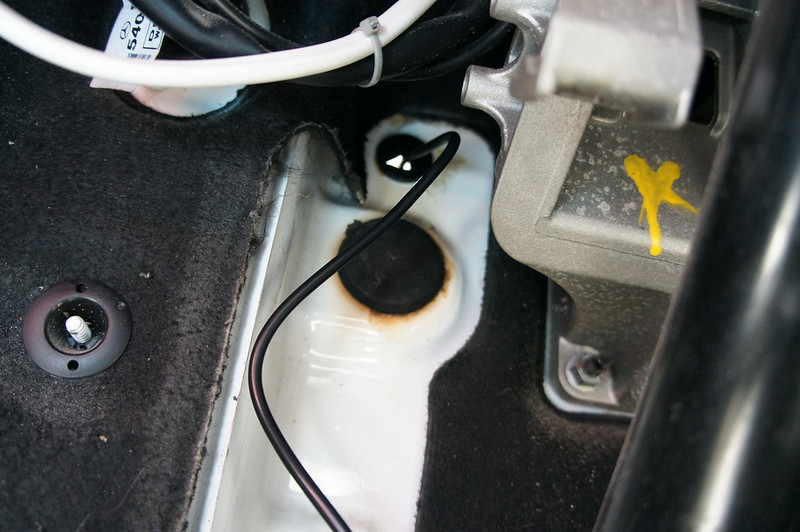


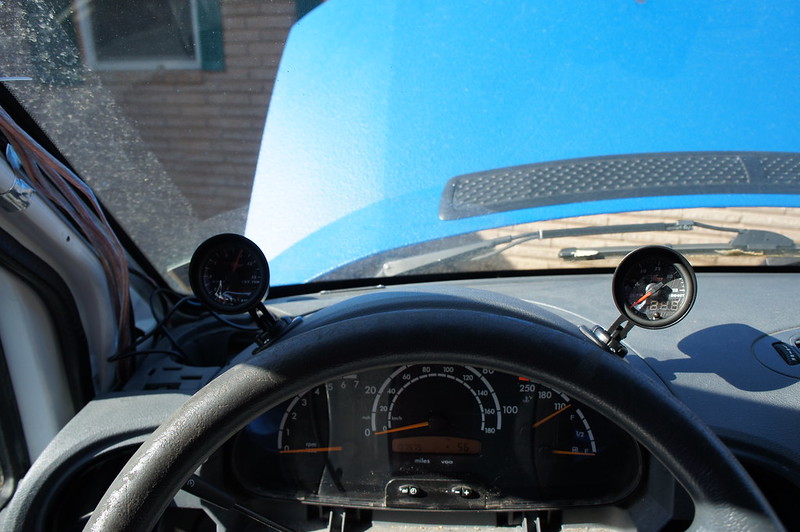
I ran the wires up alongside the A pillar and into the dash. There is plenty of room under the gauge cluster cover for the wiring. The positions provide good visibility without being in my line of sight.   Looking back I probably should have mounted them side by side on the left c'est la vie.


I will be drilling the exhaust manifold for the EGT probe in the near future.
Wednesday, March 30, 2016

Spring Update #11 Nostalgia!

I have been slowly uploading photos of our last roadtrip to my Flickr account.


Take a look here for hundreds of full resolution photos.

https://www.flickr.com/photos/129334372@N04/albums


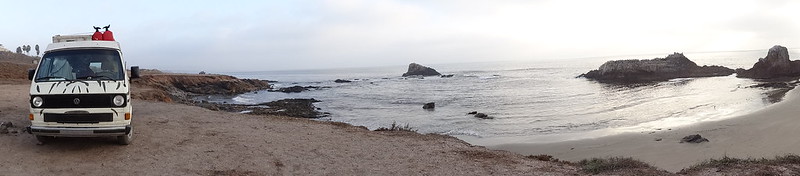
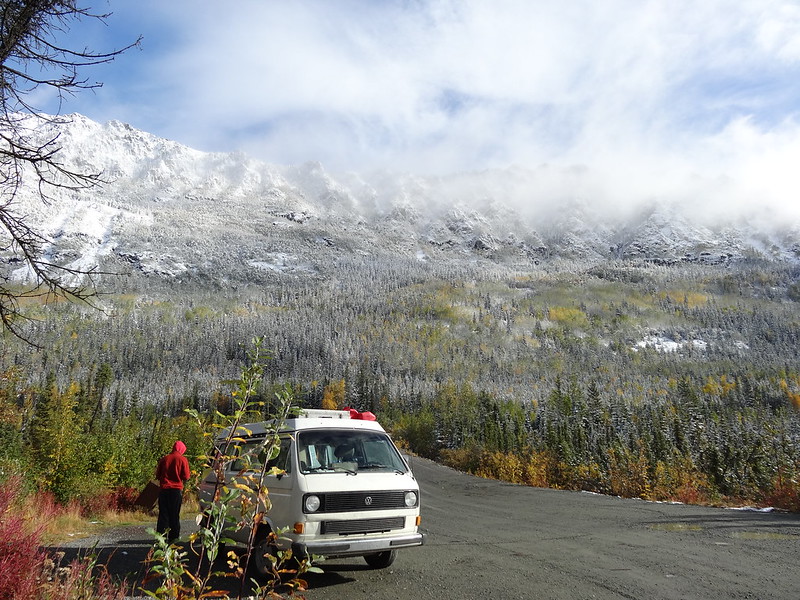
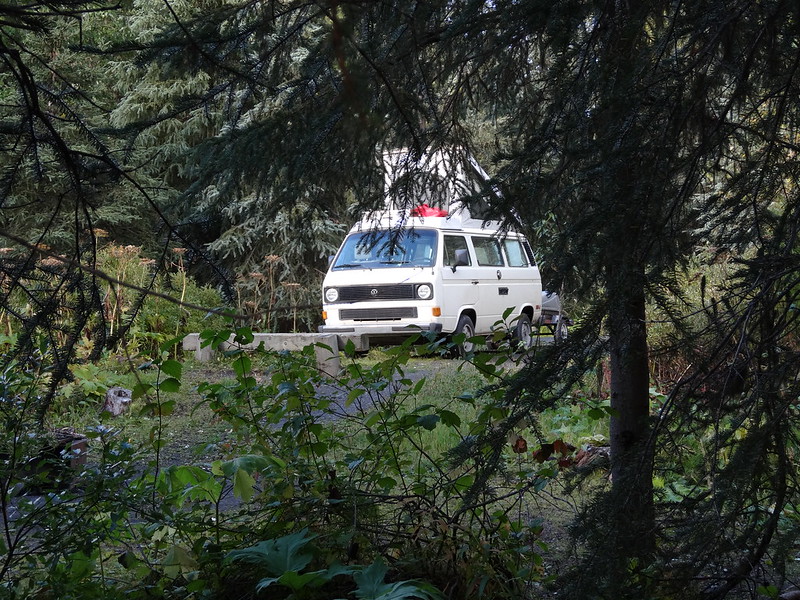
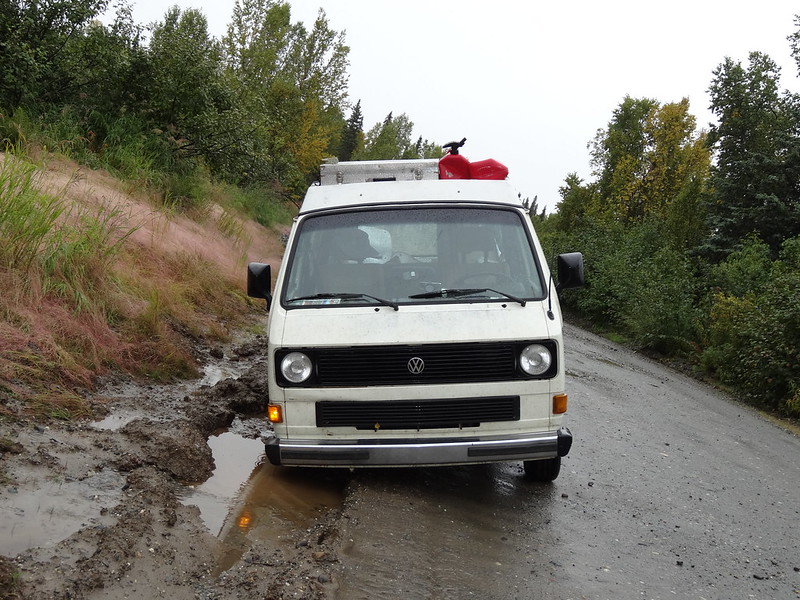
For those who don't have the time, I have selected a few for your enjoyment.  Here is a bit of Vanagon Westy nostalgia for everyone.


DSC03969

DSC03468
__________________

Monday, March 28, 2016

Spring Update #10


I have no time for creative post titles. So get used to boring numbered posts for the next couple of months. So much work and so little time!

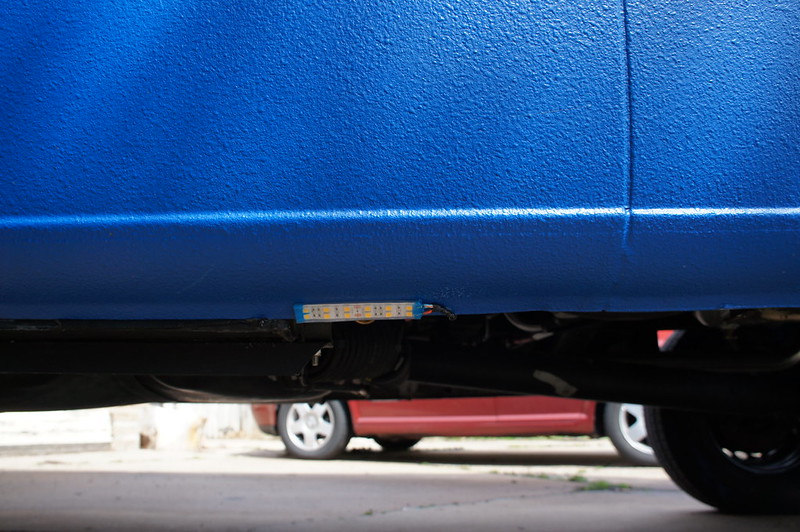
Here is where I mounted the ground lights I made earlier. Relieving oneself in the pitch blackness of a night at a remote campsite can be a challenge. A bit of indirect lighting makes avoiding the rocks much more pleasant without spoiling your night vision. They are mostly hidden except at great distance or low angles.


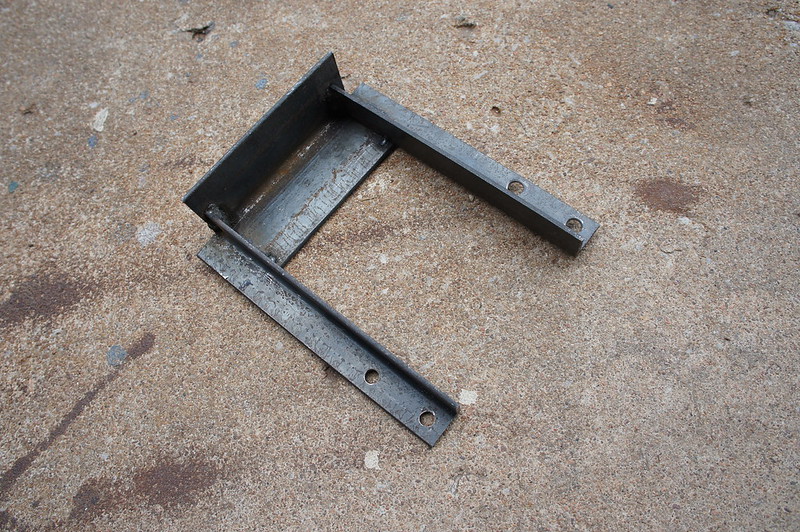
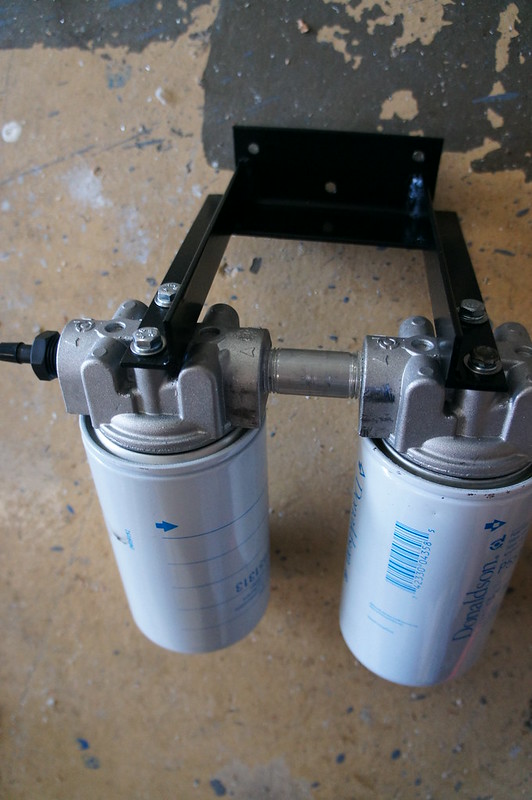
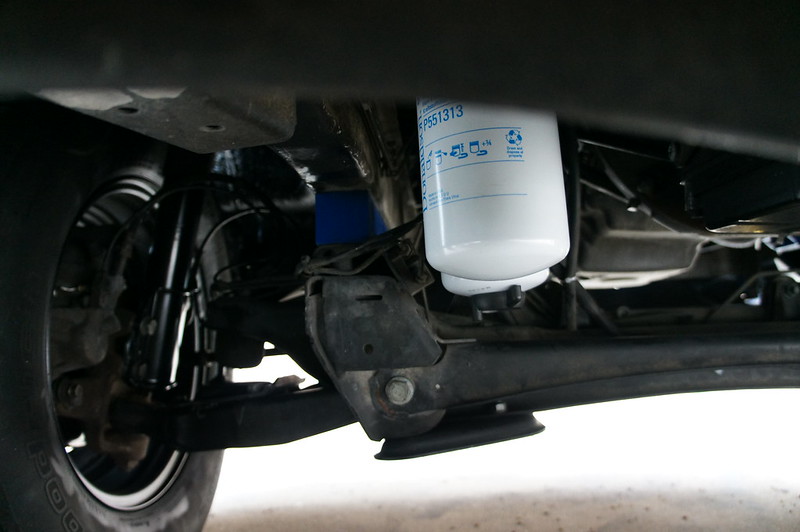
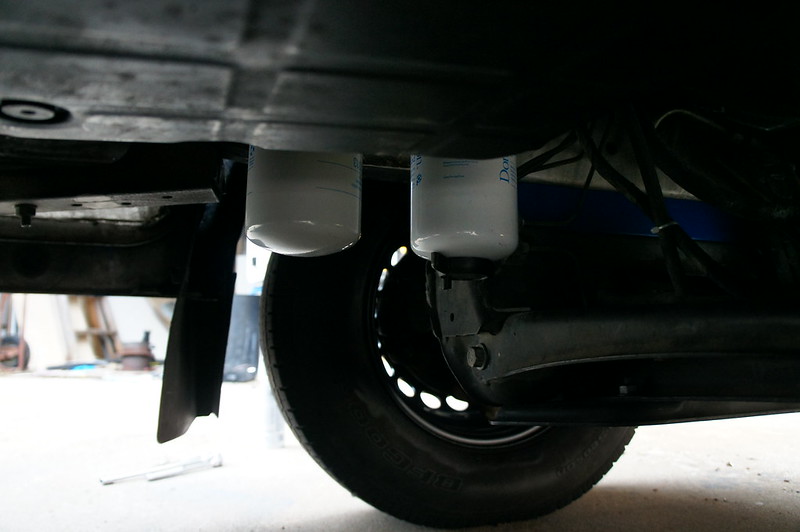
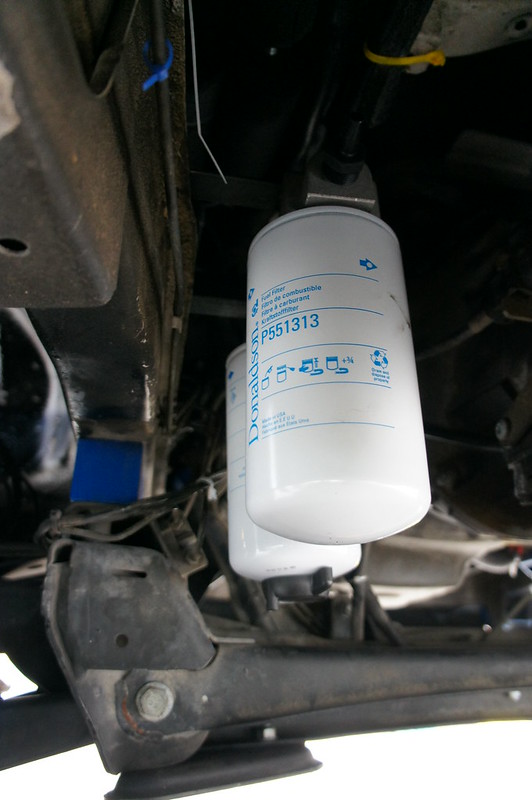
Here is the bracket for mounting the spin-on fuel filter assembly I made a few weeks ago. It mounts the driver’s side fender wall about 12” forward of the fuel tank. Clearance is good at about 18-20”. The filters are 5” or so above the lowest part of the fuel tank. The subframe assembly also provides substantial bash protection. I could have mounted the filters higher, but the D5/isotemp coolant lines are directly above the filter which drops it down about 3”


Here is is installed.  Hopefully this will eliminate some of my fuel quality concerns.  


As a plus, filter changes take only a few minutes, with much less cursing. I started the van up earlier, and no leaks on the first try.
 

Saturday, March 19, 2016

Spring Update #9 - Miscellanea

At this point we have no less than 10 van projects in work. Our garage is a jumbled mess. I am starting to get silent judging stares from Jen. Sooo... It's time to finish some of these items...  I am lucky if I can spend an hour or two on a single project, before having to switch gears on something completely unrelated that needs to happen first.  Order of operations or something like that.


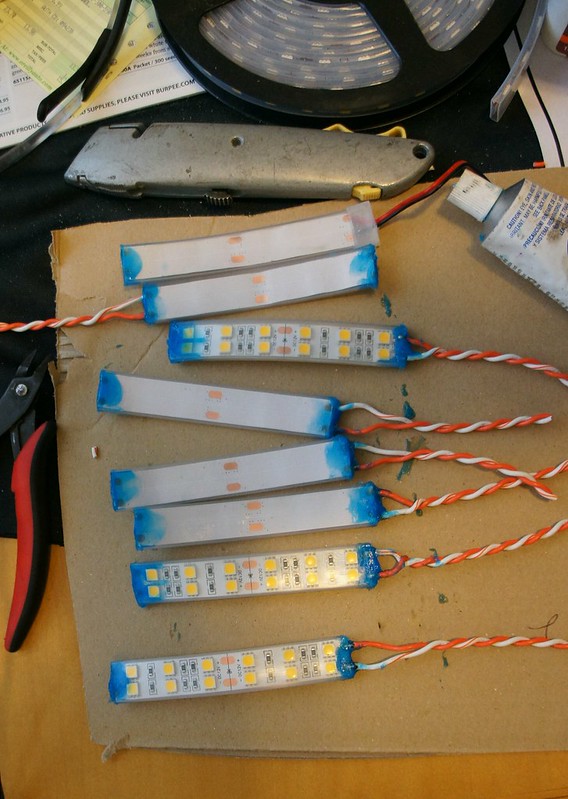
I made up some waterproof mini LED light strips. I am thinking a few under the van for indirect nighttime lighting. A couple under the bed and in the cabinets as well will make digging for items much more pleasant. I sealed the ends of the silicon casing with some automotive gasket maker I had lying around. It bonded to the silicone surprisingly well.


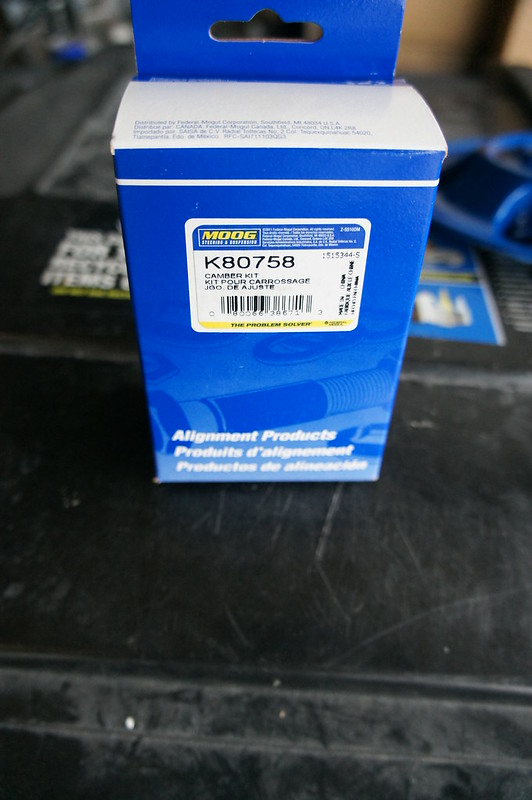
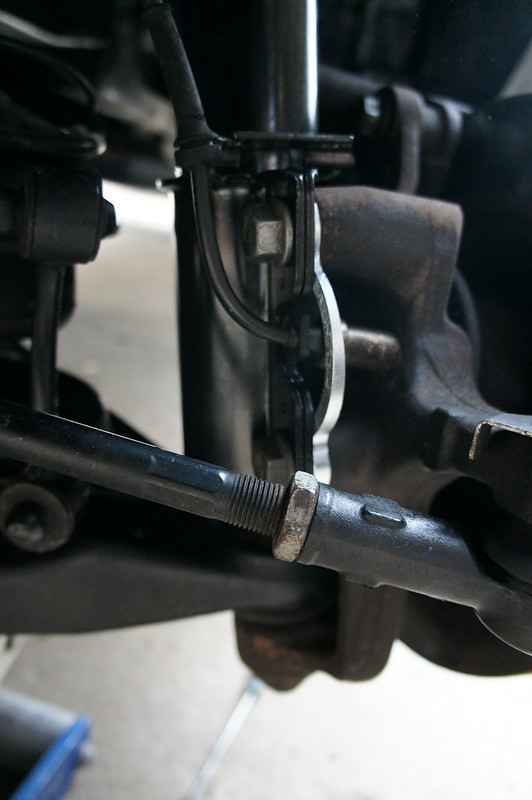
I tackled installing the camber shims this morning. Took about an hour per side. Use Loctite on the bolts.


Prior to the shims the camber was positive ~2.5 degrees. After it was 0.5 degrees. Factory spec is plus/minus 0.75 degrees. The van probably doesn’t need an alignment at this point, but I will do it just to be safe. New tires incoming and all.

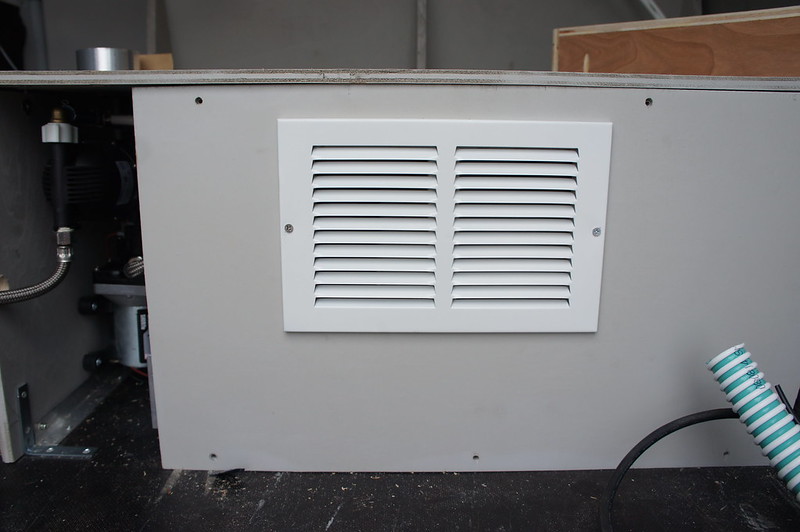
I am putting the finishing touches on the under bed enclosure. Hopefully I can close it up soon. I need to get the shower mixers hooked up for the final leak test. This requires cabinets which are still in paint. Which requires filling and sanding. Which needs....etc...  Still lots of work left.


I am so close to wrapping up all the major mechanical systems that I can taste it.