Tuesday, July 28, 2015

July Update

Late last year we set ourselves a goal of having the van complete enough for a shakedown run in September.   Why September?  In Oklahoma (where we live currently) the devils own hellfire descends from late June through the end of August turning the air into the consistency of a hot wet sock.  Needless to say with daytime high temps over 90F and humidity rarely dropping below 50% camping is not a desirable option.  Thankfully come September it gets cool enough that sleeping at night is quasi-reasonable.

So, 9 months later, where are we on our goal?

Well, we have most of the cabinets built but not yet painted.  Noticeably lacking at this stage the galley, which needs a counter top before we can complete its build out.

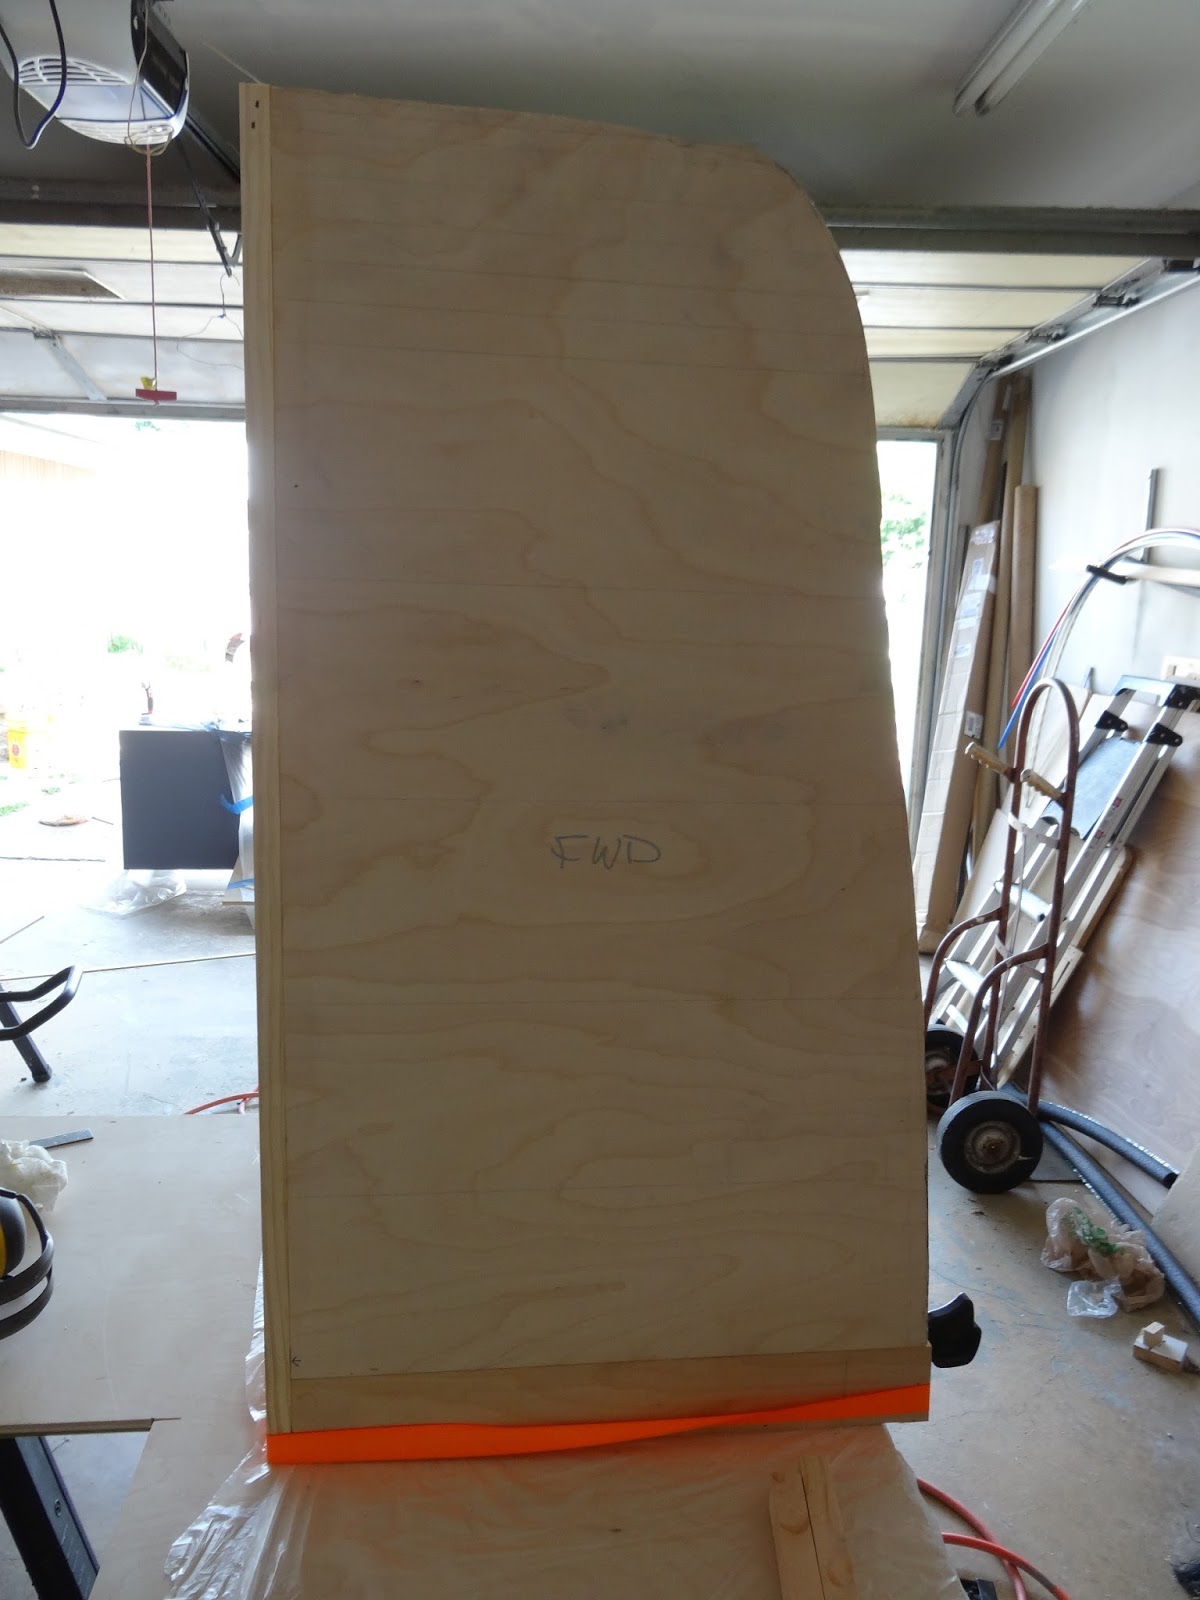
The drivers side vertical cabinet has been framed out.


The bench seat is ready for its upholstery.


Here the bench seat is getting its last round of structural reinforcement.  The aluminum angle is bonded with construction adhesive.  Several gussets were attached to the back wall in order to stiffen the backrest.  The bench is secured to brackets with through bolts.  The brackets are bolted to rivnuts in the van floor.  The same goes for the inverter and water tank.


 Here is the bench seat with one coat of acrylic alkyd paint.  This is the color we chose of the cabinets.  The exposed surfaces were smoothed with primer surfacer (3 coats with 220 grit sanding in between).


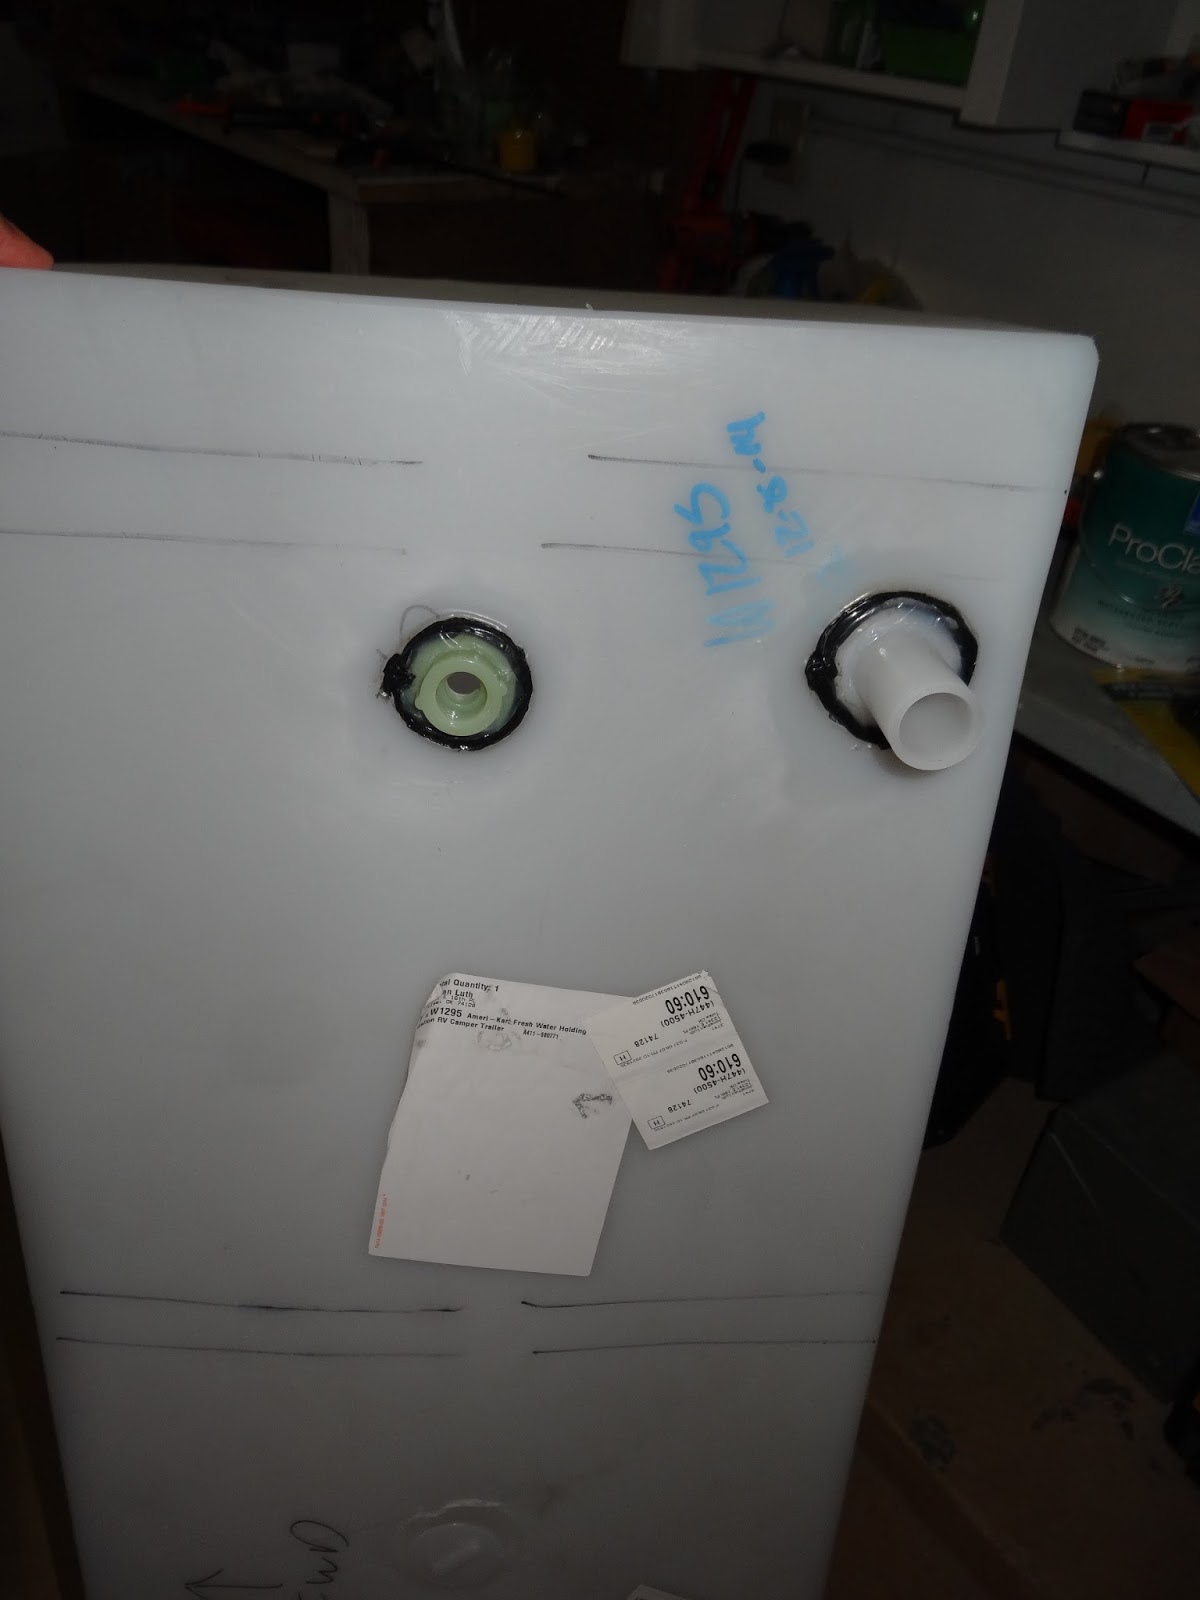
The water tank mounts have been fabricated, and the tank has its fittings welded on.


Here is the water tank in-situ with one of the hold down brackets.  The brackets will be backed with 1/2" and 1/4" closed cell foam to protect the water tank.


The water tank we chose is a 40 gallon unit from Ameri-Kart.  It comes blank with no fittings installed. Normally the fittings are spin welded to the tank.  However spin welding requries special tooling and a powerful router.  Having neither of these I picked up a plastic welder from Harbor Freight for ~$80.  The tank is made from polyethylene so I chose fittings and filler rod to match.  After a bit of googling and some practice we have a custom tank!  My total costs were about the same as a custom tank.  Difficulty?  Surprisingly low.


The water heater is ready to install, and I have an pile of hose and fittings to plumb it in with.


The over-cab cabinet has been framed in and is ready to accept the switches and rear view camera.  The visible brackets are anchored to the van with rivnuts.


Some of the major unknowns at this point are:

  • Indoor shower (pan, head, plumbing)
  • Air heater (location, ducting)
  • Curtains/shades (fabric, mounting)  
  • Bench Seat belts (math needed)
  • Gray water tank (will likely be a custom affair)

Will we make it to our shake down in September?  If we do the van will most likely be lacking a few of the desired options (cabinet doors, flooring, storage nooks, paint).  Of course, as long as the sink, cooktop, and bed work, we should be good to go!

Thursday, July 2, 2015

June Update - Electrical and Paneling

I am running out of creative names for posts!  So we will have to put up with boring and informative ones.


We got the bench seat fitted.  It was fairly difficult with quite a bit of gymnastics involved.  It just barely squeaked in.


The galley and bench fitment.


All the storage under the bench.


Here is a shot of the roof paneling.  3mm for the center panels and FGRP for the curved sections.  


It took a bit of convincing to get the FGRP panels to conform.  about 300 degrees F is a good temperature for bending.


The beginnings of the electrical nexus.  Inverter, solar controller, relays, fuses, 40lbs of copper...


And we have power!  Still lots of wiring to go though..


Here is the display panel and system control.  So nerdy, mmmm numbers.


 Up Next; Galley outfitting, Wall Paneling, table mounting, and maybe some plumbing?


Monday, May 18, 2015

Spring Update

A bit overdue, but welcomed nonetheless;  The van is making steady progress towards something camper-ish. 

We have almost finished the preparation stage, and are moving into the actual build-out.

Closing out the mechanical prep is an air system using a Viair constant duty air kit.  It is mounted beneath the van near the rear axle.  The purpose of this unit is to provide compressed air for inflating tires, and the air suspension on the air-ride seats that we just finished installing.  It will also power an air horn (yet to be purchased) and possibly rear air bags for leveling purposes.


While I was getting down and dirty I decided to extend the exhaust all the way to the rear.  The original exhaust ended just past the sliding door, the extension helps prevent exhaust from getting pulled into the cab at low speeds.


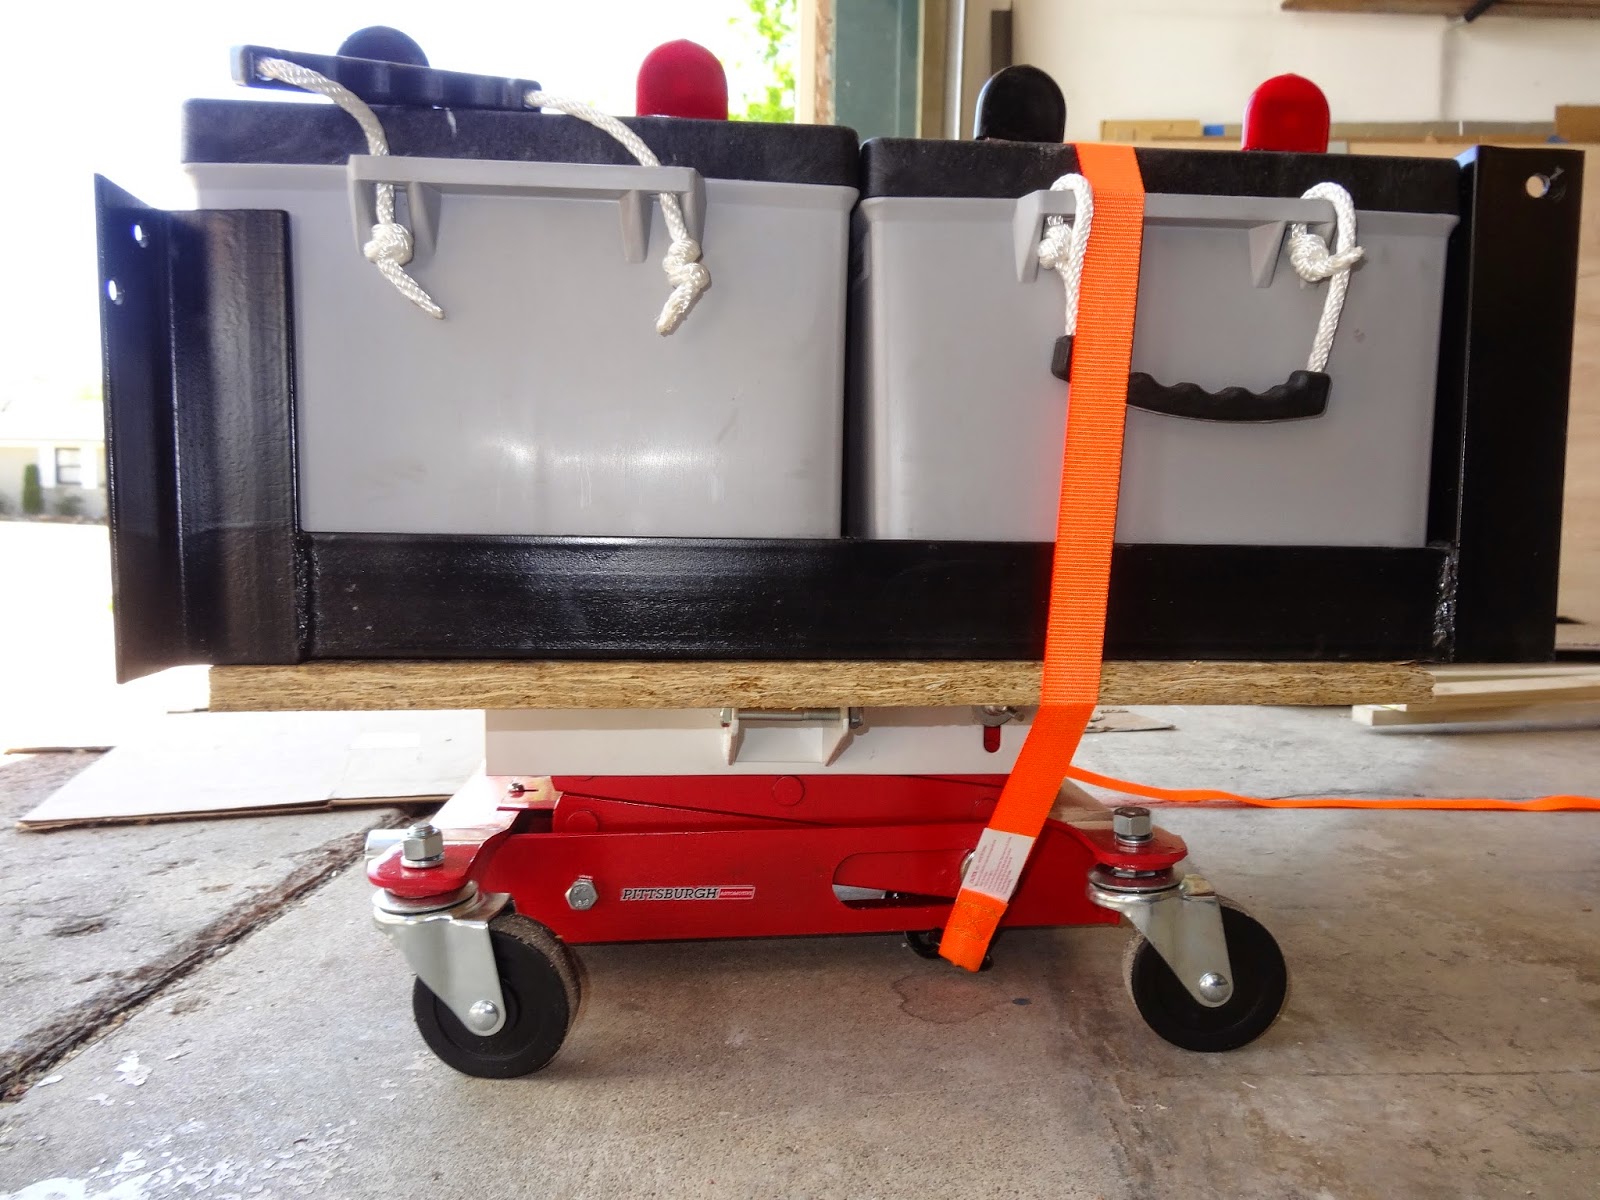
The battery bank has been installed and some of the cables made.  The bank weighs about 300lbs and is mounted aft of the rear axle where the spare tire normally goes.  Getting the batteries mounted was quite the ordeal.  I gave up on using pure muscle, and bought a transmission jack.  After that it went quite smoothly!  Never under estimate the value of correct tools.  Now I have to find a reason to use this tool again (can you see how I make more work for myself?).


A little nudge to get everything lined up....


You can see how tight the clearance between the batteries and the van floor is.  The goal was to put the batteries up as high as possible in order to prevent and reductions in departure angle.  I regret not leaving additional space, as the installing and routing the cables is proving to be difficult.


The interior walls/ceiling, and the hood have been insulated with Thinsulate automotive insulation.  This is a hydrophobic noise blocking material that resembles standard fiberglass (minus the itchiness) and has an R value of about 6/inch.  Also the cab floor and step wells have been insulated with ½” neoprene foam.


I finally got the motivation to install the power lock wiring and controller.  The van now has fully functional power locks!


The head lights were fairly dim and the lenses dully.  I sanded and painted the lenses with UV resistant clear coat, and upgraded the bulbs to HID lights.  The kit was less than $60!  The lighting is MUCH improved.


Just recently we started building the galley cabinet.  It will accommodated a double burner induction cooktop, 15in sink, and an enormous C115i Vitrifrigo fridge.  These cabinets will all be worked to a smooth finish and painted with a gray semigloss paint.  The once cavernous interior is rapidly becoming crowded.


The bench seat is coming along.  This cabinet will span the entire width of the van.  It will accommodate the inverter and electrical distribution box.


Unfortunately, it doesn't fit! There is a small raised area (about 3/8s of an inch) on the aft edge of the sliding door.  The bench wont clear it, so at this point we cant get the cabinet into the van.  We have a couple of positions left to try, but the last resort is to shorten the cabinet enough to fit pas the door.  I would really hate to do that, mostly because wasting space feels nearly criminal!


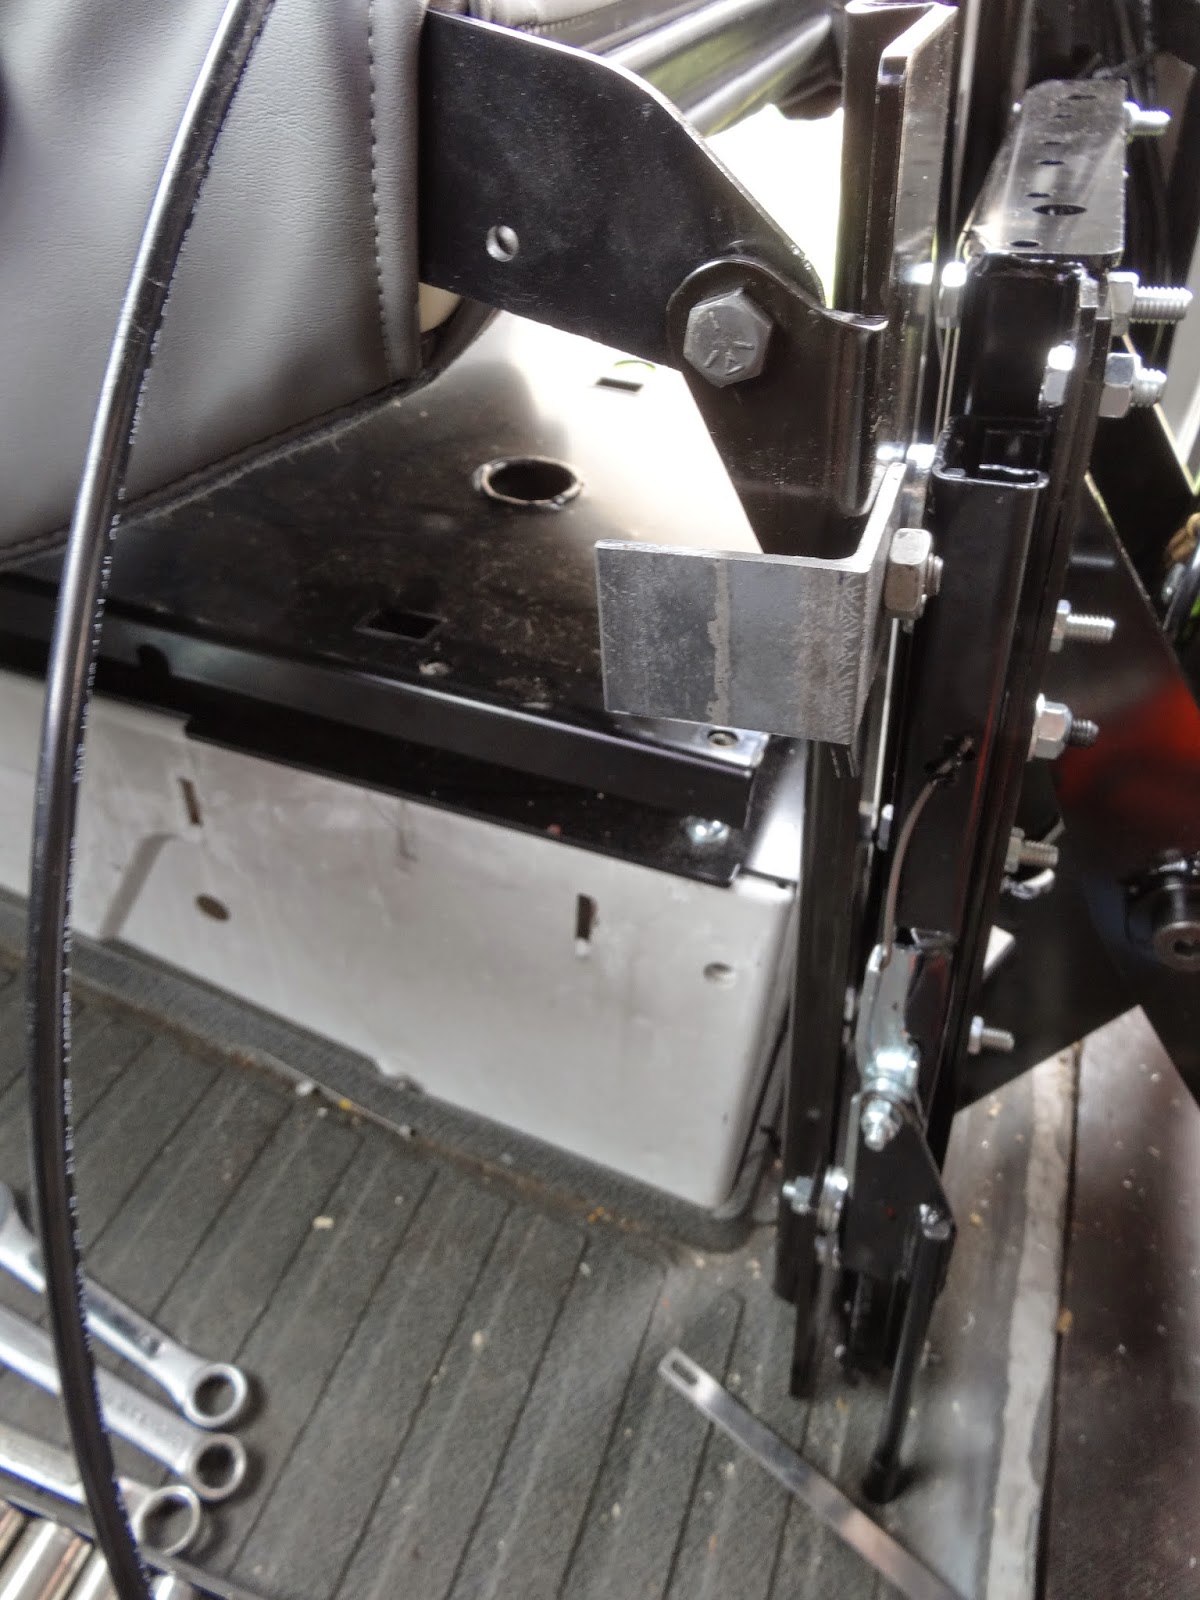
About 6 weeks ago we ordered some new seats for the van.  Jen has this requirement of adjustable headrests (which usually means expensive).  These new seats have an integral air ride suspension with 4" of travel, dual armrests, and 3 way adjustable lumbar.


These seats don't have seat belt mounts on the seat themselves (instead they are on the mount plate). To get around the belts pulling when the seat moves I am adding mount brackets on the upper seat frame with tie straps to the mounting plate.


Here are the original seats that are being replaced.