Saturday, March 12, 2016

Spring Update #7 - The Home Stretch

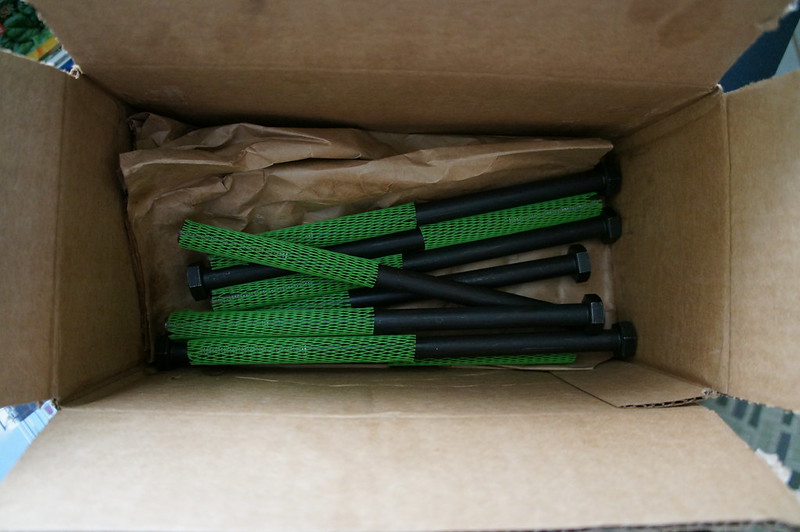
Here are the replacement subframe bolts with correct pitch. I wanted to get the sprinter off the jack stands ASAP, so I opted for earlier delivery of unplated bolts. These will get several coats of corrosion resistant primer.  Metric hardware over 200mm in length is apparently difficult to source.


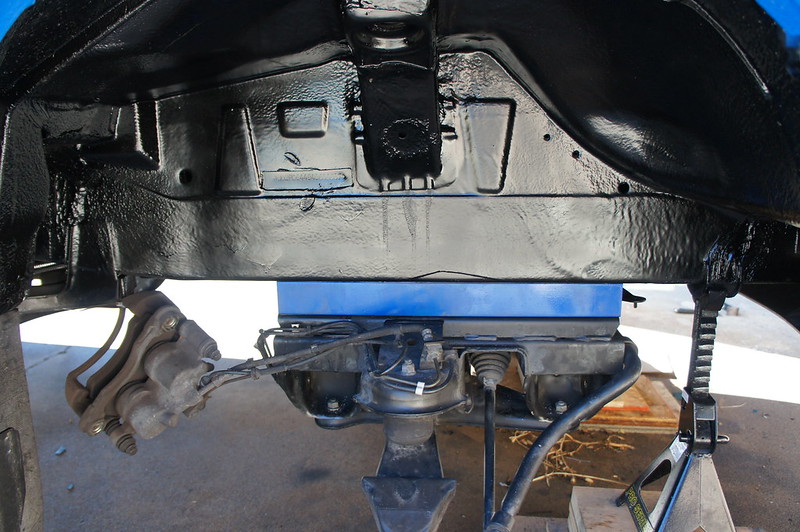
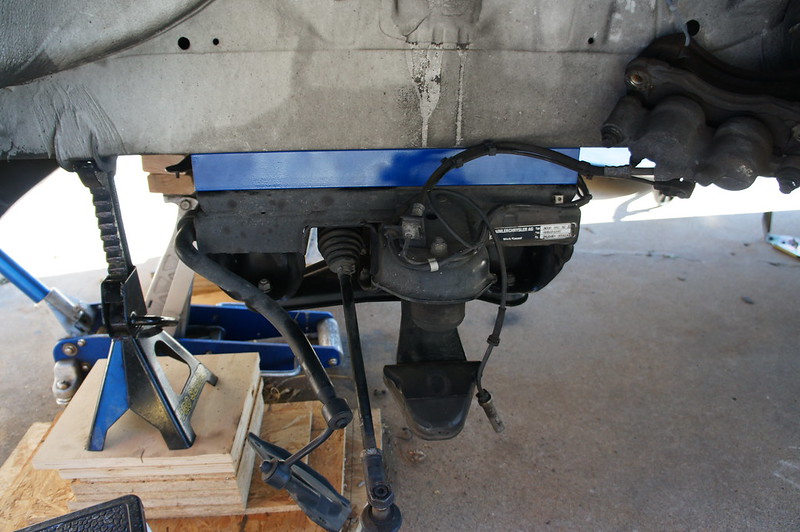
Here is the subframe lift spacer installed.   My back still aches thinking about all the bolt torquing.


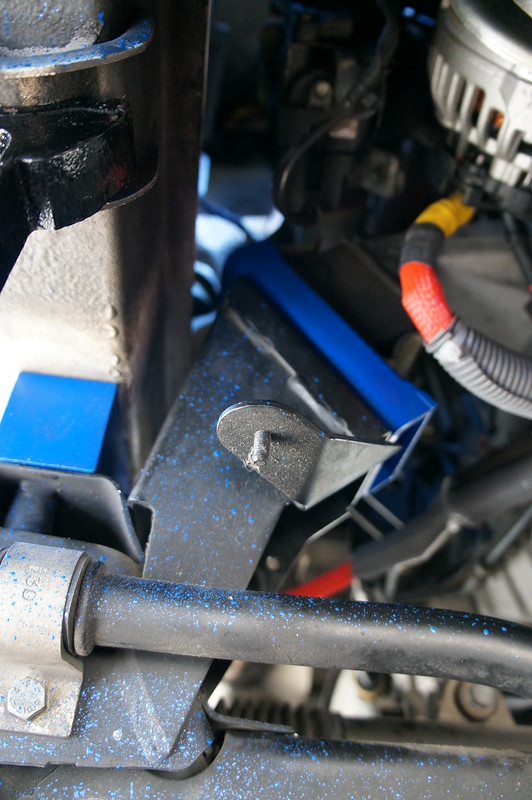
Here is a shot of the engine mount spacer along with Monstaliner overspray.


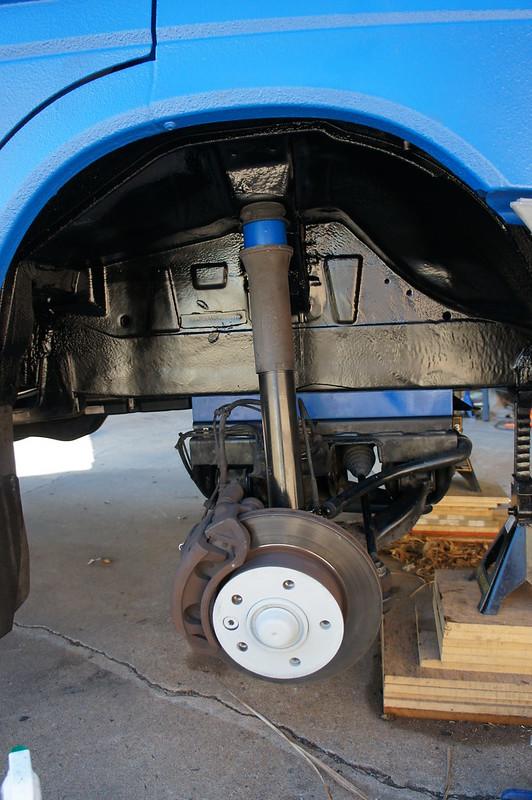
While I had the suspension out I took the opportunity to clean and paint the wheel wells. I checked all the bushings and everything was nice and tight. At only 100k miles there really isn't much work to do.  I replaced the shock mounts just because I could.
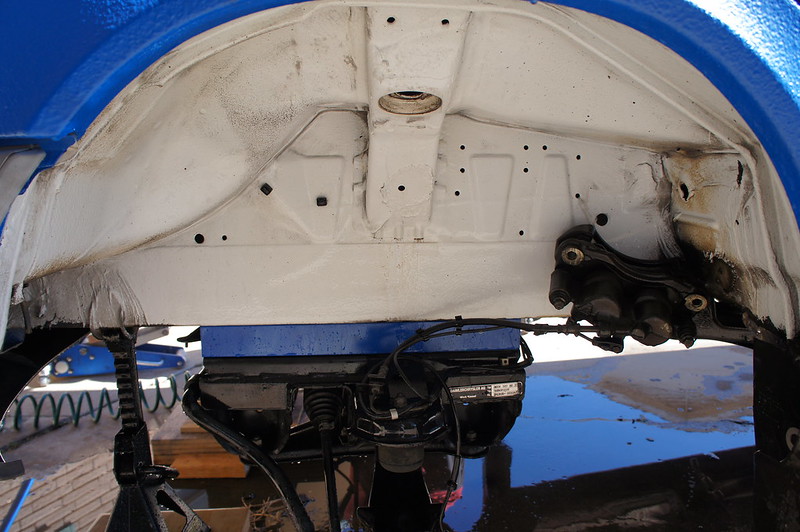


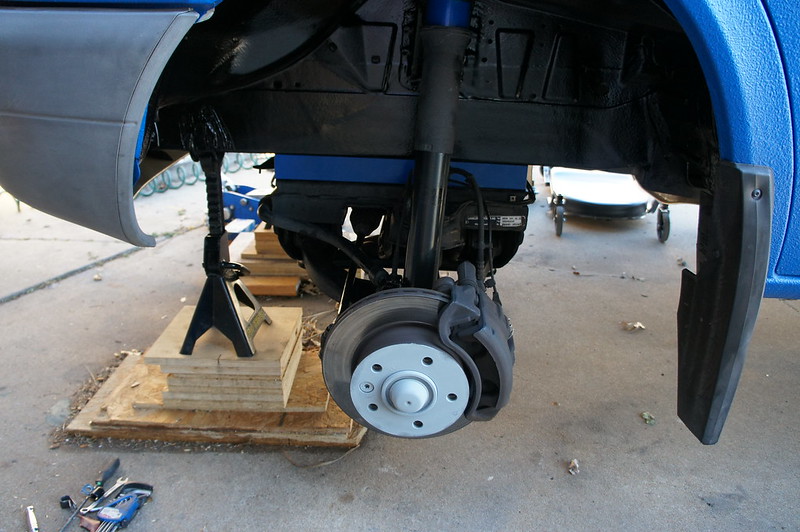
Here is the strut spacer installed. I put some zinc primer on the hub mating surfaces.
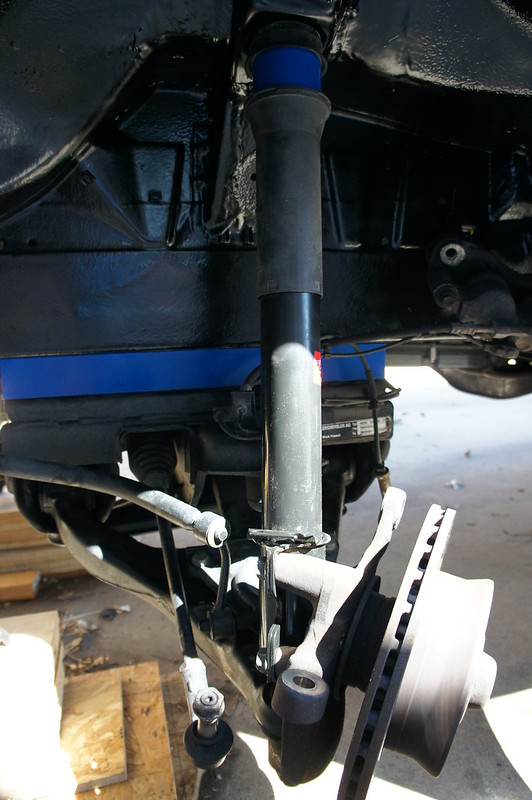


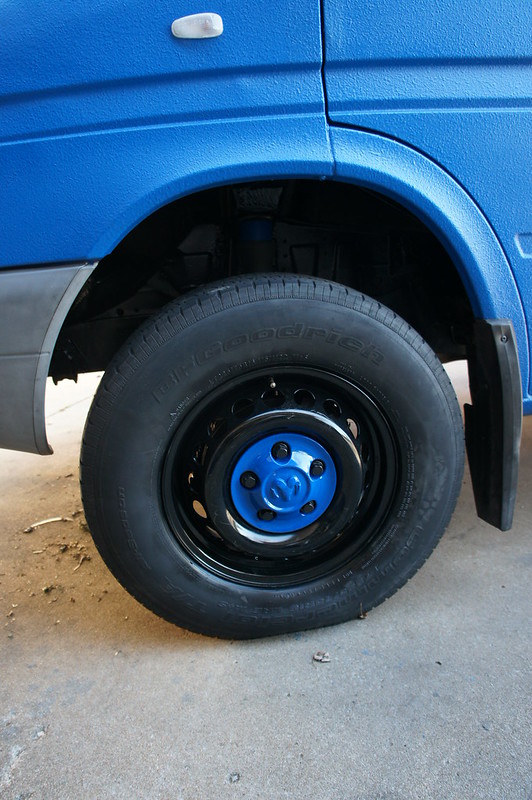
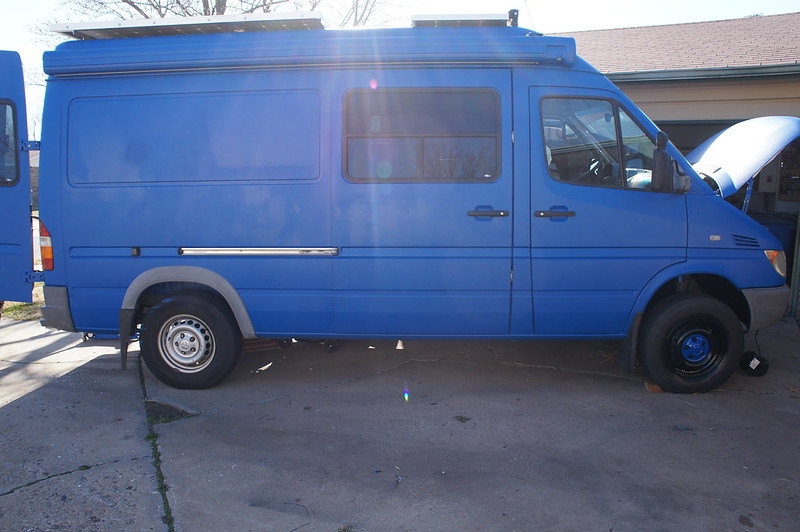
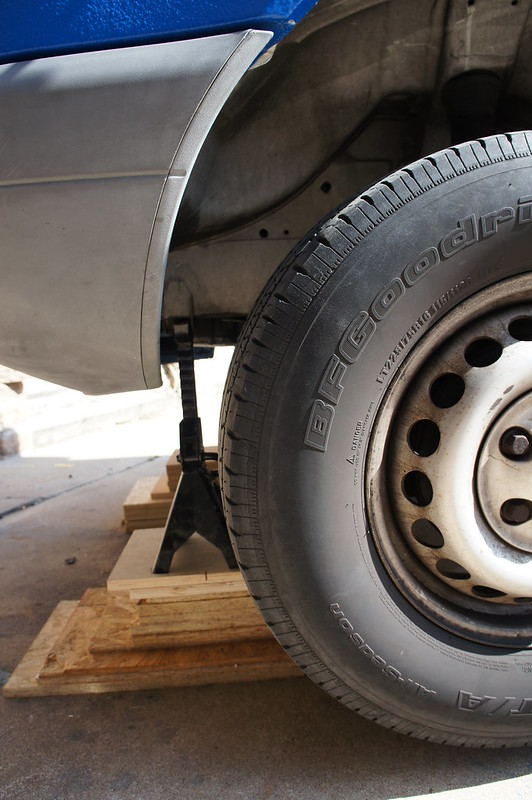
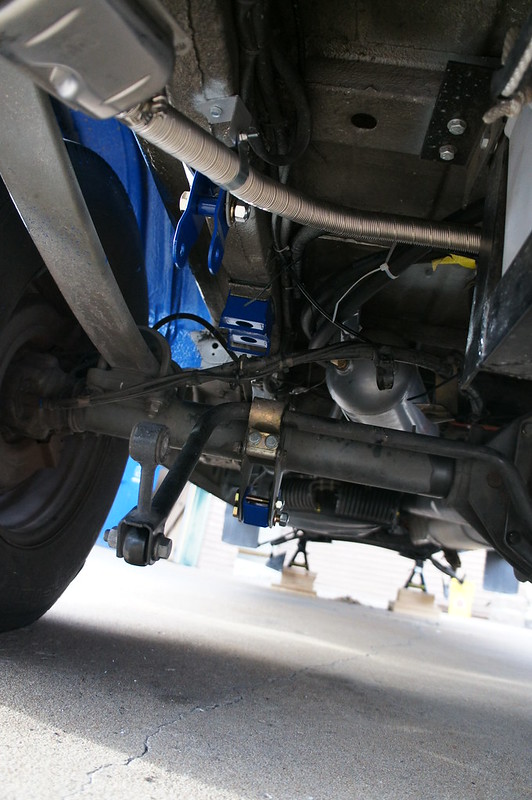
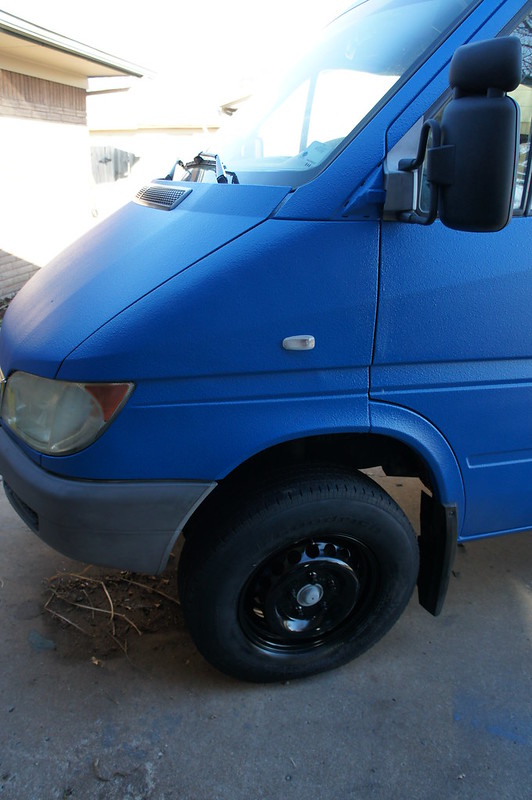
Here are some shots on the ground. The rear lift blocks are not installed yet.  Notice the excessive positive camber.  As the suspension settles some of this will go away.  But correction shims will be needed.  I will install those myself prior to new tires and alignment.


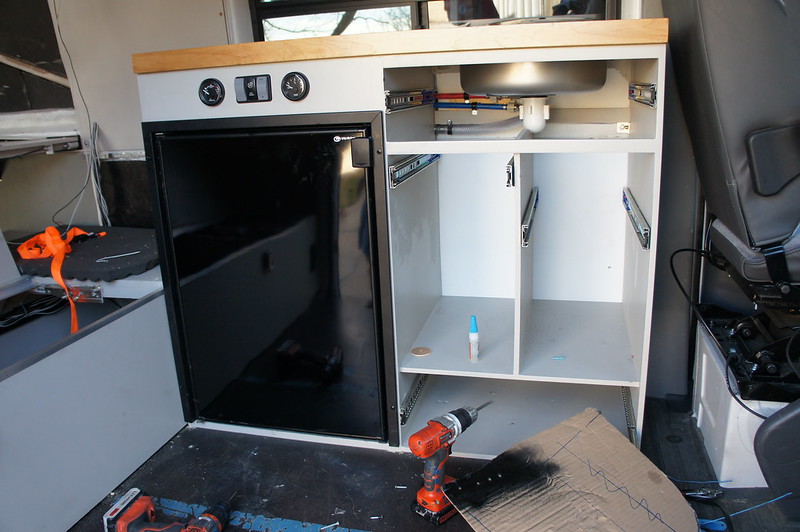
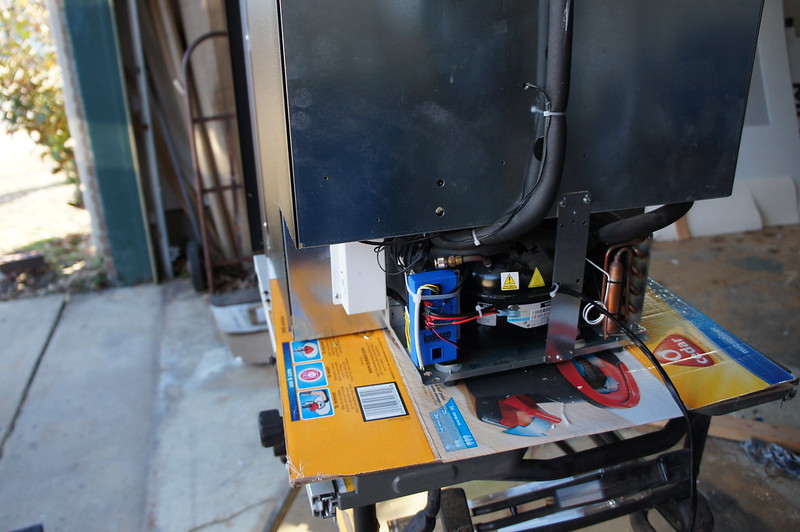
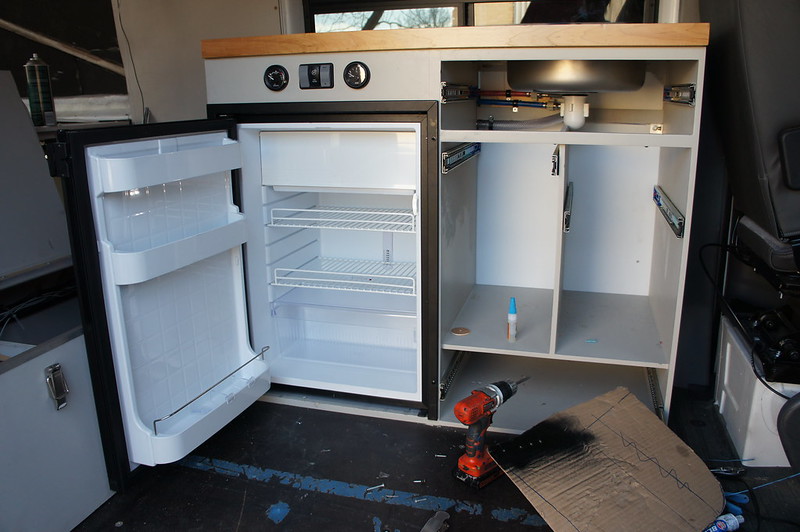
I had a couple hours free on a Sunday afternoon. So I finished insulating the D5 coolant lines. I also ran the vacuum line for the bypass valve. This allow me to reinstall the gray water tank. Which means I can finally install the fridge!  This van is a freaking jigsaw puzzle at this point.  I really hope I don't have to disassemble it any time soon.


We are entering the home stretch, the final straightaway, (insert athletic metaphor here).  Once the cabinets are painted, we can conduct final assembly.  At that point we will most likely start getting our affairs and possessions in order for the exodus from working life.  Soon....

Tuesday, March 8, 2016

Spring Update #6

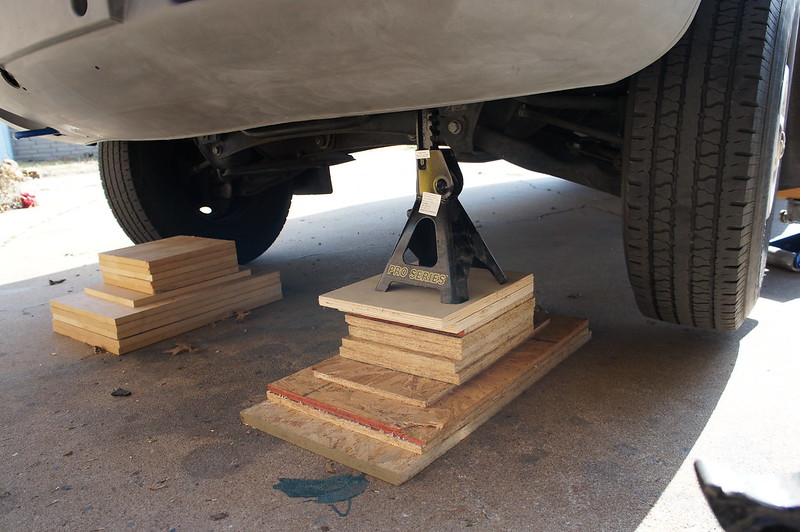
I started working on installing the front lift kit. I needed about 7” blocks under my short-ish jack stands in order to get the tires off the ground. The kit install proceeded smoothly, with no seized bolts or other discrepancies. However, the included M12x1.5x220mm bolts that secure the subframe and spacer were actually 1.75 pitch. So after exhausting any local source options I decided to put the lift on hold. The vendor is working on getting correct bolts to me. 


The shocks/struts on the van were original and still and great shape at 100k miles.  Those shock manufactures recommendations of 60k mile changes are full of it. 

I did as much of the rear lift kit install as I could without jacking the rear up. Again fit was good. I needed to tweak the sway bar attach bracket to get the spacer to fit. 


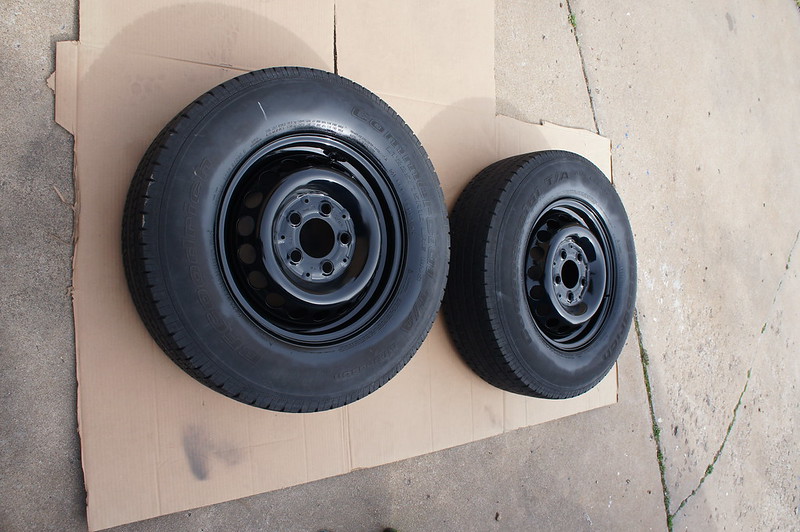
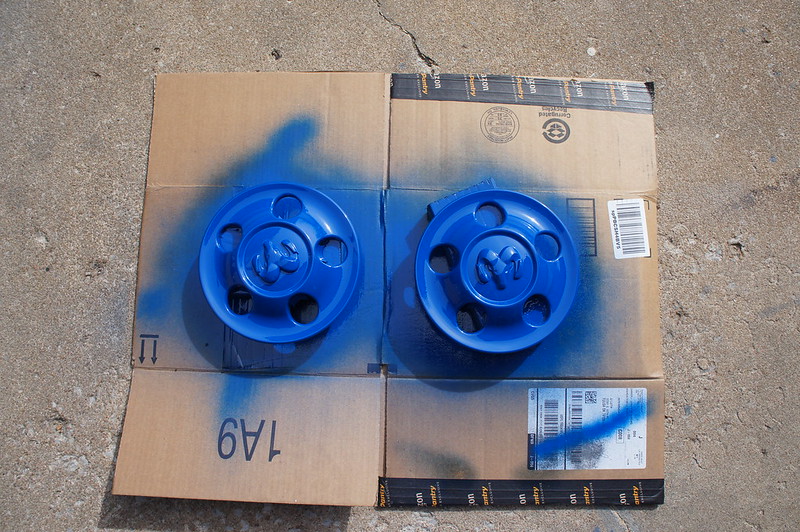
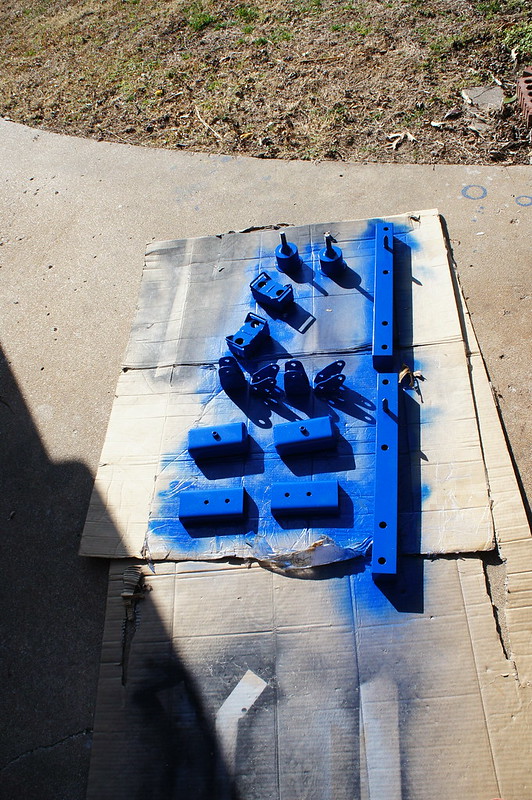
While I wait on bolts I decided to paint the rims. Black for the wheels, and blue for the hubcaps. The lift kit parts also got a coat of matching blue. A couple of coats of rattle can clear coat will add durability.


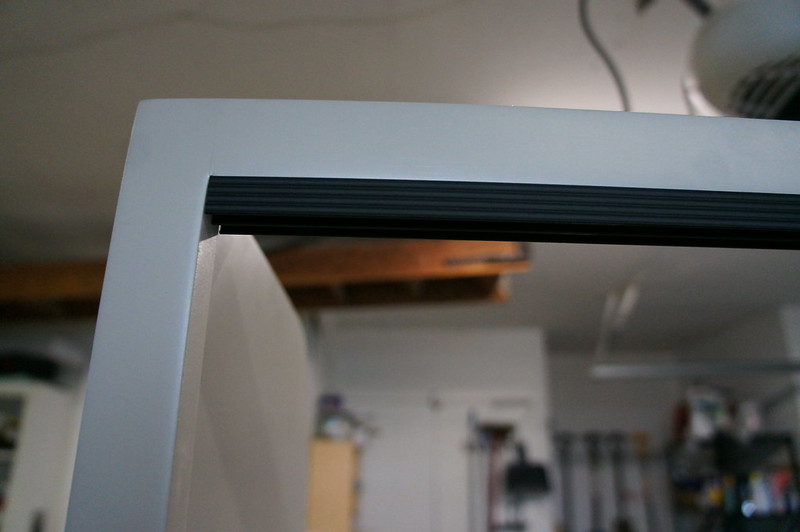
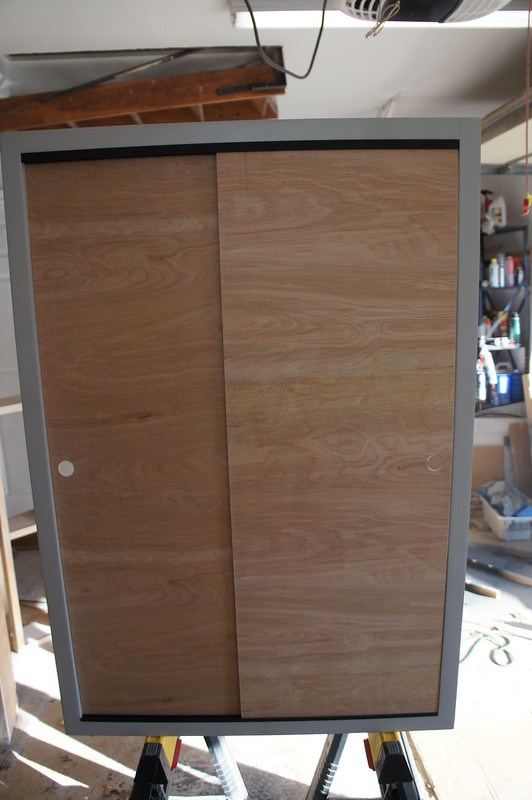
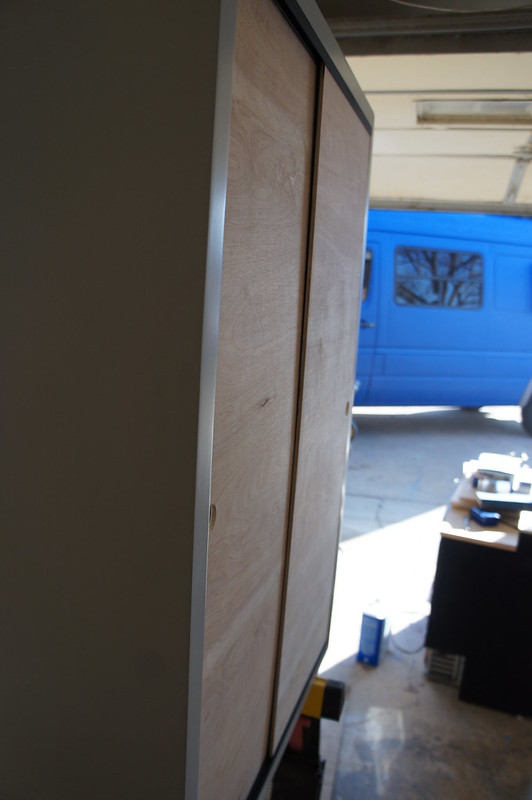
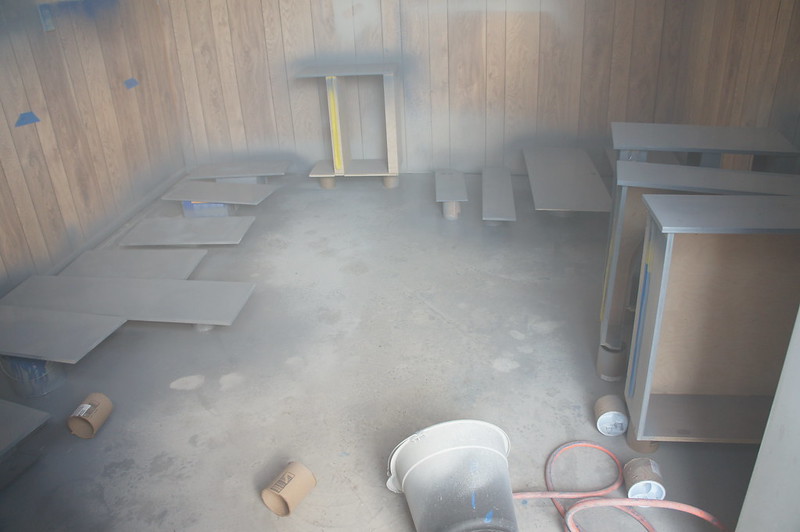
I installed some sliding doors in the vertical cabinet. We also prepped and started painting the remaining cabinetry. It will take at least a month to get them finished. I was going to install the fridge, but with the van on jack stands I will hold off for now. 


Saturday, March 5, 2016

Spring Update #5

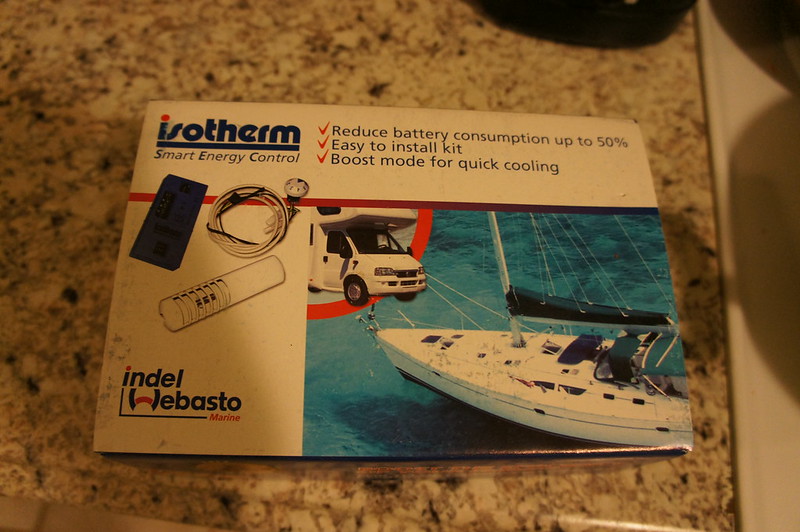
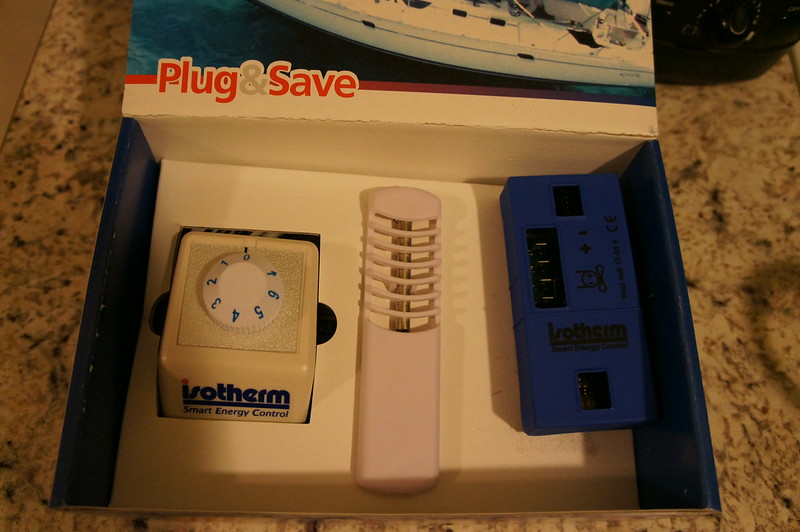
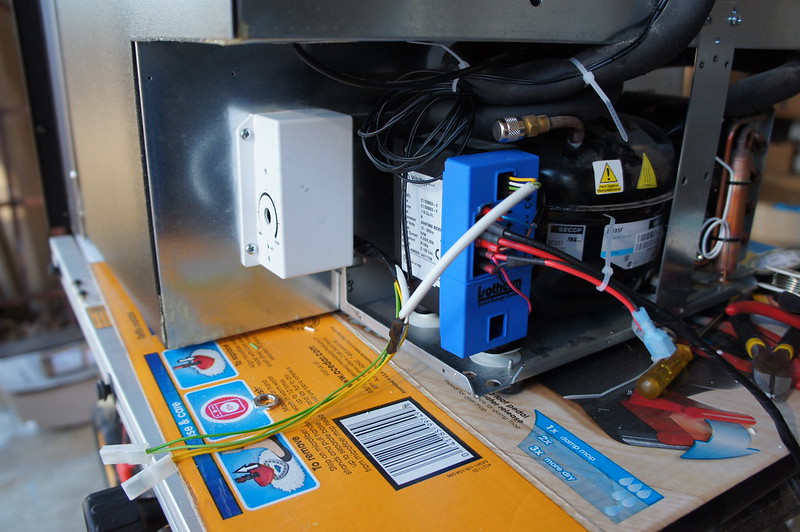
I received the Isotherm Smart Energy Control (SEC). The box contains the control unit, temp probe, and control dial.


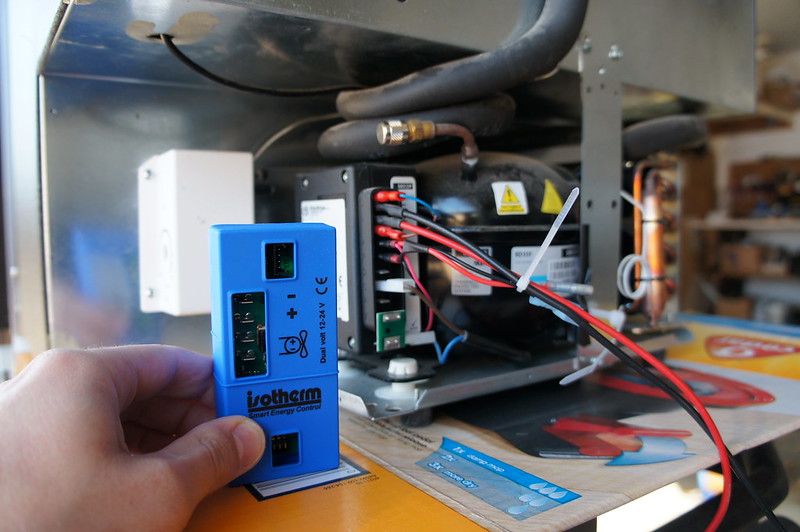
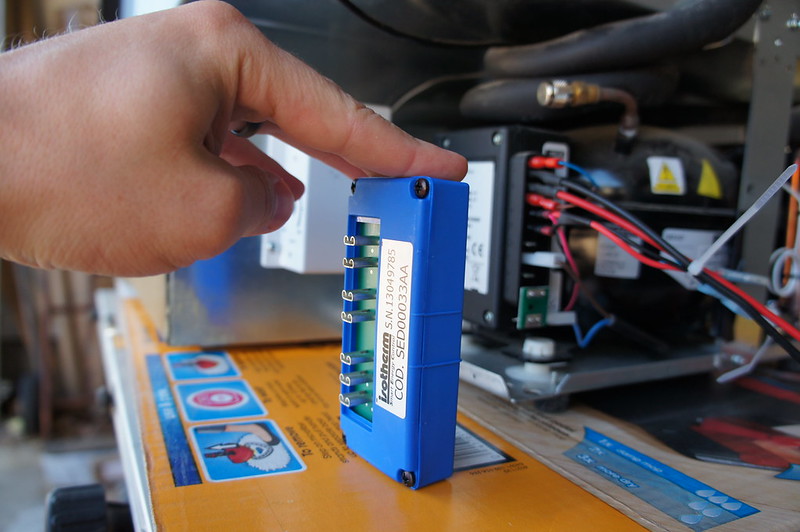
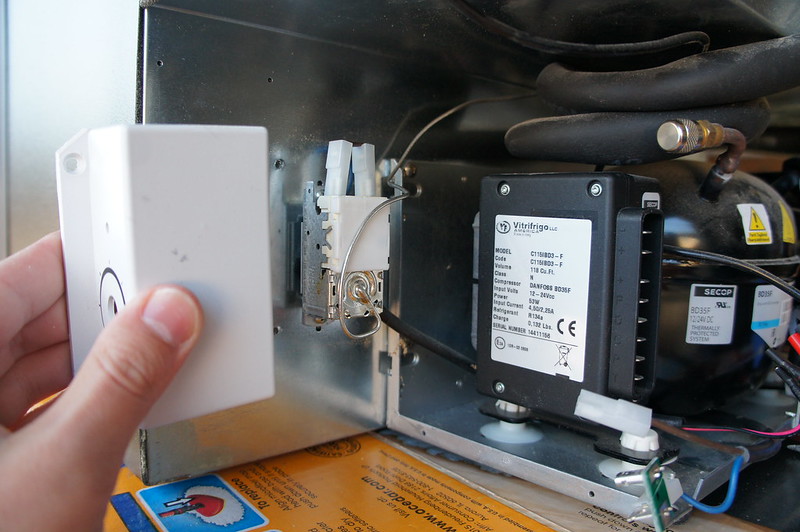
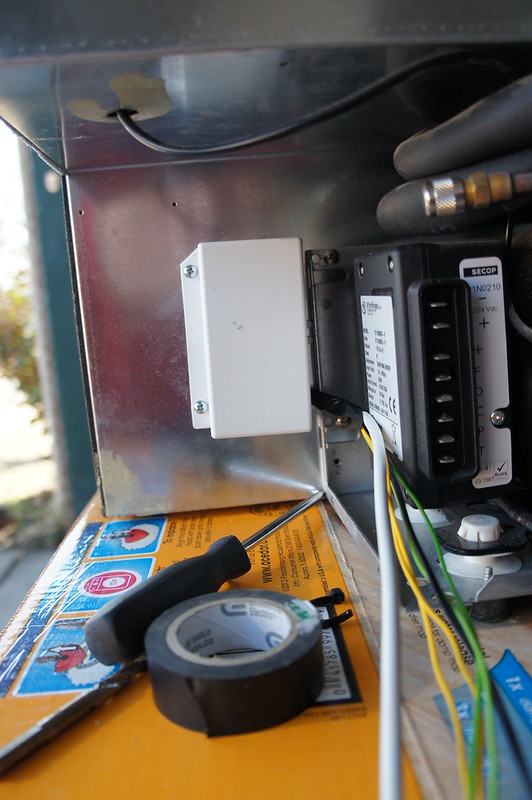
Here is the SEC control unit next to the terminal block for the Danfoss/Secop control unit.


The female spade connectors on the back are quite tight. In order to get the SEC unit to fully seat I had to gently spread the terminals open and apply dielectric grease.


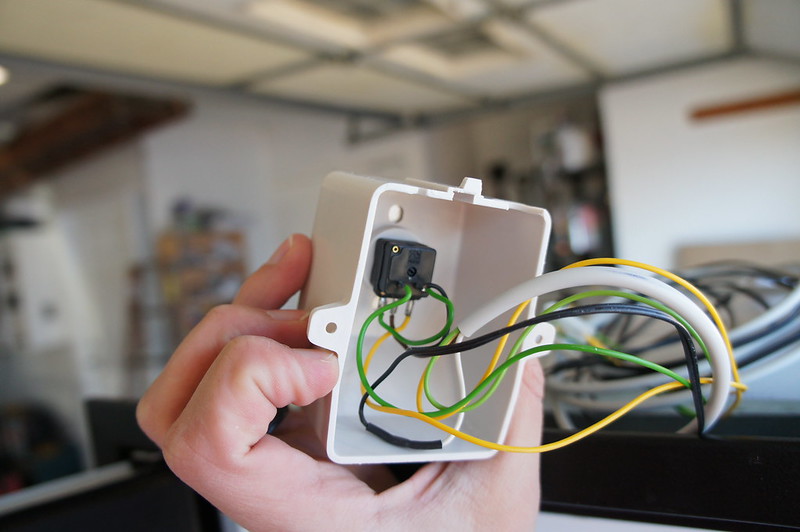
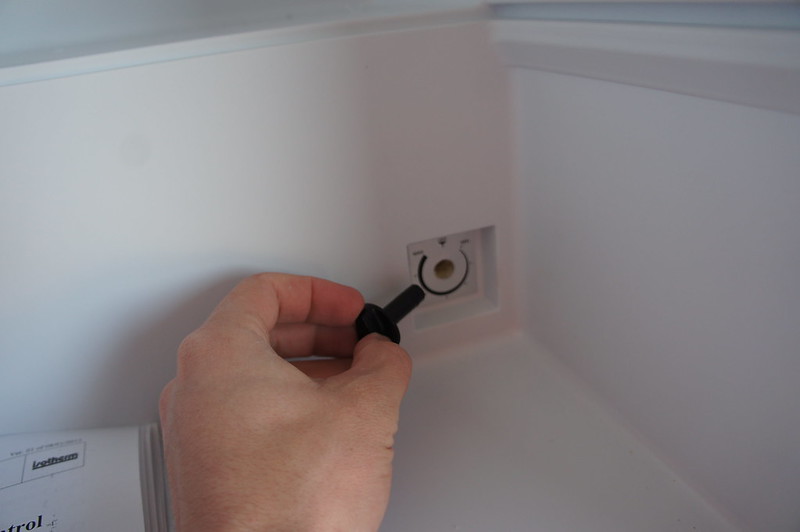
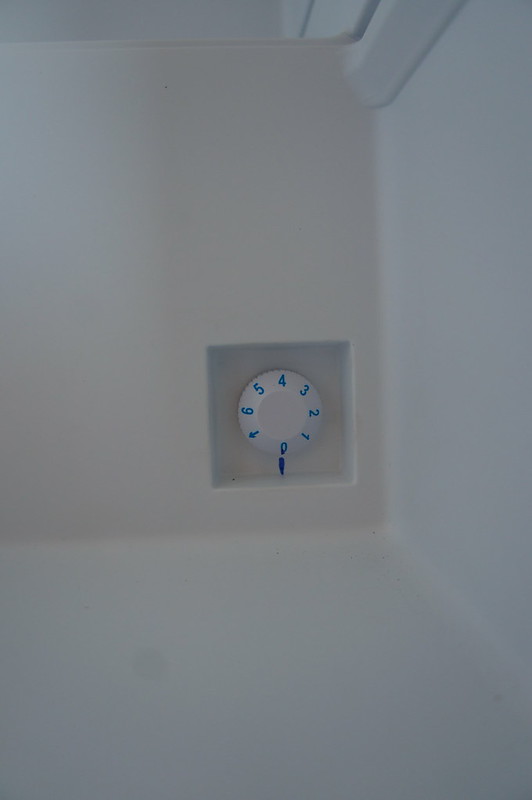
The SEC temp control comes with its own mounting box. But its big and ugly. The stock control knob/thermostat can be removed on my fridge (Vitrifrigo). I used the knob extension with the SEC knob in conjunction with the stock mounting plate. This allowed me to use the digital control in the same location as the stock mechanical one. I cut and spliced the harness to remove the extra length. I completely removed the old thermostat. The SEC is lightyears ahead of the clunky mechanical unit. This should be a stock option on all Danfoss fridge units.


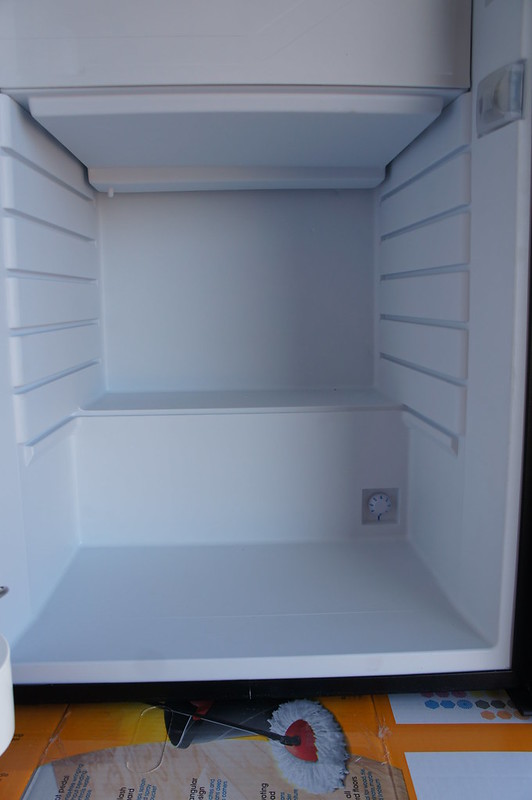
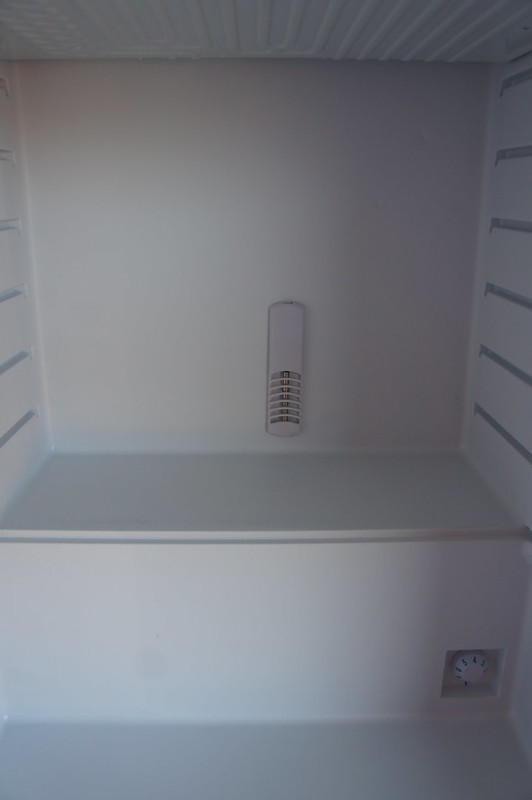
The temperature probe is a thermistor. The instructions say to mount near the bottom and away from the evaporator. The housing was small enough to fit behind the shelving. Two 0.25” holes for mounting and 1 clear through for the wiring.


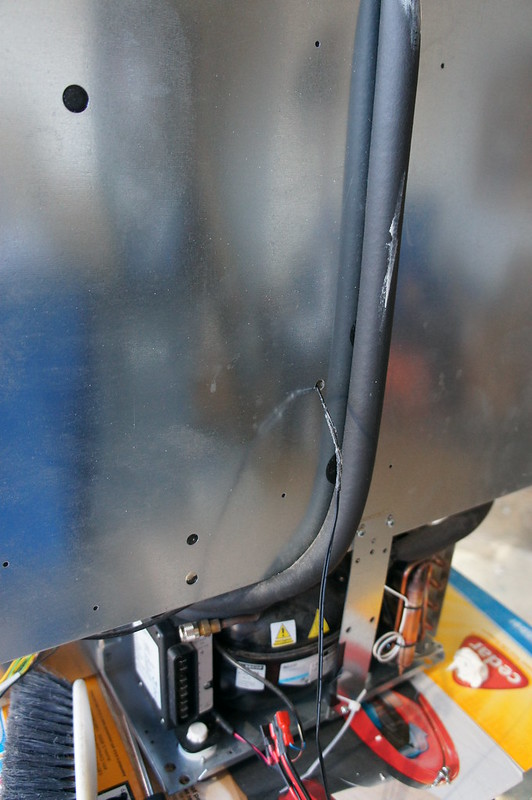
I reused the original cover and connected everything up. The original harness has splitters on the power feed for the interior lights. It was a tight fit, but a bit of material off the SEC case made them fit. I filled the holes in the fridge insulation with the supplied mastic/putty.


I have the unit connected and running currently. Once it gets down to temp I will check the interior temperature. If necessary, the offset can be adjusted. The reason for this is because during the overcool cycle the fridge gets to about 33F. Any drift in the thermistor will result in frozen food.


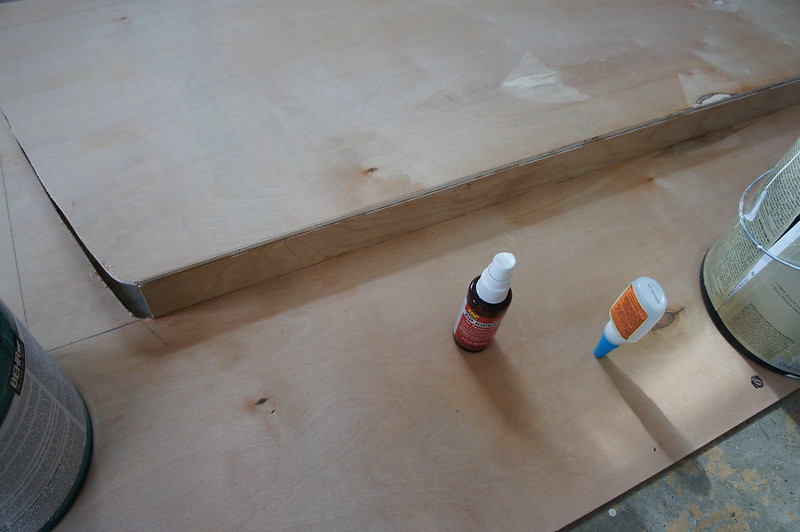
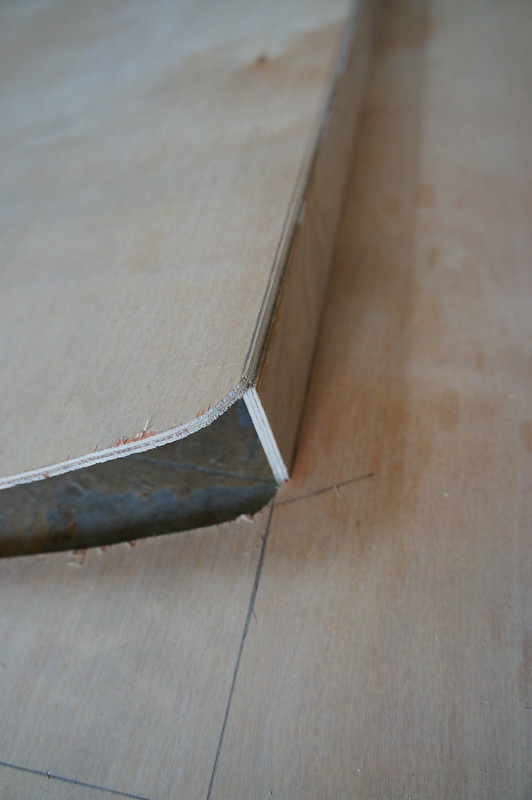
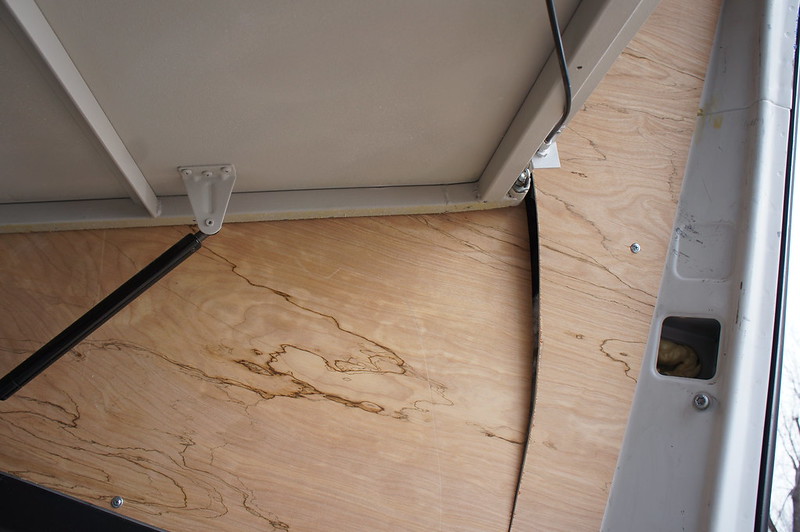
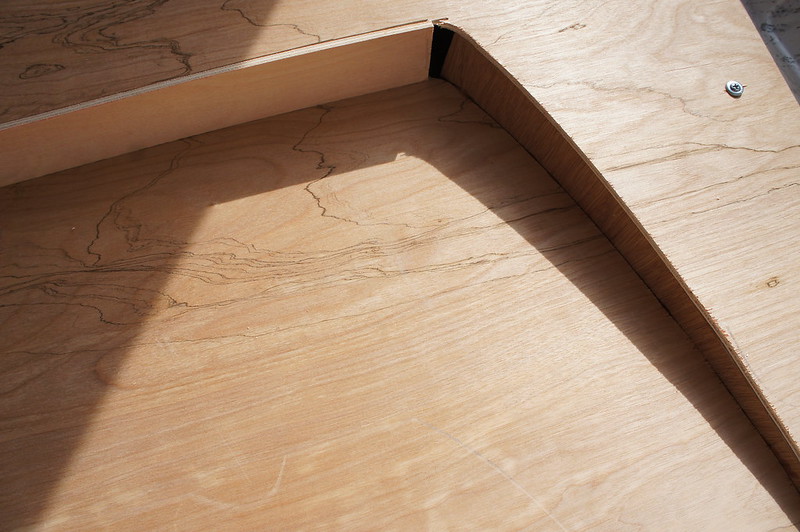
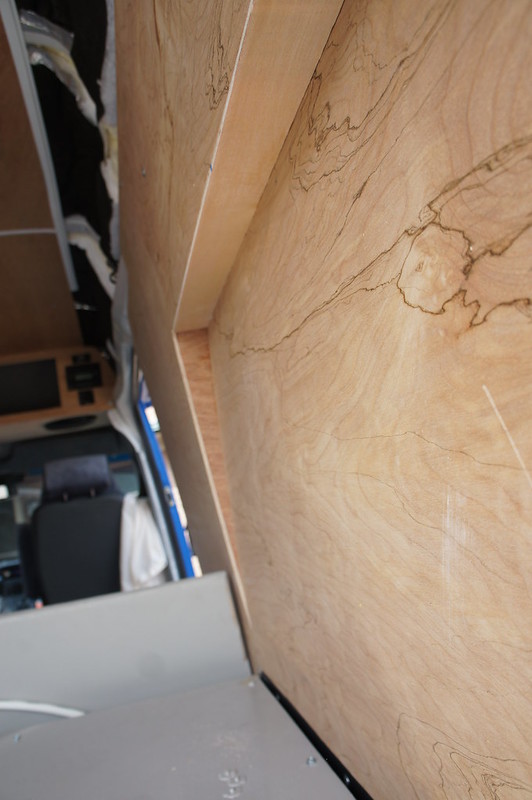
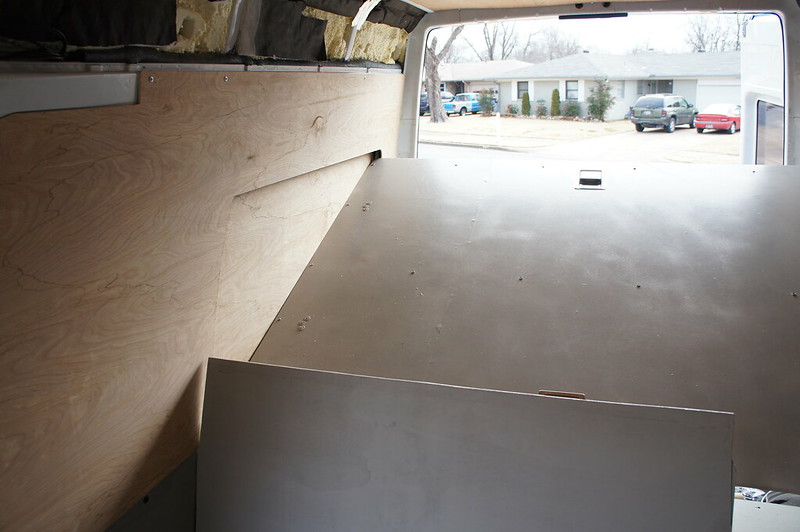
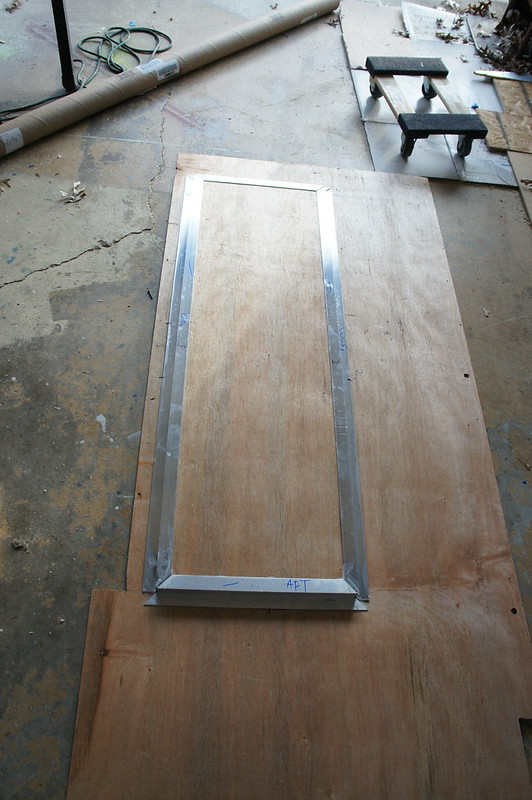
I finished remaking the passenger side wall panel. I used 5mm plywood for the base. I needed a 2.375” offset to clear the bed at full swing. Due to the thin material fasteners were not an option. The panels size made clamping difficult. I opted to use CA glue with accelerator. This allow me to bond the edging in a matter of minutes with no clamping. Pretty strong stuff! I guess CA glues are popular with woodworkers to reduce assembly times.


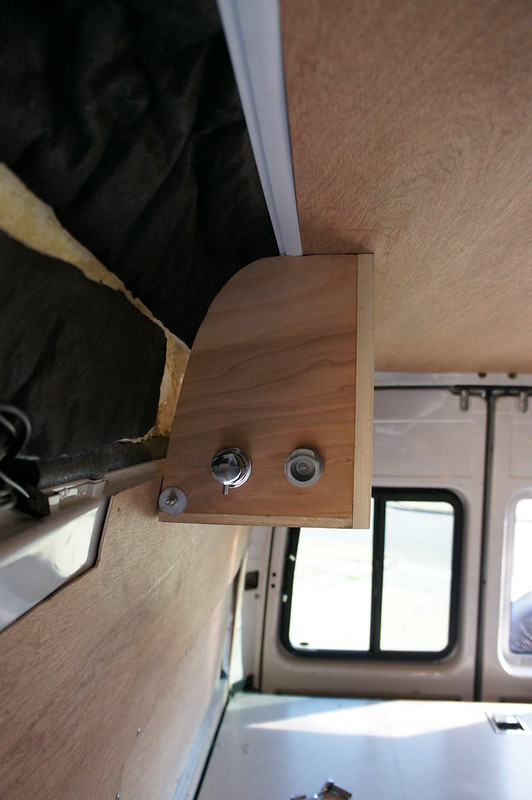
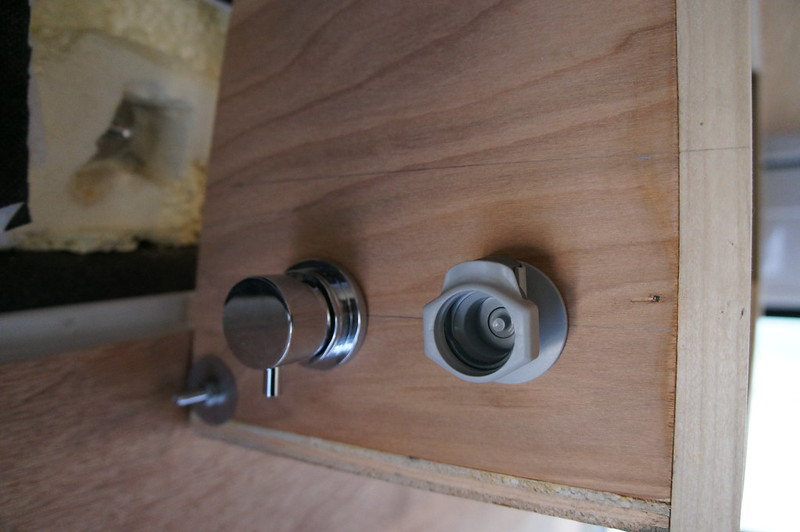
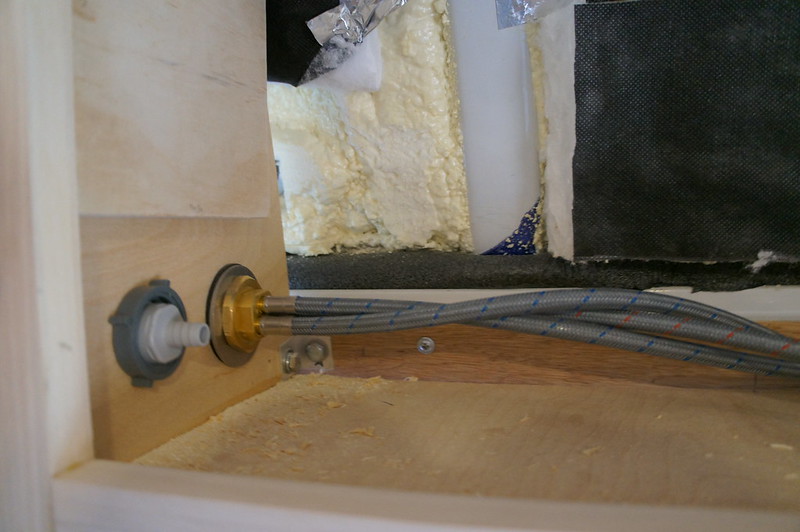
I added a shower mixer and disconnect above the bench seat. I used the following mixer combined with valved quick disconnects from McMaster Carr.

http://amzn.to/1Lu7MHY


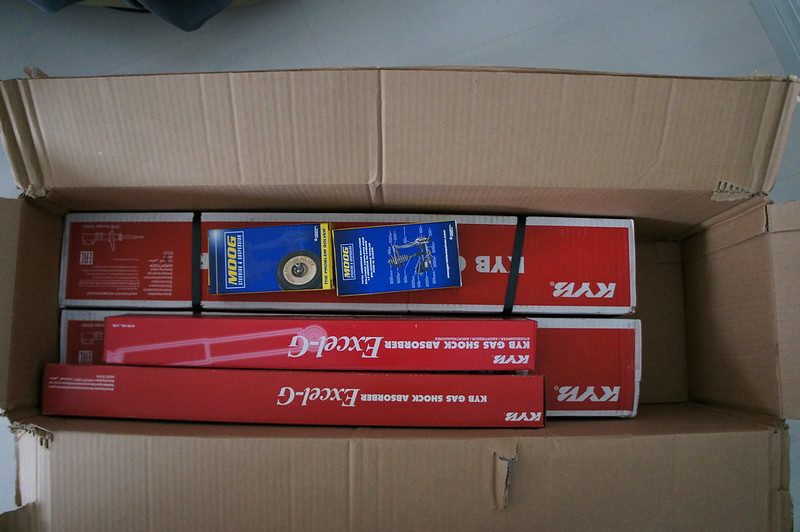
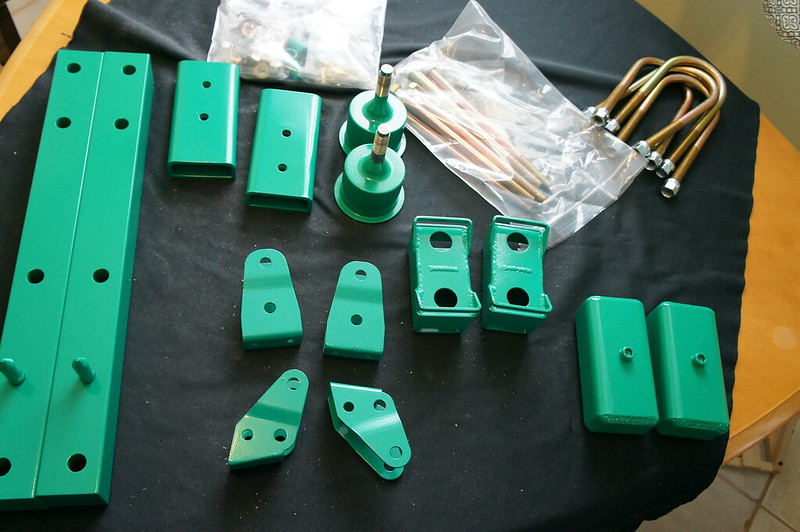
The Lift Kit, shocks, and Struts arrived! So I will likely be attempting installation shortly. Estimates put the installation around 16 hours. Hopefully I can beat that. I have the fridge spacers made, once they are painted I can button up the Galley for hopefully the last time...
Tuesday, March 1, 2016

Spring Update #4

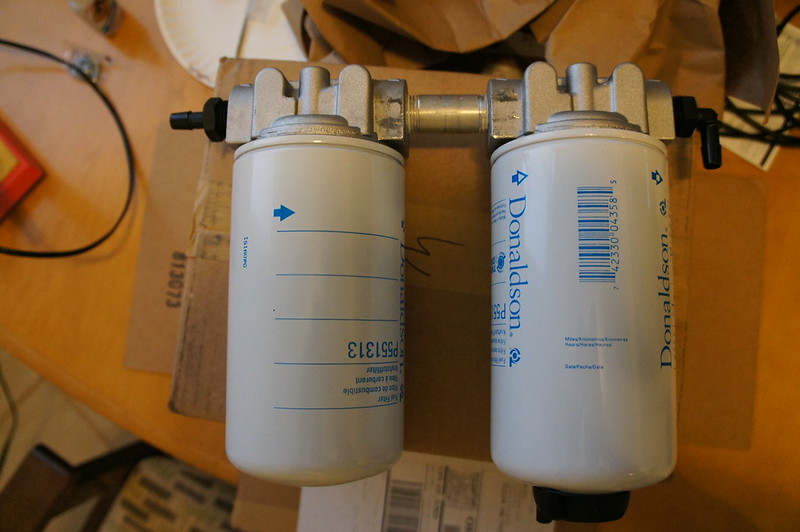
I have the add-on fuel filters in hand. I am working on possible mounting locations. Looks like the only place with decent room is under the driver’s feet. The right filter is a 10 micron with synthetic water separation media. The left filter is a 3 micron final filter. I looked into centrifugal, and vortex coalescing filters, but finding a unit with the correct flow rate and pressure rating was nearly impossible. Well, if I have 1000$ to spend, maybe...


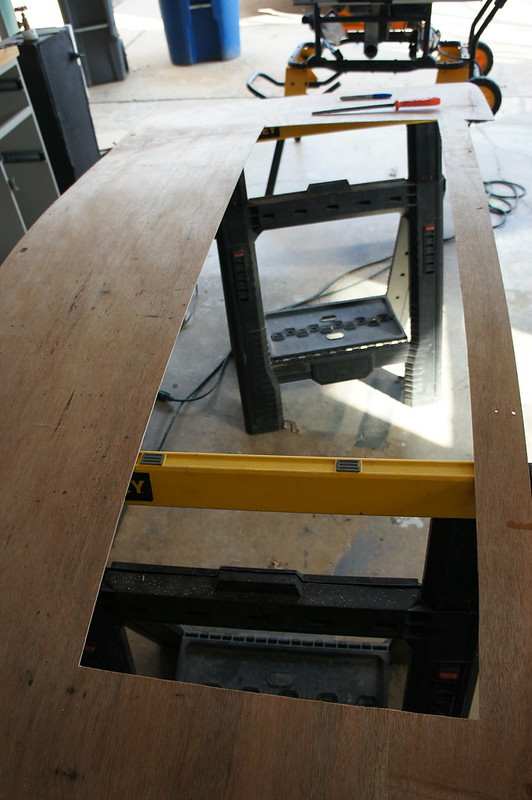
In order to allow the bed to clear the sidewall on the passenger side the panel needs a relief area. Unfortunately, I made a measuring error and the relief is not tall enough. So I will need to remake this panel.


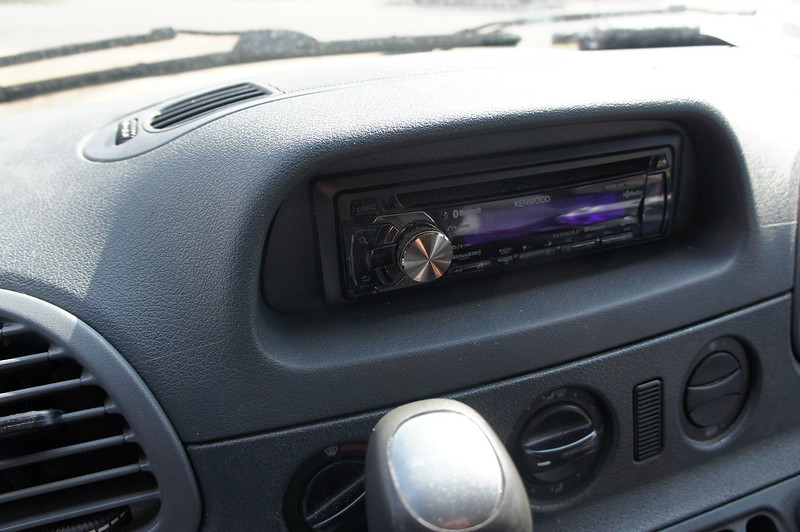
I installed a new head unit as well. This model is a few years old, as it was retained from our last van. It has HD radio, Bluetooth, and USB connectivity so it meets our needs. I ran 14 gauge wires for 4 speakers. I am not sure where the rear units will be mounted at this point. The install was fairly routine. I wired the unit for constant power so it can be used via a remote with the ignition off.


I also have the galley and fridge test fitted in the van, and the fridge running. All the wiring and fans work. I do have an issue where the fridge will not seat completely. It protrudes about 3/16”.