Saturday, March 5, 2016

Spring Update #5

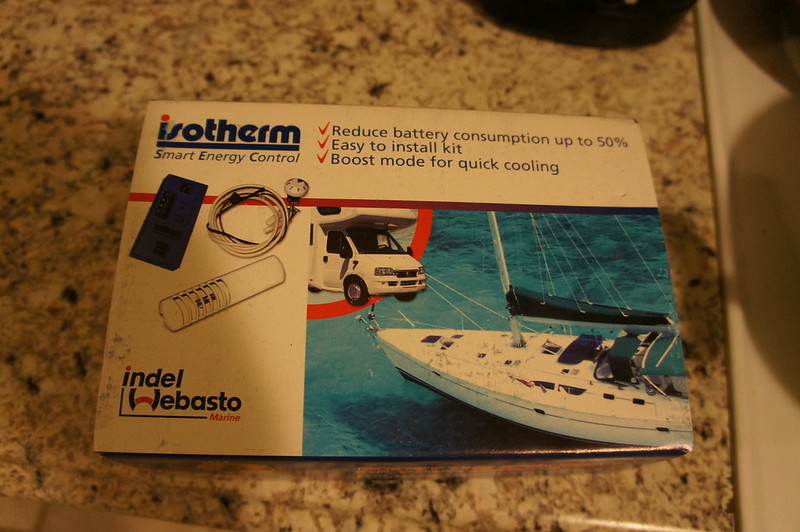
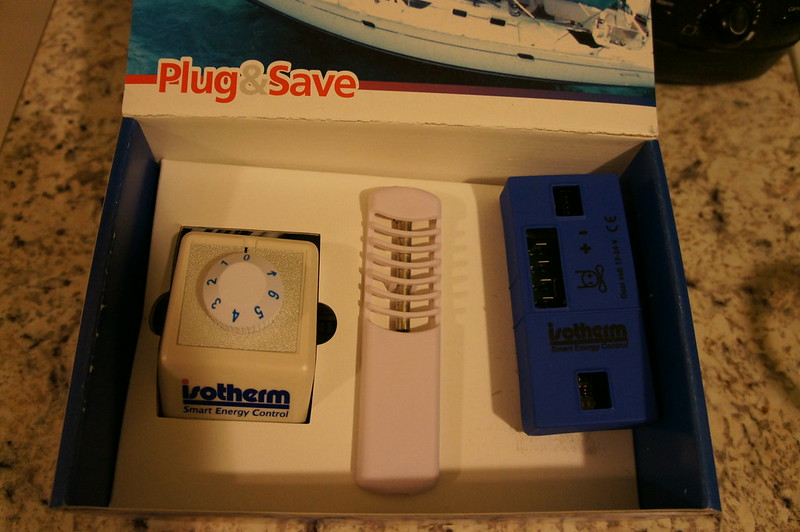
I received the Isotherm Smart Energy Control (SEC). The box contains the control unit, temp probe, and control dial.


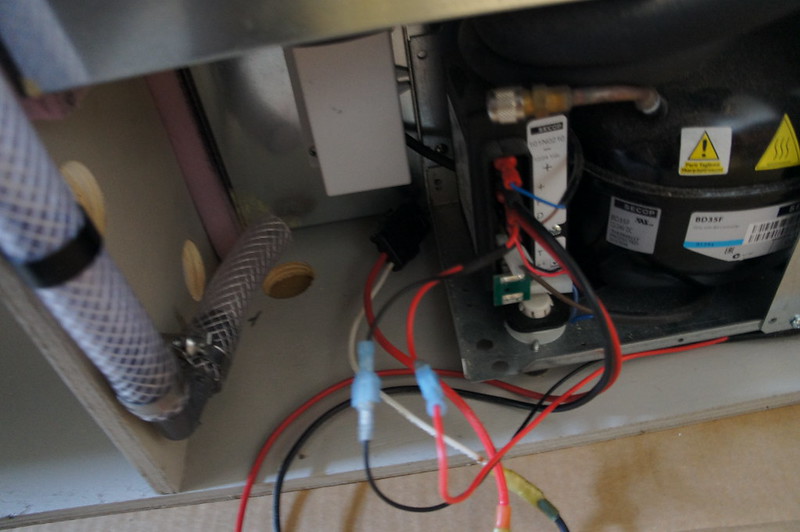
Here is the SEC control unit next to the terminal block for the Danfoss/Secop control unit.
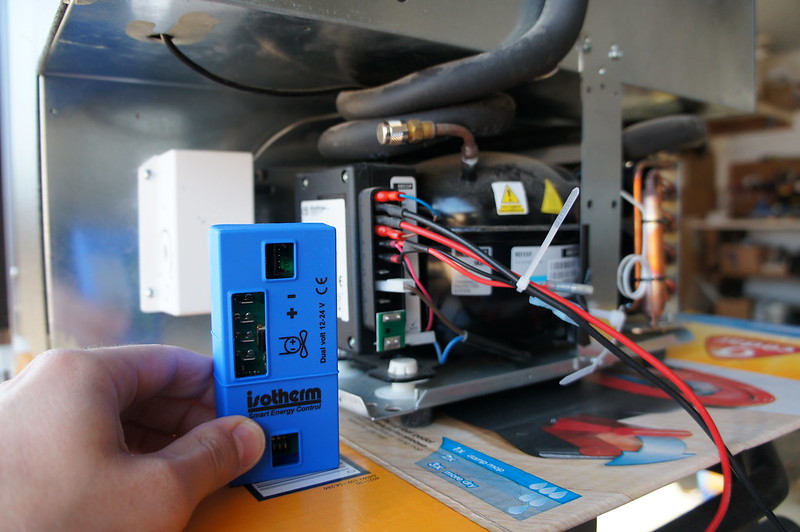


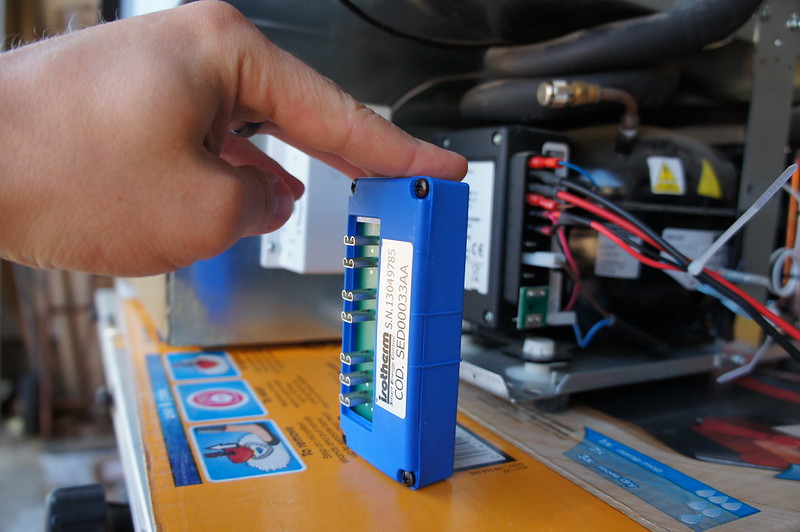
The female spade connectors on the back are quite tight. In order to get the SEC unit to fully seat I had to gently spread the terminals open and apply dielectric grease.


The SEC temp control comes with its own mounting box. But its big and ugly. The stock control knob/thermostat can be removed on my fridge (Vitrifrigo). I used the knob extension with the SEC knob in conjunction with the stock mounting plate. This allowed me to use the digital control in the same location as the stock mechanical one. I cut and spliced the harness to remove the extra length. I completely removed the old thermostat. The SEC is lightyears ahead of the clunky mechanical unit. This should be a stock option on all Danfoss fridge units.
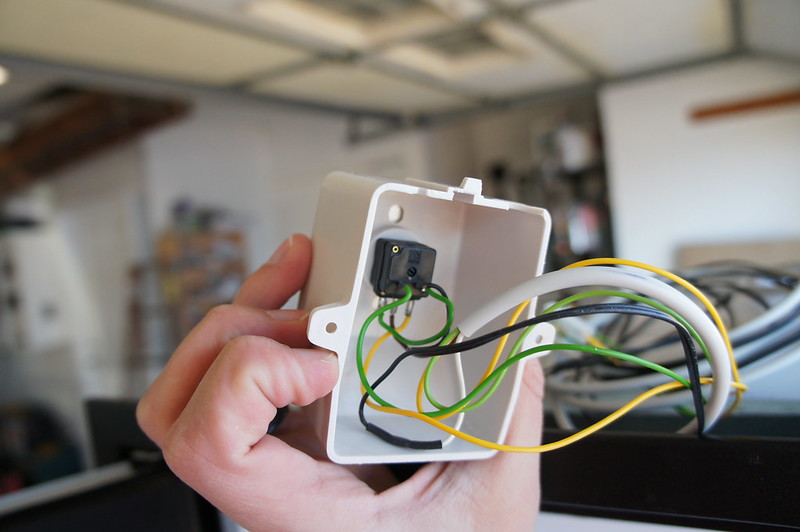
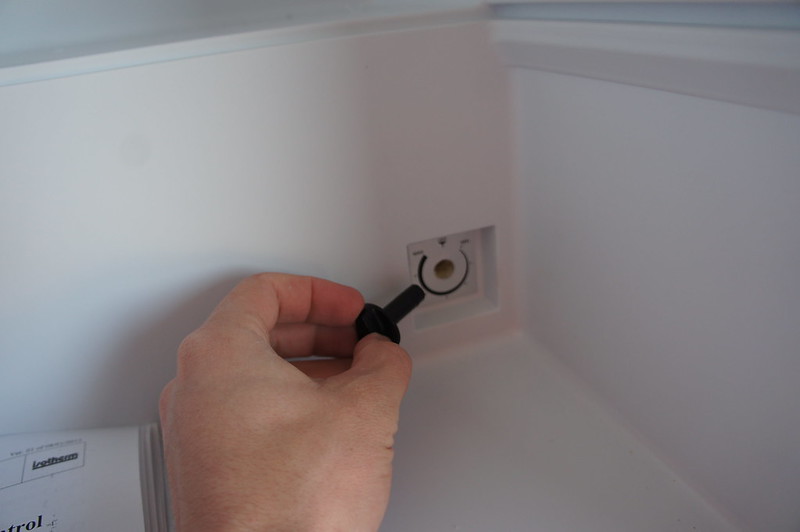
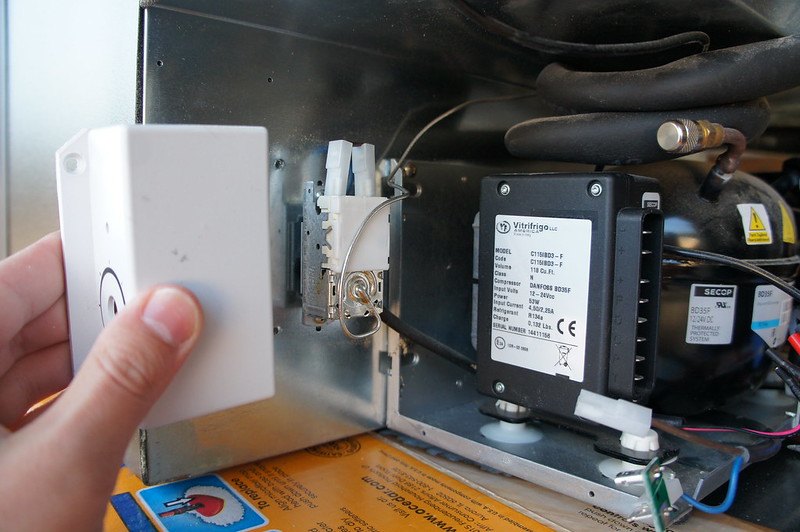
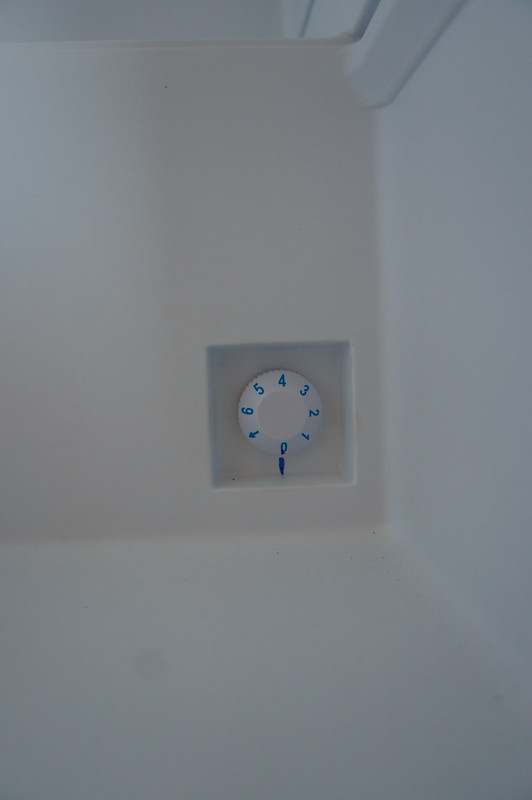
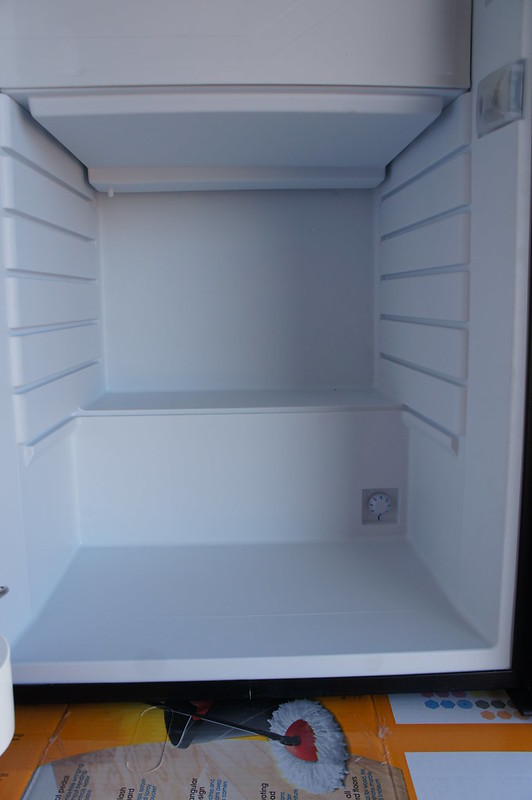


The temperature probe is a thermistor. The instructions say to mount near the bottom and away from the evaporator. The housing was small enough to fit behind the shelving. Two 0.25” holes for mounting and 1 clear through for the wiring.
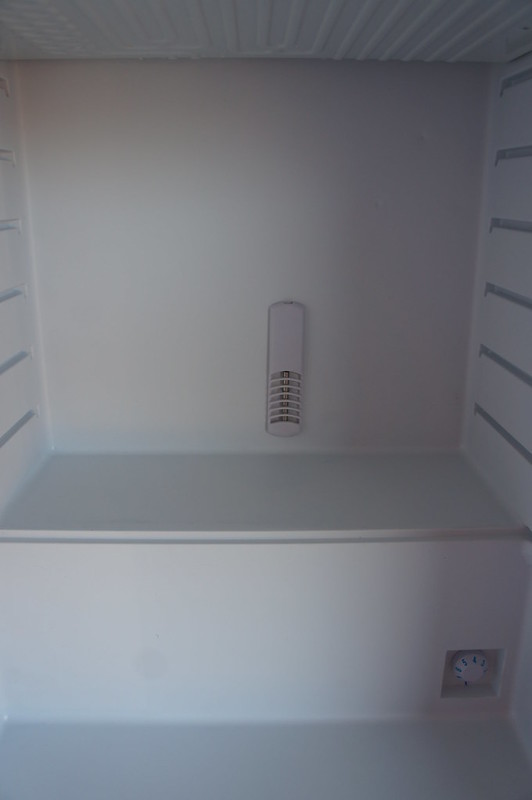
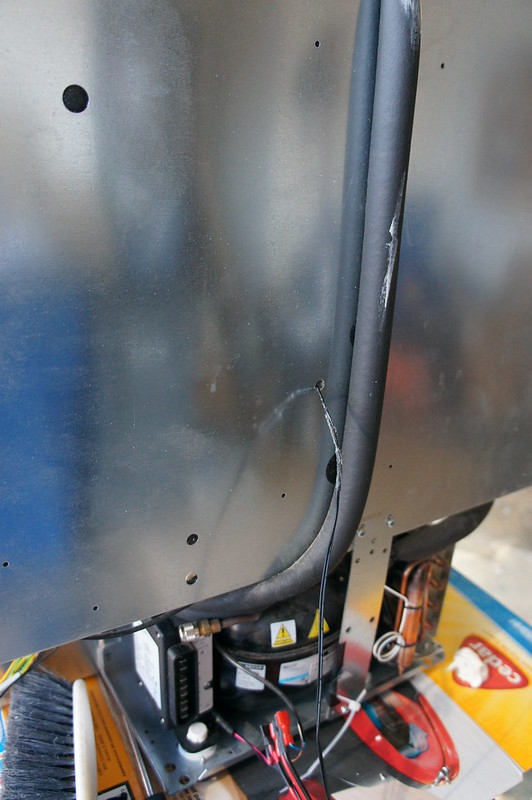


I reused the original cover and connected everything up. The original harness has splitters on the power feed for the interior lights. It was a tight fit, but a bit of material off the SEC case made them fit. I filled the holes in the fridge insulation with the supplied mastic/putty.
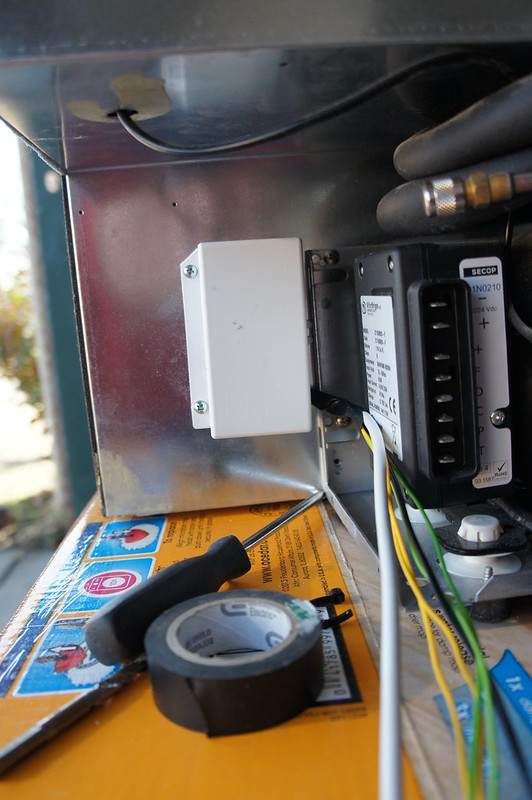
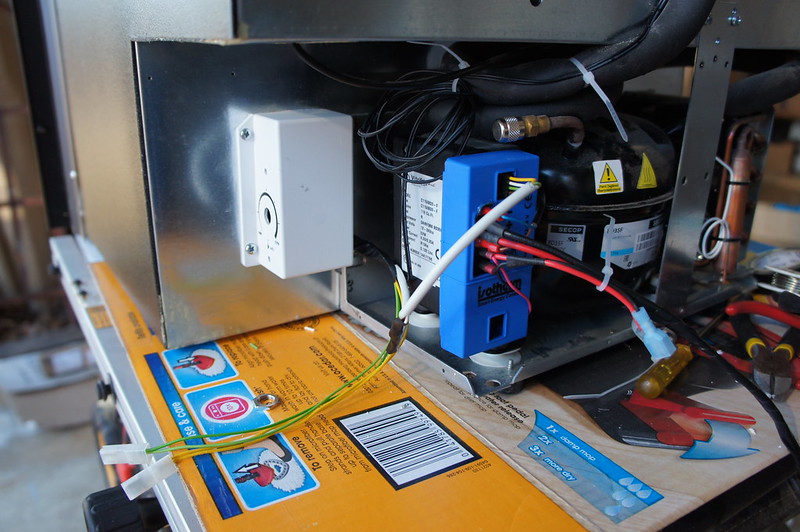
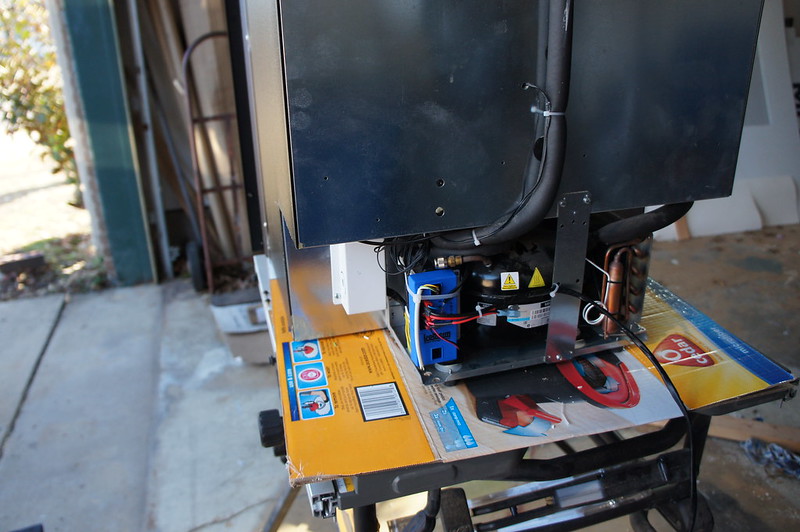


I have the unit connected and running currently. Once it gets down to temp I will check the interior temperature. If necessary, the offset can be adjusted. The reason for this is because during the overcool cycle the fridge gets to about 33F. Any drift in the thermistor will result in frozen food.


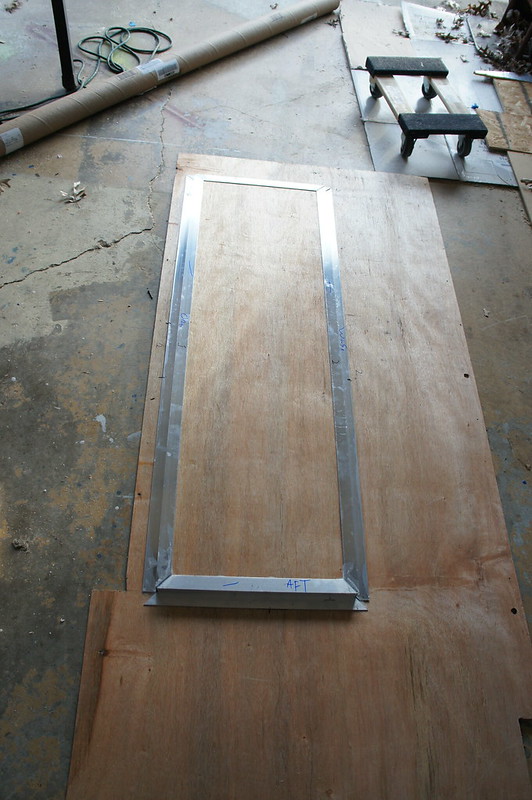
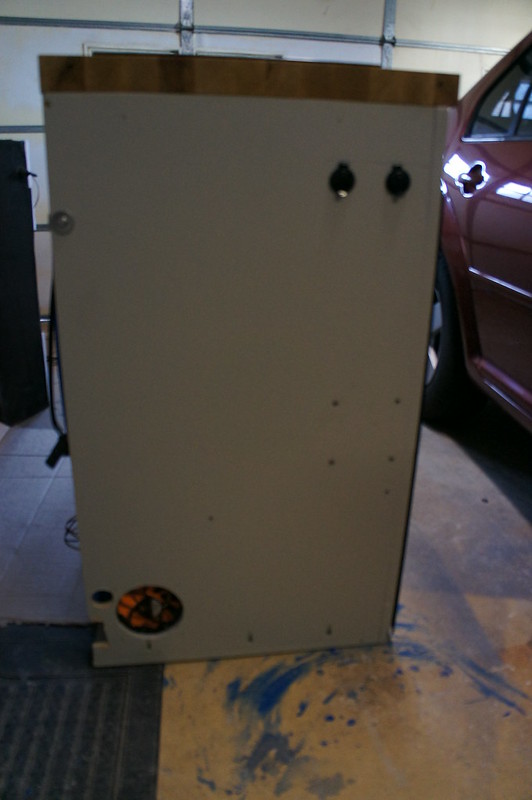
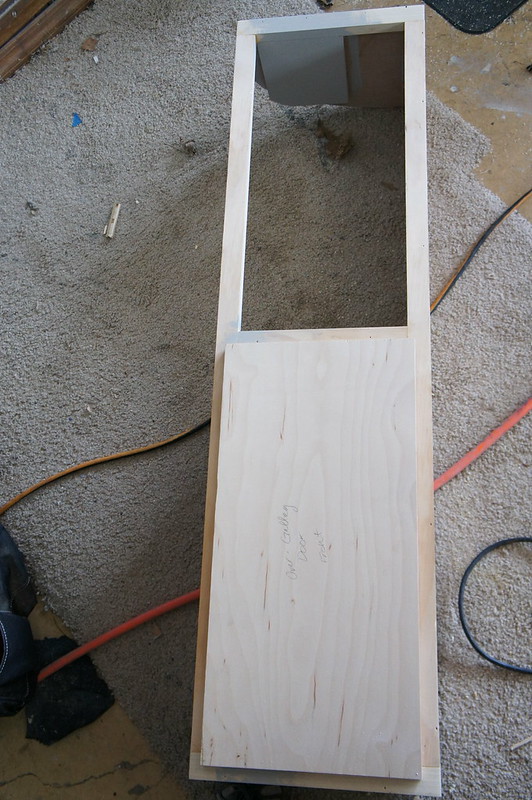
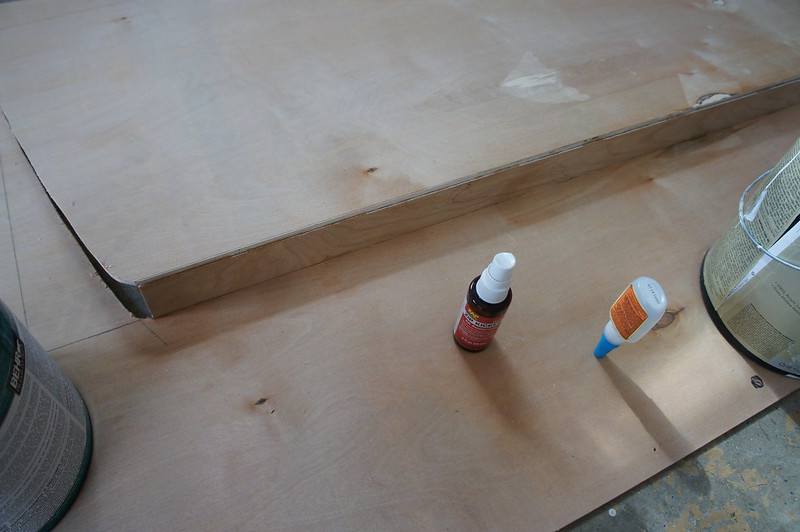
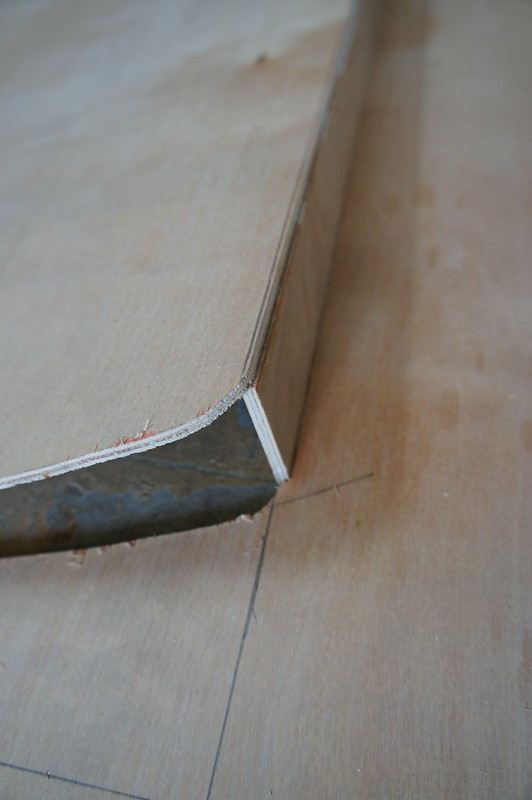
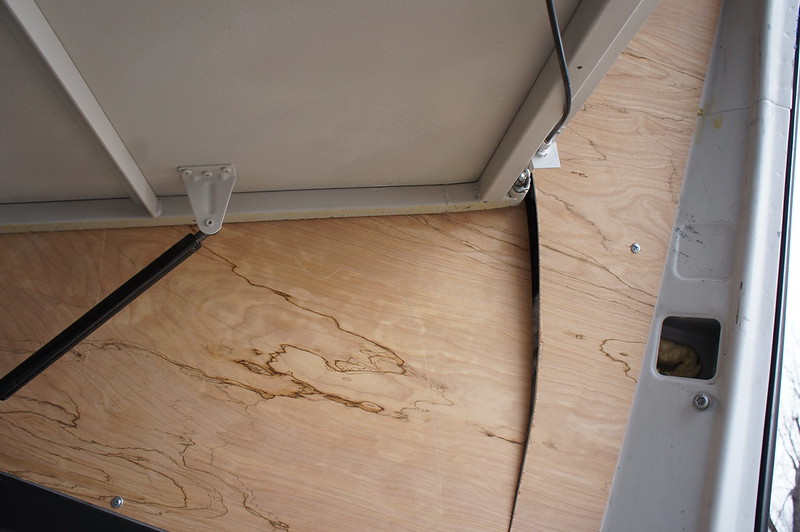
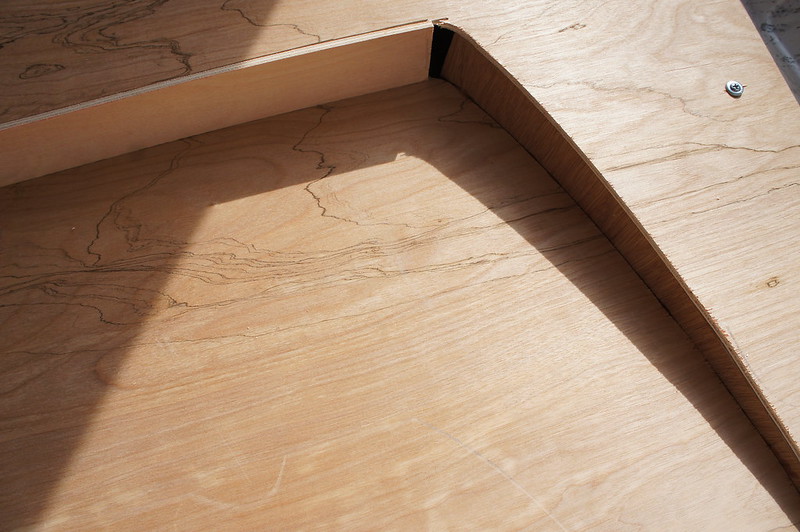
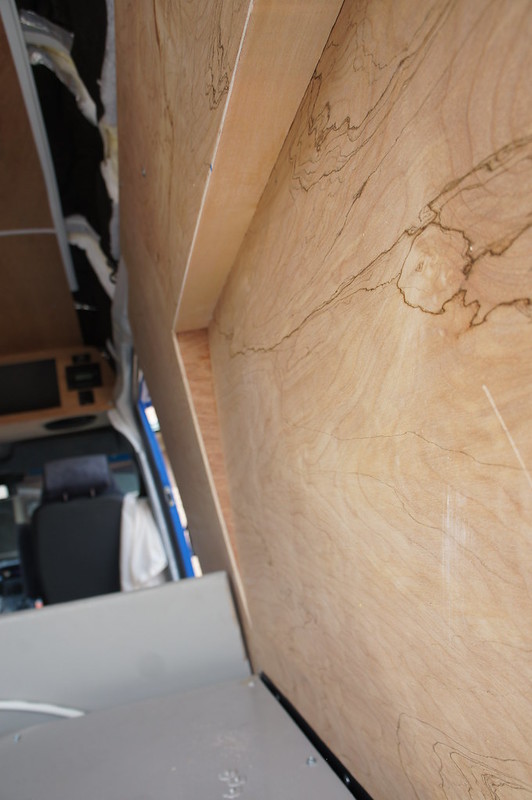
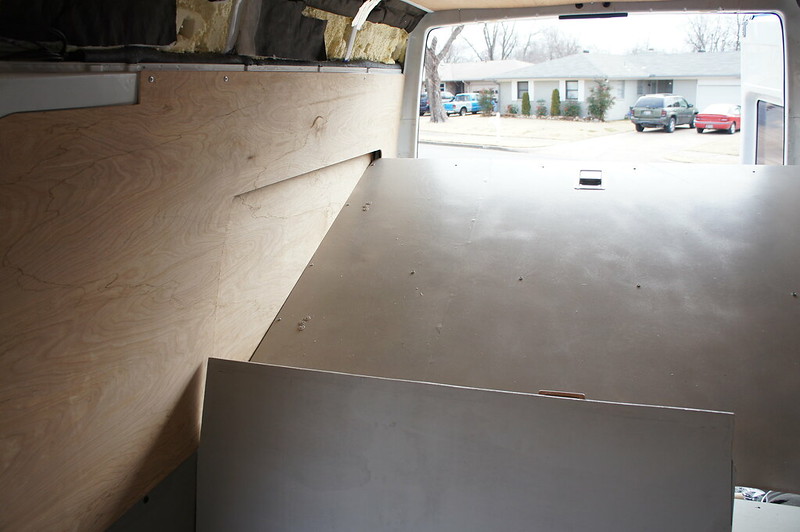
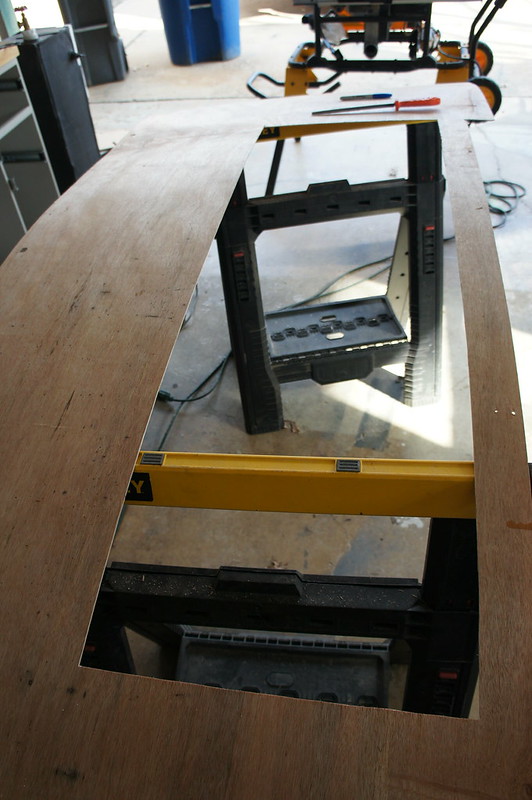
I finished remaking the passenger side wall panel. I used 5mm plywood for the base. I needed a 2.375” offset to clear the bed at full swing. Due to the thin material fasteners were not an option. The panels size made clamping difficult. I opted to use CA glue with accelerator. This allow me to bond the edging in a matter of minutes with no clamping. Pretty strong stuff! I guess CA glues are popular with woodworkers to reduce assembly times.


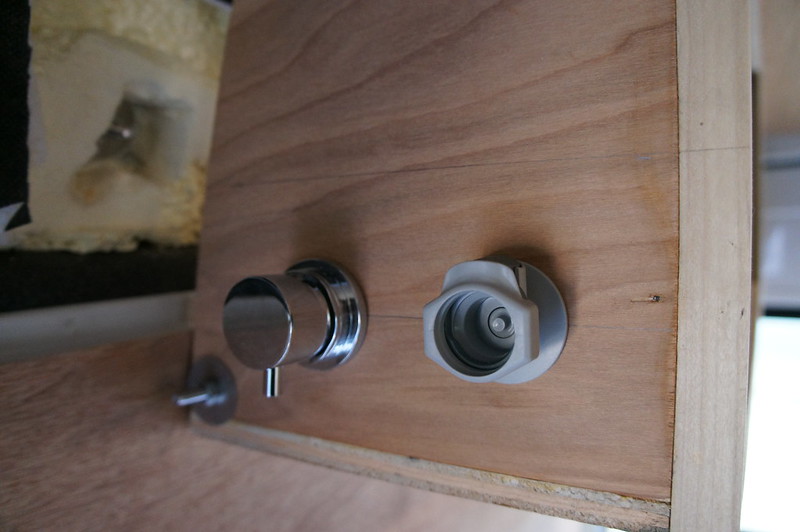
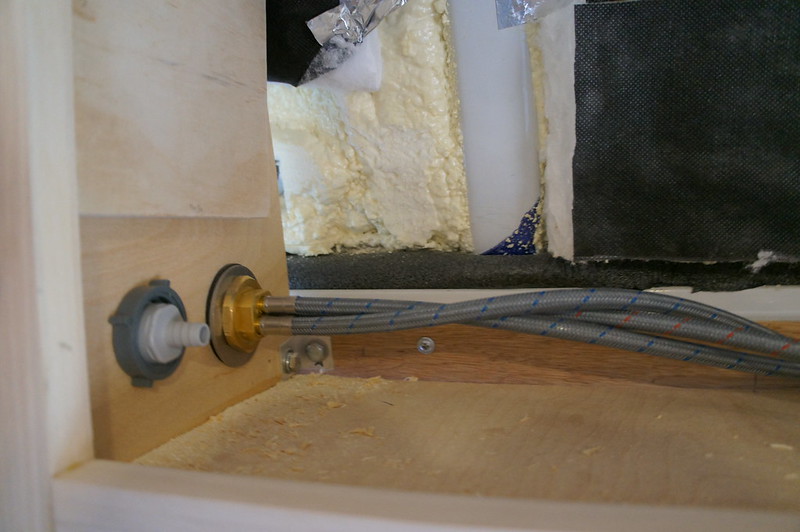
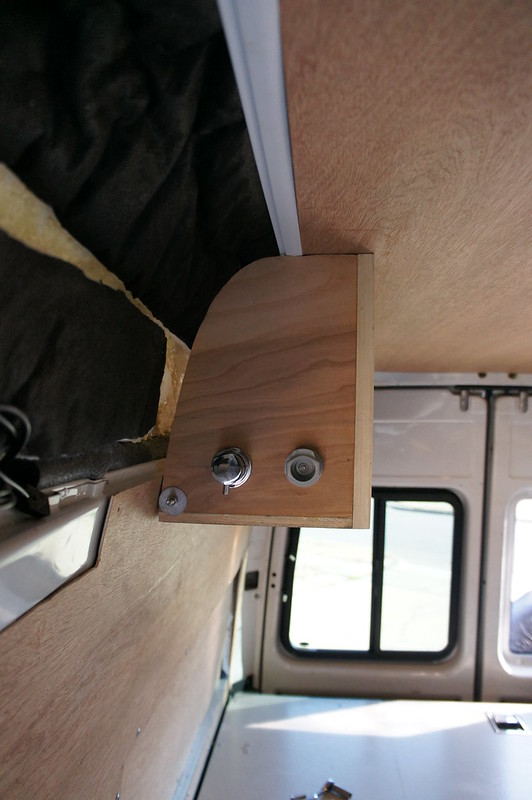
I added a shower mixer and disconnect above the bench seat. I used the following mixer combined with valved quick disconnects from McMaster Carr.

http://amzn.to/1Lu7MHY


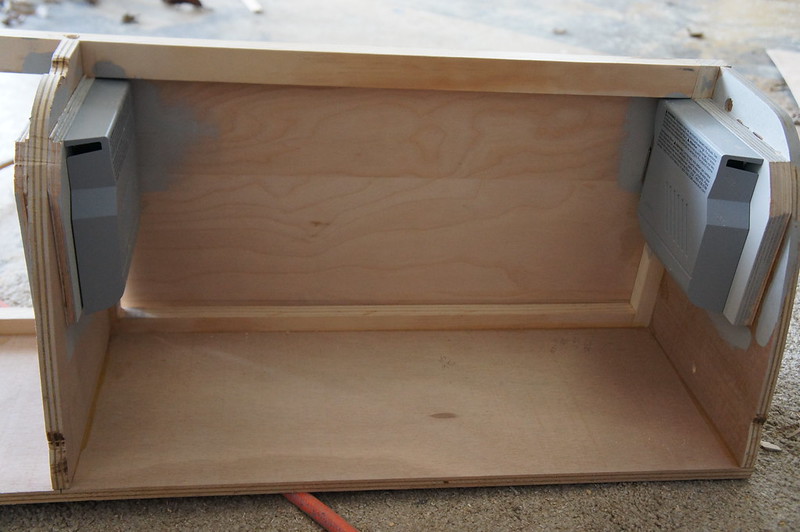
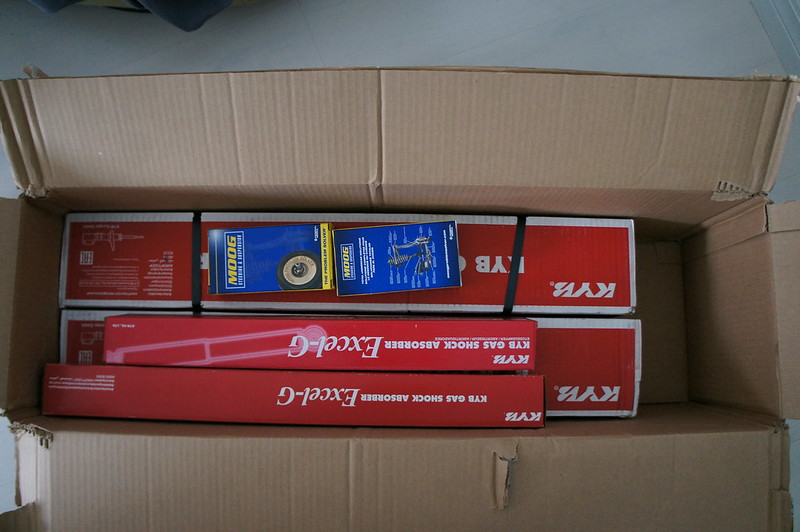
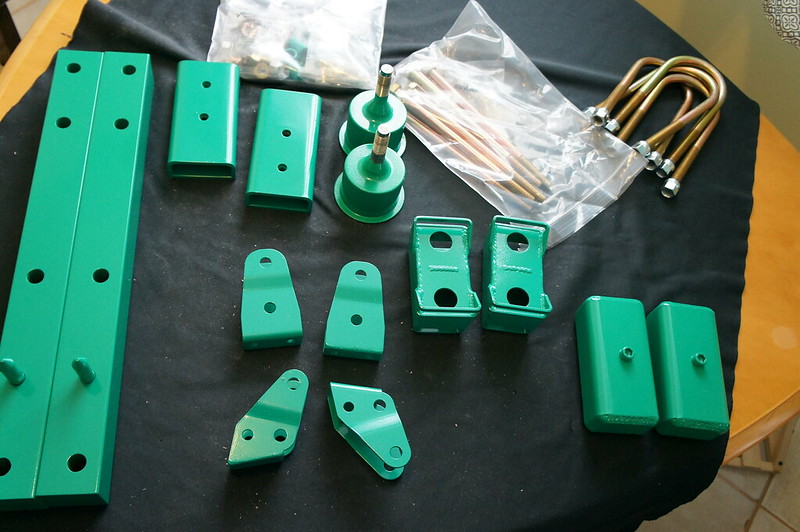
The Lift Kit, shocks, and Struts arrived! So I will likely be attempting installation shortly. Estimates put the installation around 16 hours. Hopefully I can beat that. I have the fridge spacers made, once they are painted I can button up the Galley for hopefully the last time...

Tuesday, March 1, 2016

Spring Update #4

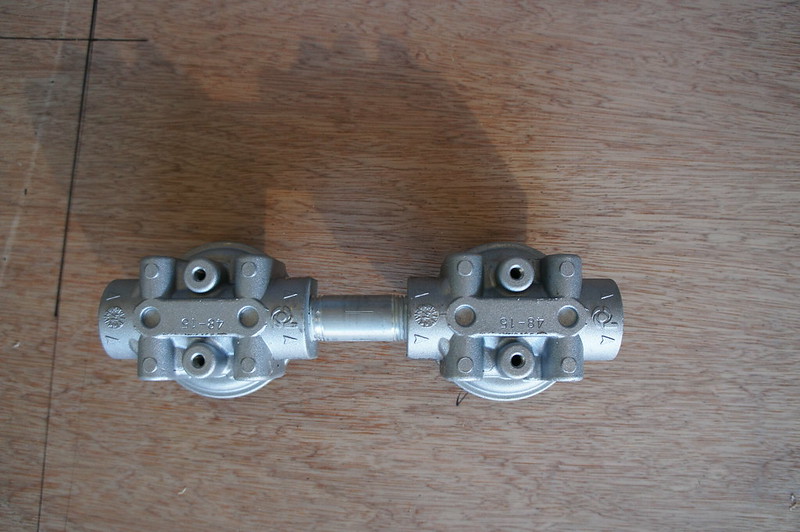
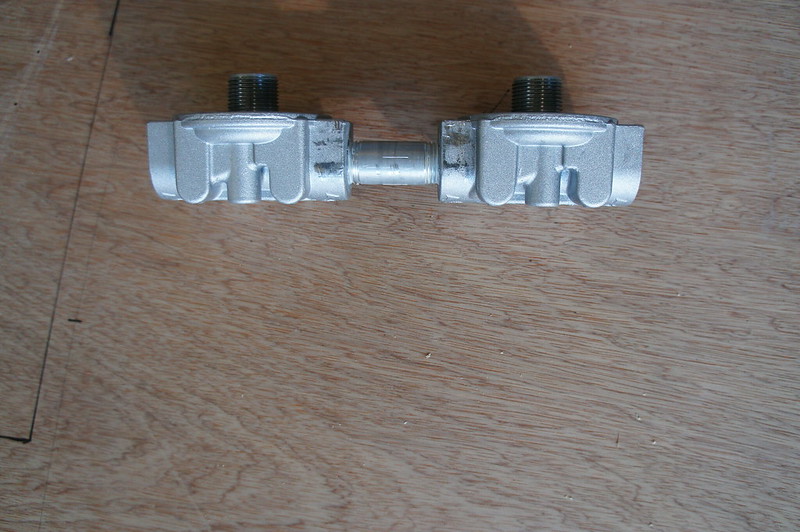
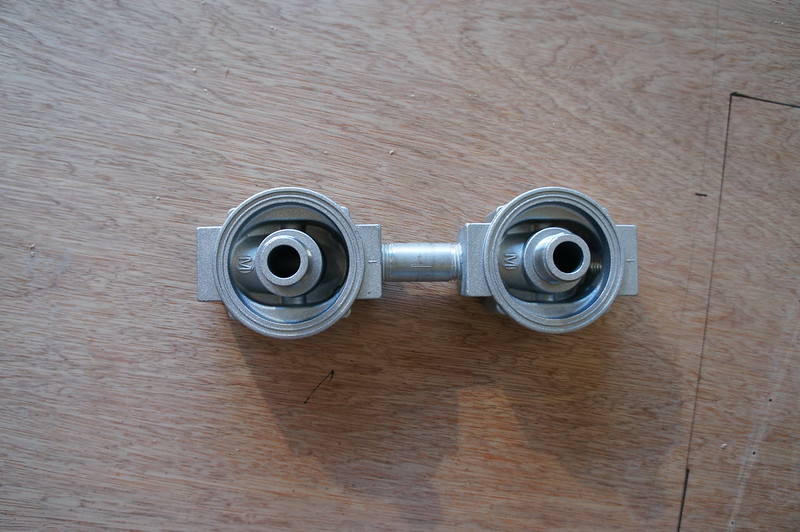
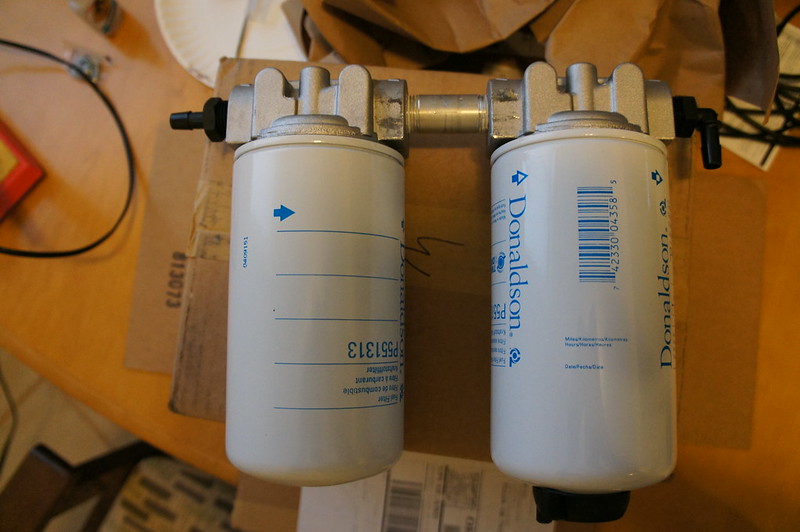
I have the add-on fuel filters in hand. I am working on possible mounting locations. Looks like the only place with decent room is under the driver’s feet. The right filter is a 10 micron with synthetic water separation media. The left filter is a 3 micron final filter. I looked into centrifugal, and vortex coalescing filters, but finding a unit with the correct flow rate and pressure rating was nearly impossible. Well, if I have 1000$ to spend, maybe...
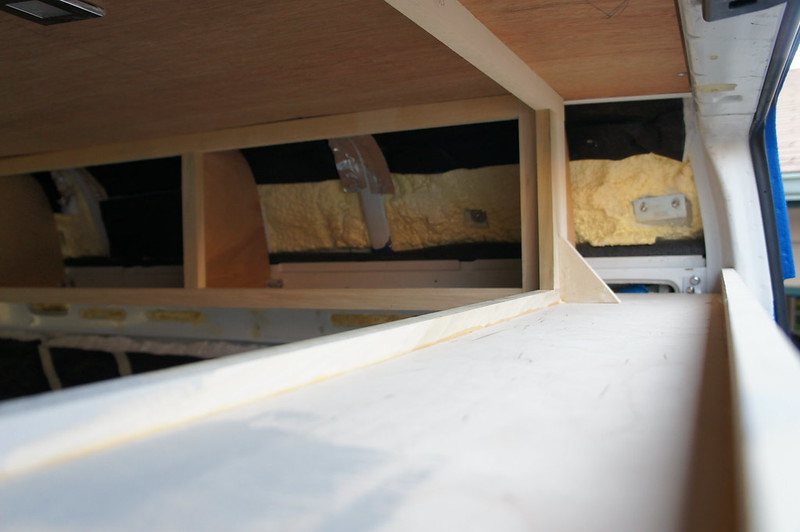


In order to allow the bed to clear the sidewall on the passenger side the panel needs a relief area. Unfortunately, I made a measuring error and the relief is not tall enough. So I will need to remake this panel.


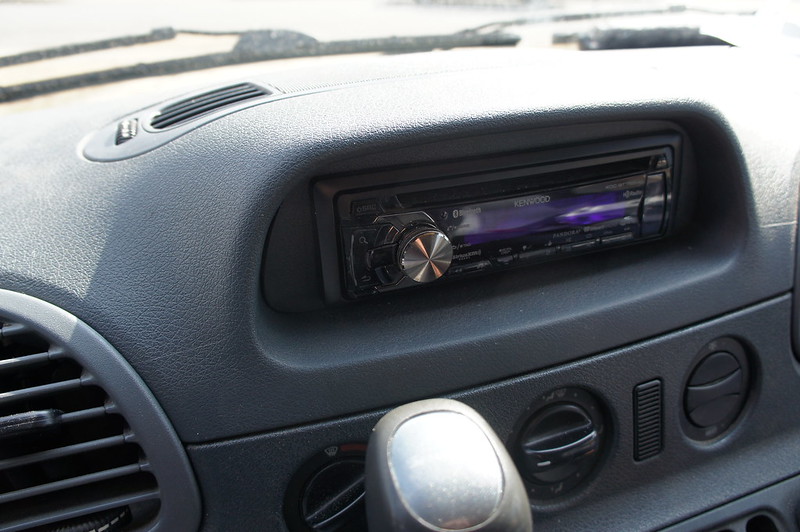
I installed a new head unit as well. This model is a few years old, as it was retained from our last van. It has HD radio, Bluetooth, and USB connectivity so it meets our needs. I ran 14 gauge wires for 4 speakers. I am not sure where the rear units will be mounted at this point. The install was fairly routine. I wired the unit for constant power so it can be used via a remote with the ignition off.


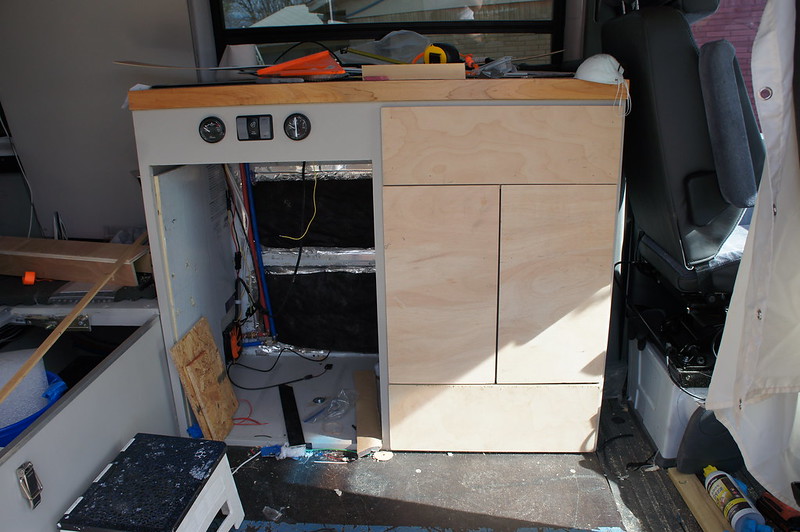
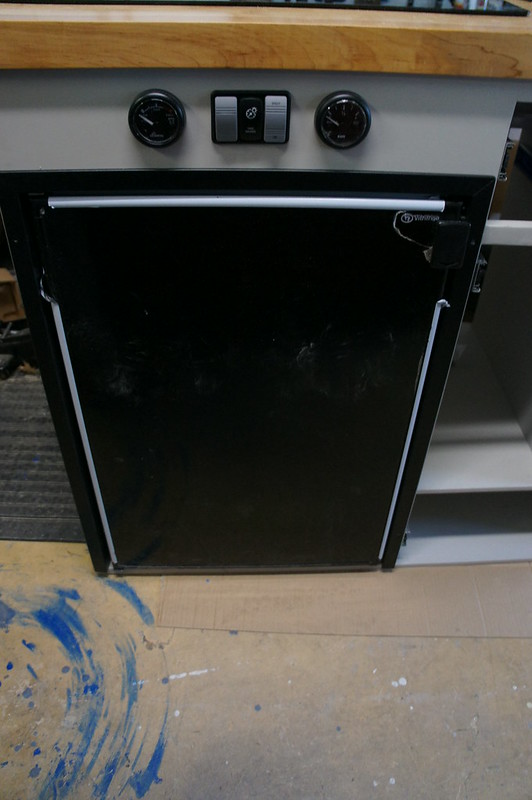
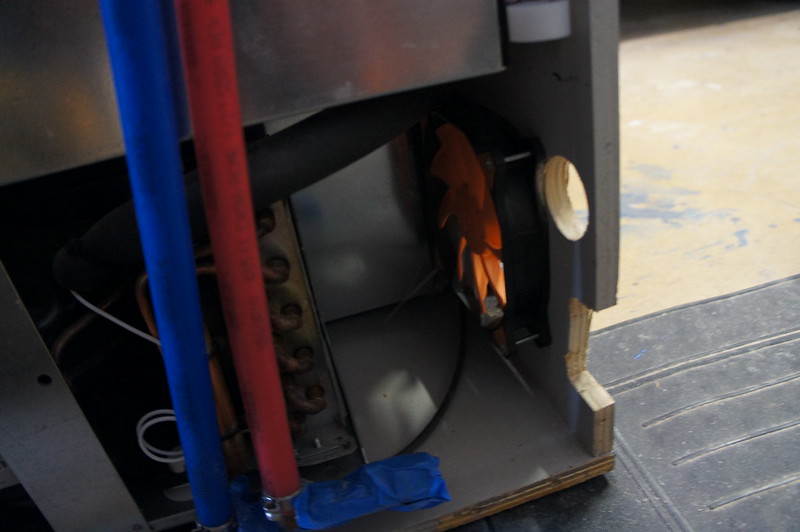
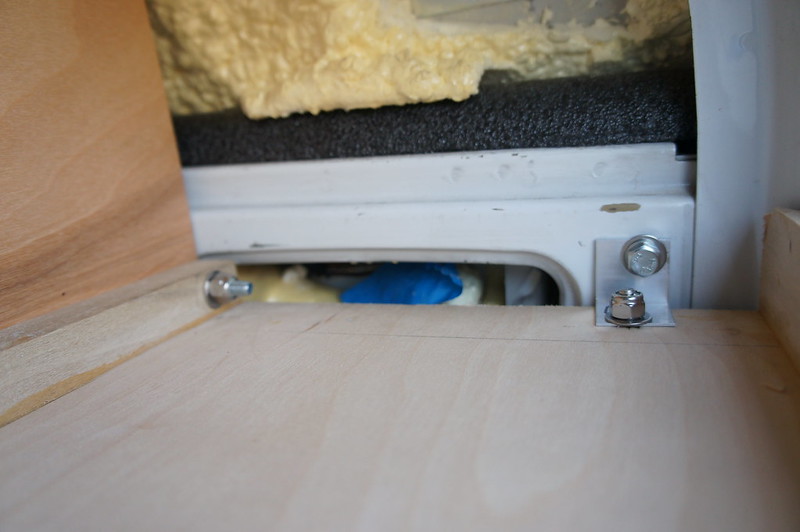
I also have the galley and fridge test fitted in the van, and the fridge running. All the wiring and fans work. I do have an issue where the fridge will not seat completely. It protrudes about 3/16”.

Saturday, February 27, 2016

Spring Update #3

I received the fittings for the spin on filters, still waiting on the filters themselves.


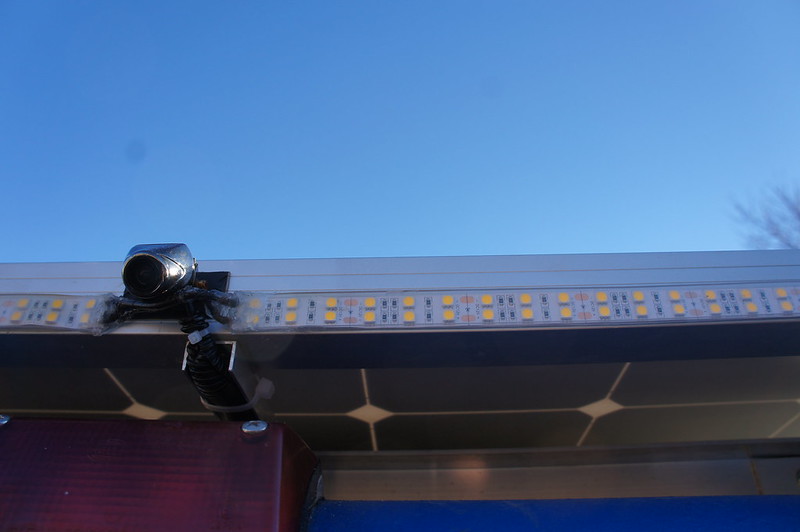
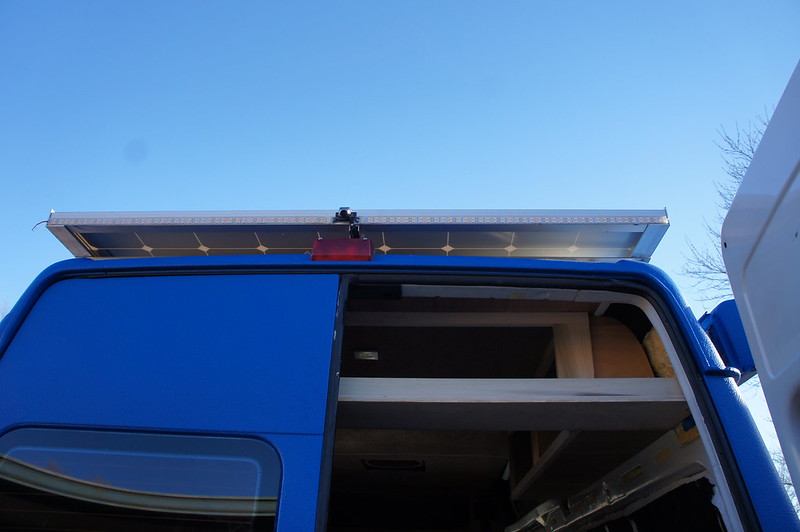
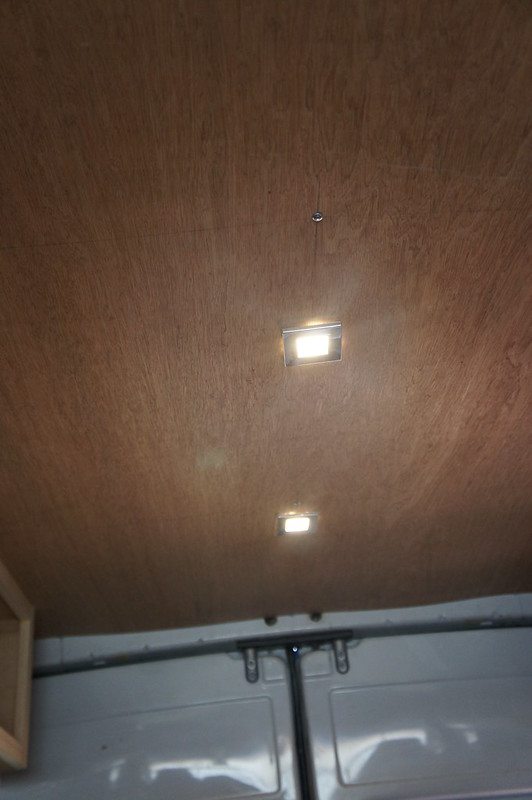
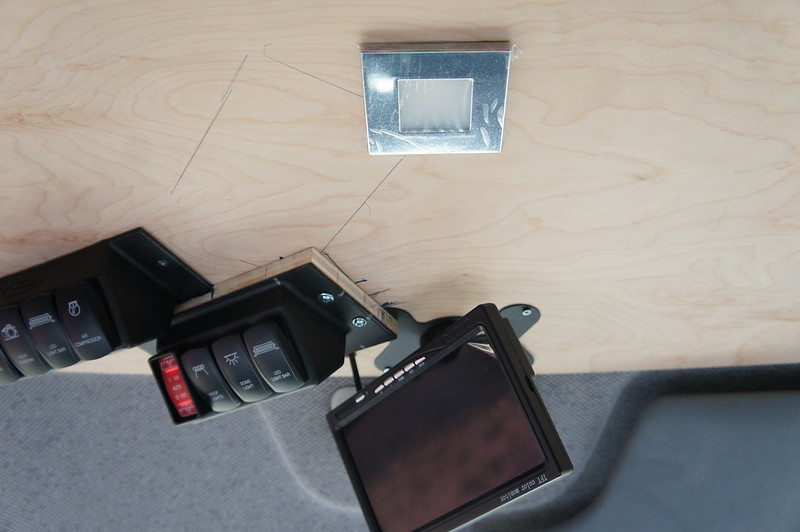
The roof lights are mounted. I ended up using CA (super) glue to bond them. The waterproof silicone casing is incompatible with most adhesives.


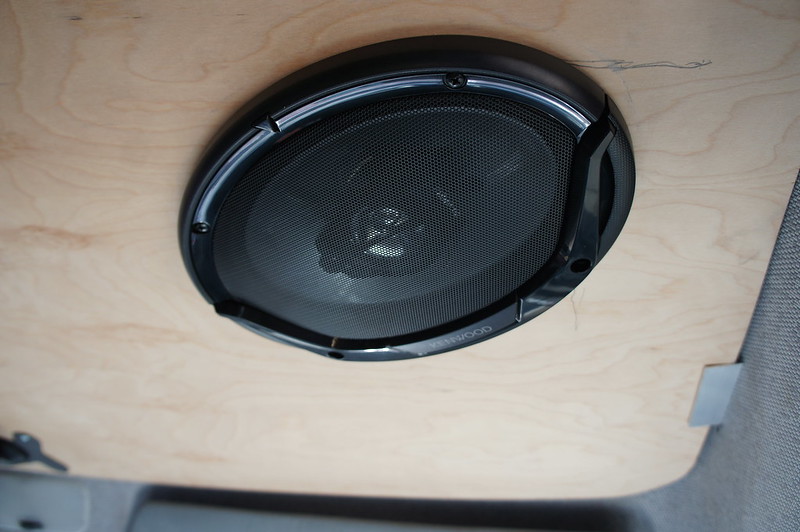
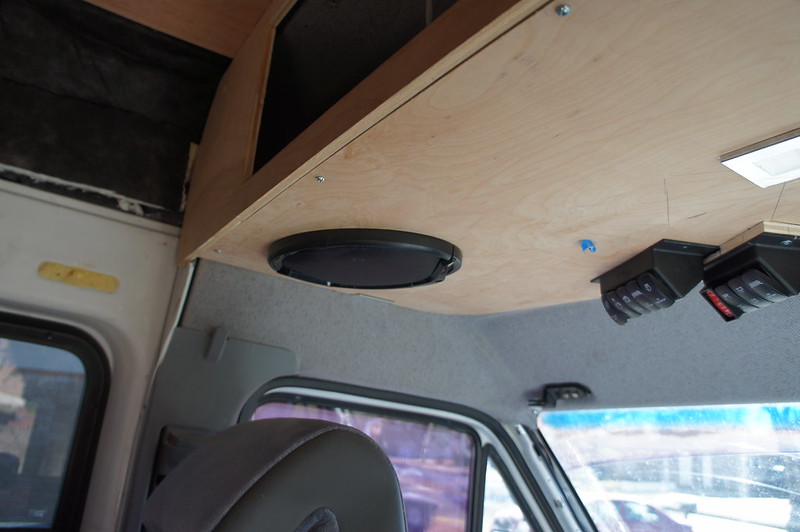
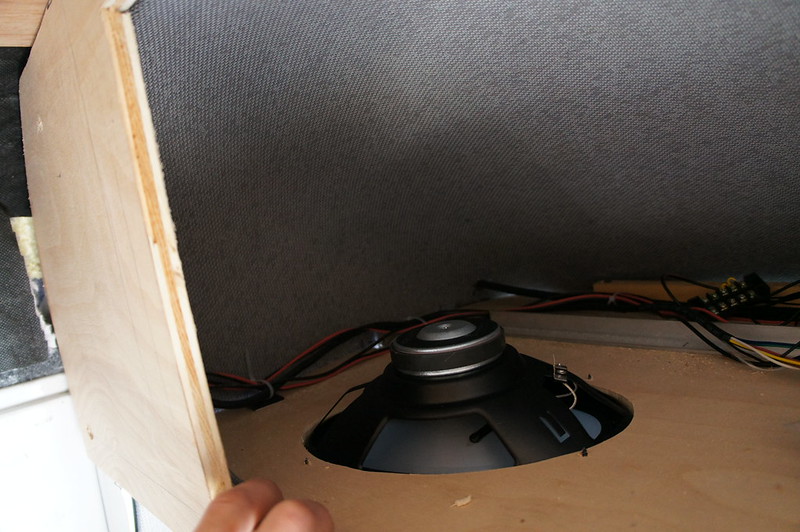
I installed some 6x9 Speakers in the over-cab cabinet.

http://amzn.to/1WYnnWT


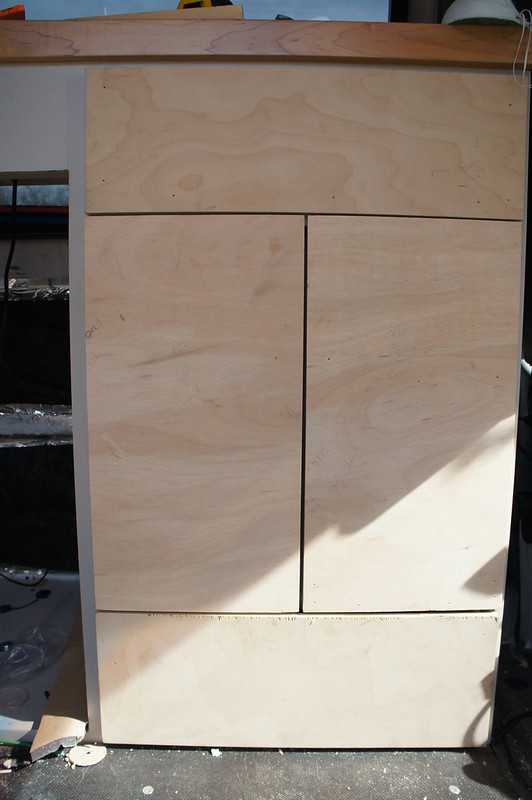
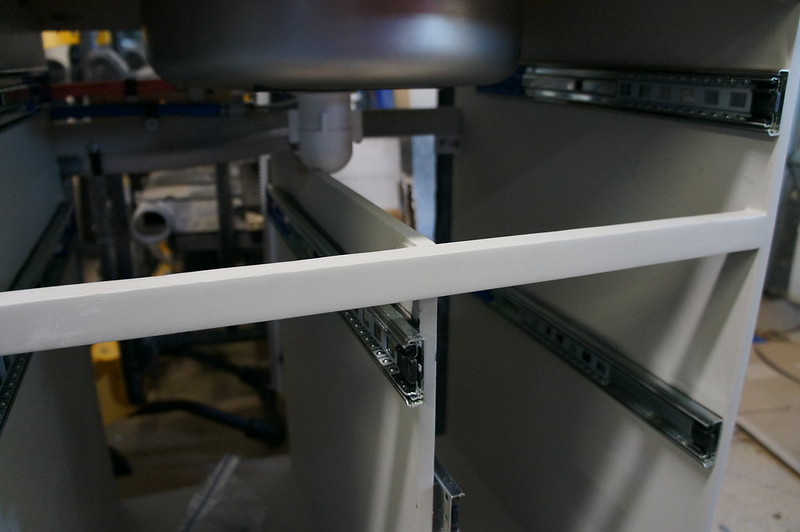
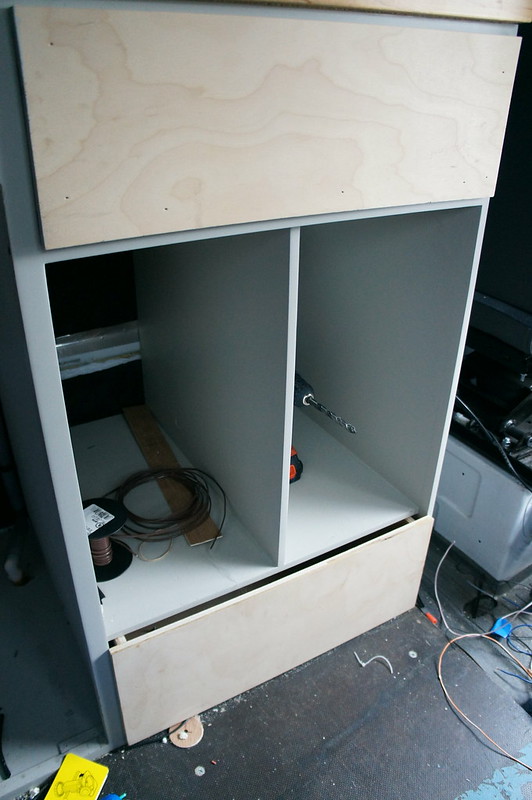
The Galley Drawers have been made and mounted.


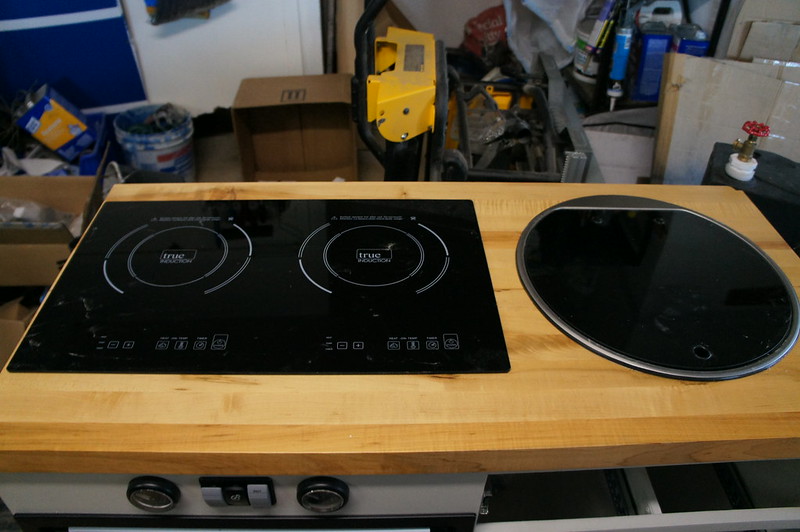
The Sink and Cooktop are screwed/glued down and sealed.


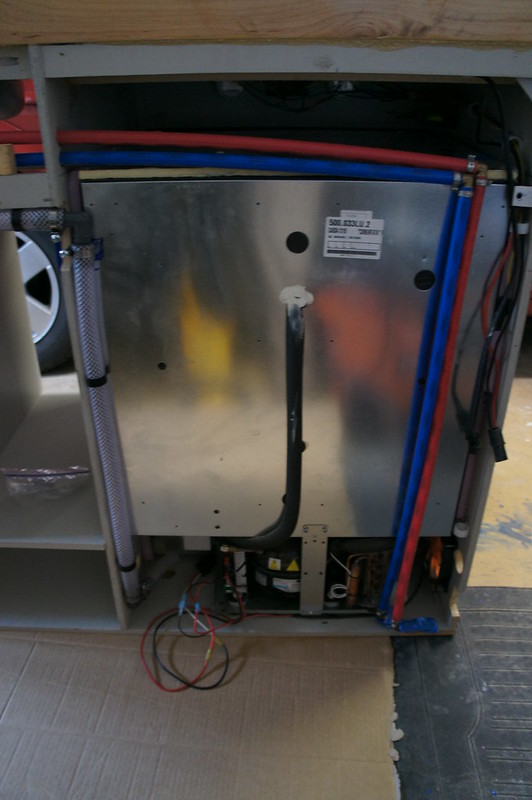
I did a final fit check of the fridge and finalized the wiring in the galley. There was enough room to install ¾” foam insulation on the sides and ½” on the top of the fridge.


Thursday, February 25, 2016

Spring Update #2

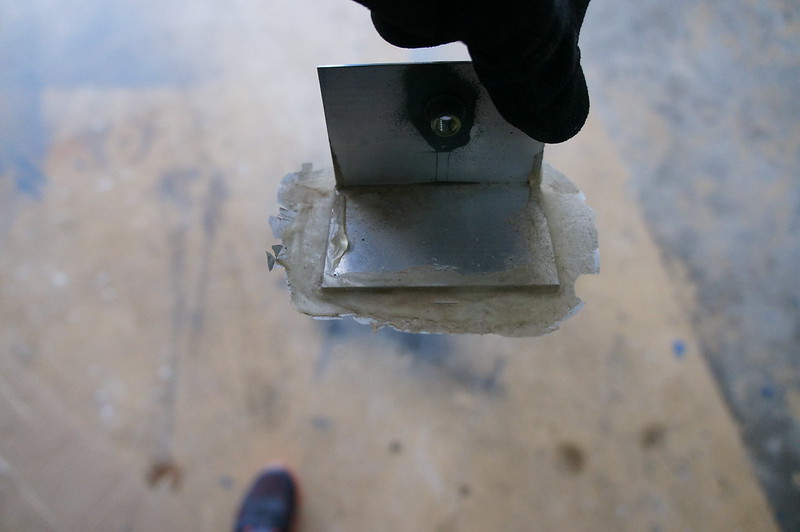
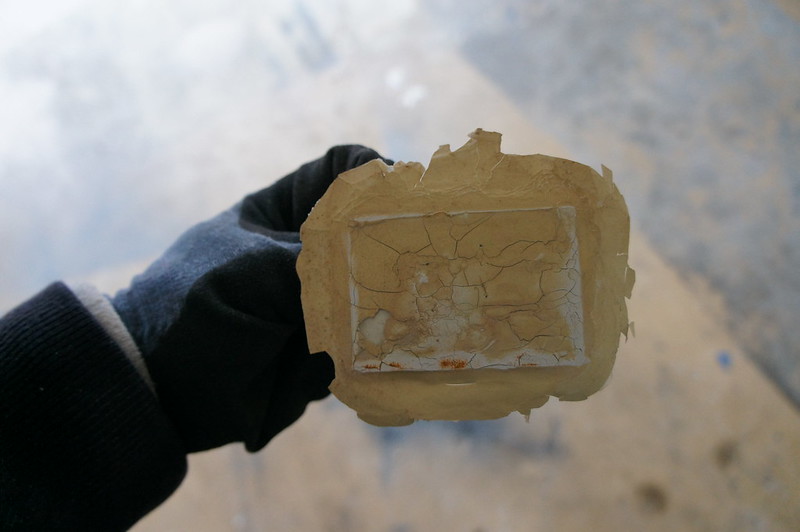
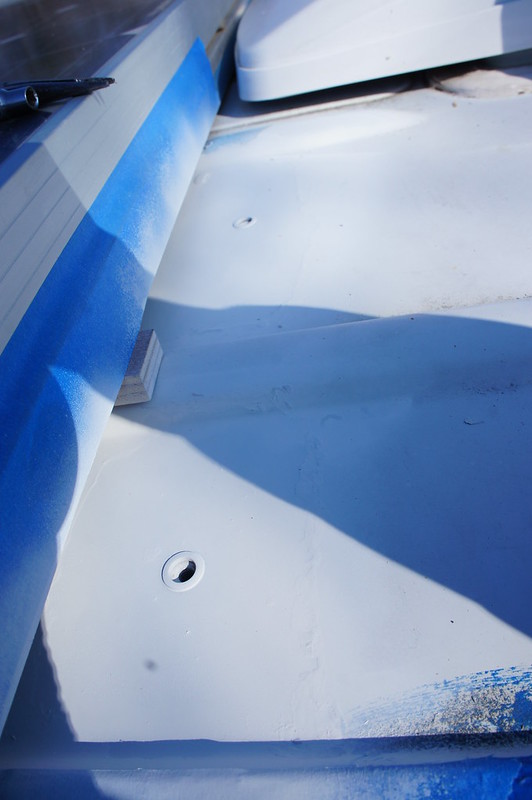
In case anyone was wondering, T1N Sprinter Paint is crap. I knew it wasn’t the best, but my recent experiences outline its poor adhesion. An example is the solar panel brackets on my van. The photo below is an intermediate bracket. These were attached with 3M VHB tape and sealed with clear silicone. In less than 1000 miles the paint to primer bond failed completely.


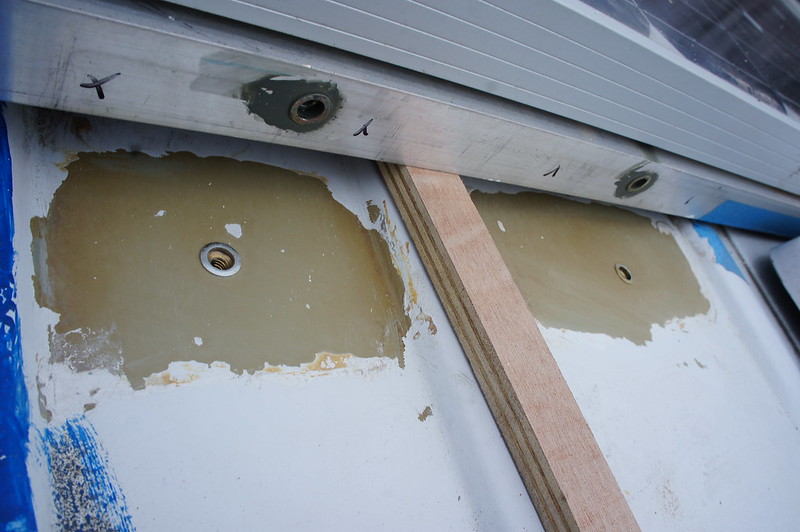
Here are where the forward brackets attach. These were attached with rigid polyurethane adhesive and #10 sheet metal screws for security. 1 of three had the paint bond fail completely. The others were showing signs off failure. The back brackets were bonded with 3M 5200 (flexible polyurethane adhesive). These brackets are 100% still attached and show no signs of failure. I prepped and painted the area and installed rivnuts. The brackets will be bonded back in with Sikaflex 252. The rivuts are directly over/inside a roof support, so this area is quite sturdy.


Given this evidence I strongly suggest that fasteners be used to attach all critical loads. Adhesives are still a great idea for extra strength, but the stock paint is the weak point.


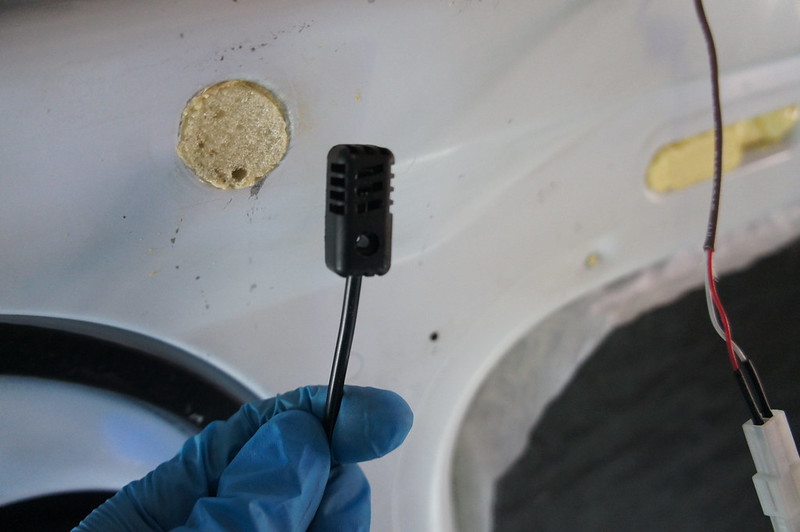
Here is the Espar external temp sensor. I will be mounting this on the driver’s side wall panel above the bed.


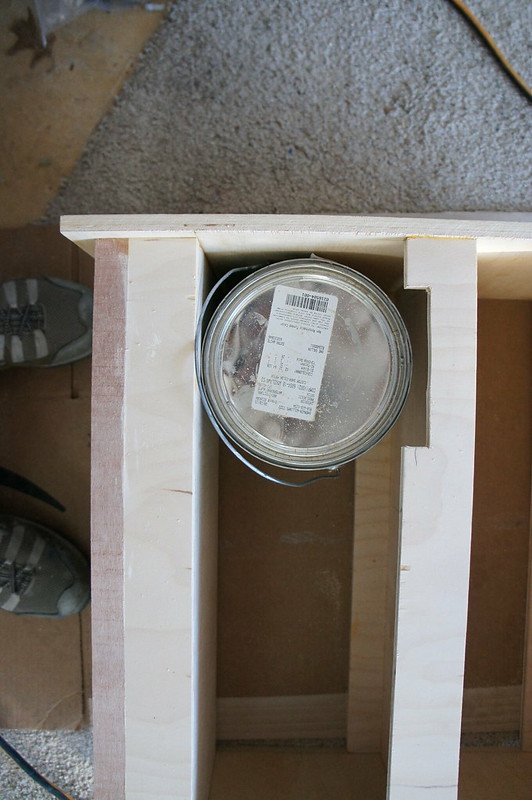
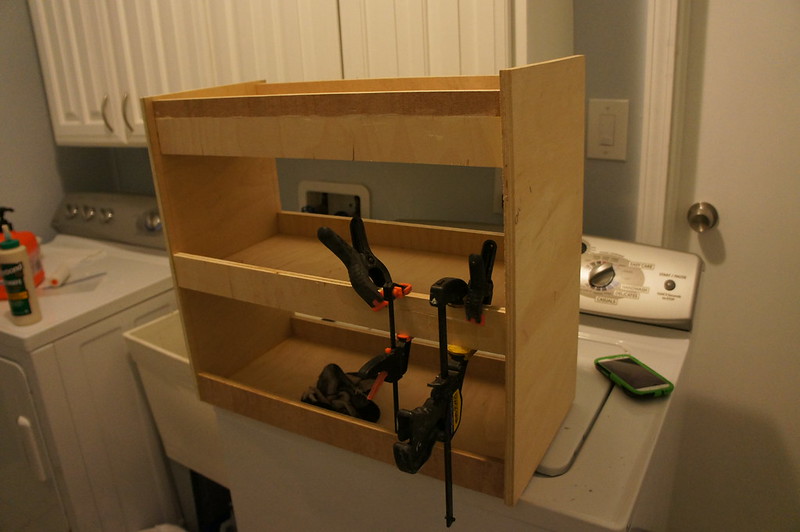
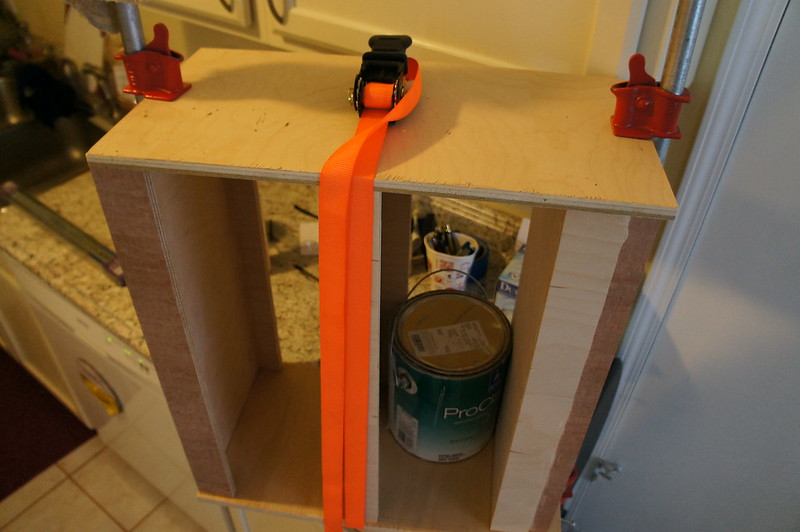
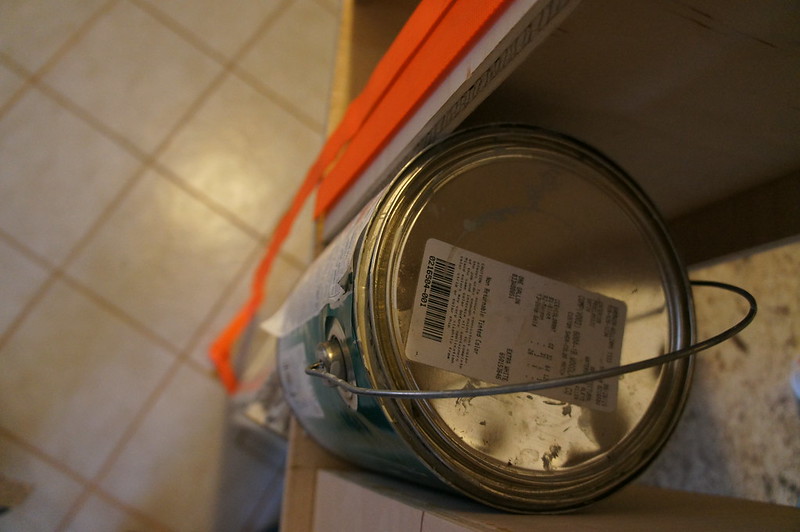
The pull-out pantry shelves are built. Had to cut a piece out to remove a paint can…


All the general lights are installed.


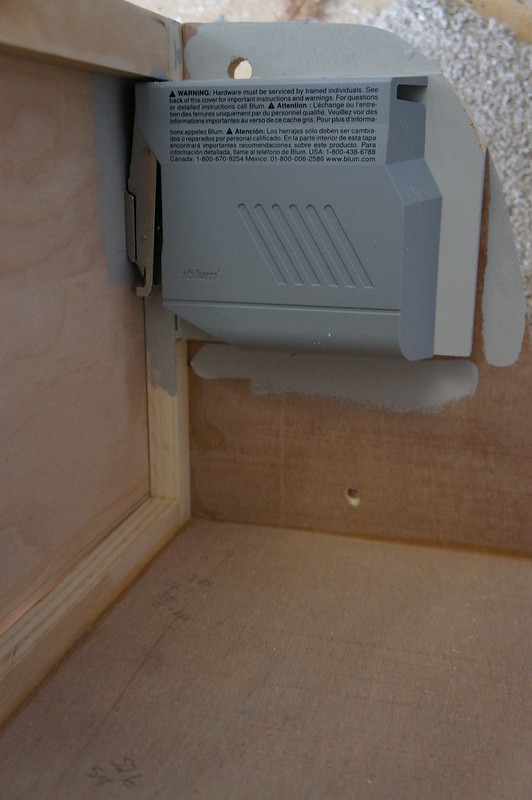
We test fitted Blum soft close overhead cabinet hinges. They are a very high quality product. Not cheap though.


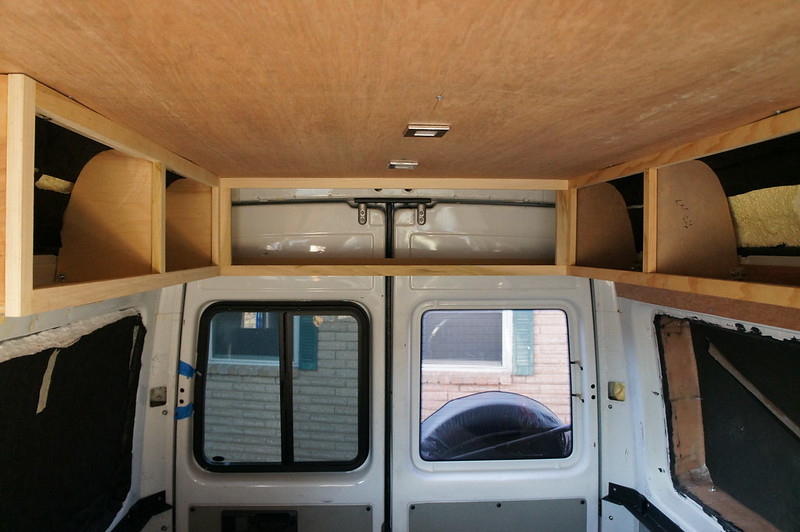
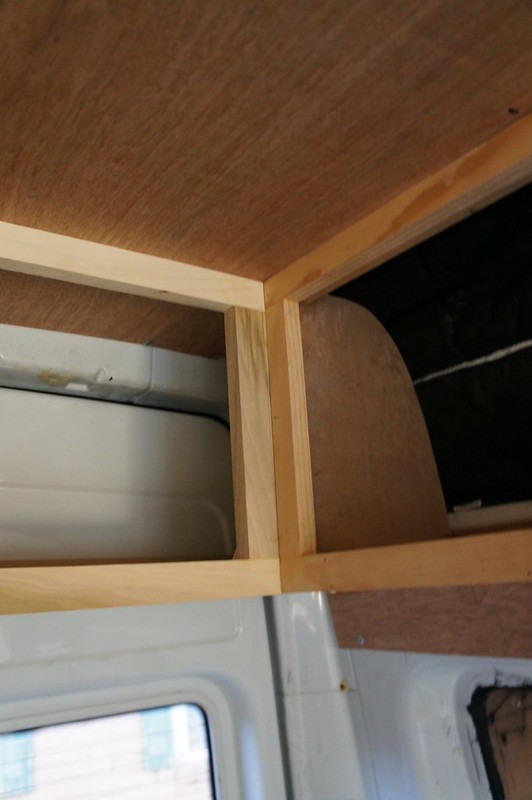
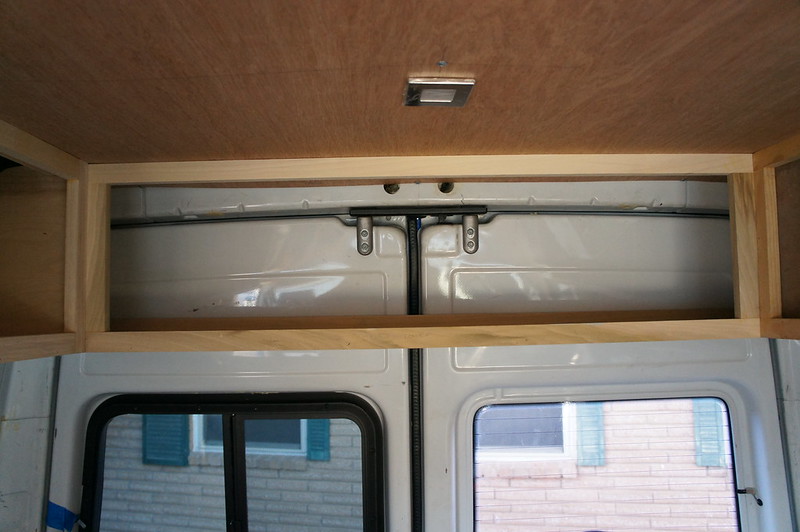
The shelf above the rear doors is also installed. There will probably be a mesh net on hooks securing gear up here.


I have the parts for a water separator and fuel filter setup on order. Given our intended travel destinations (rural areas, Central/South America) I figured it was cheap insurance.  Mounting might be a challenge though.

I have harnesses and light strips made up for the exterior lighting. I will be bonding those this week as well. LIGHT UP THE NIGHT!

Monday, February 22, 2016

Spring Update #1

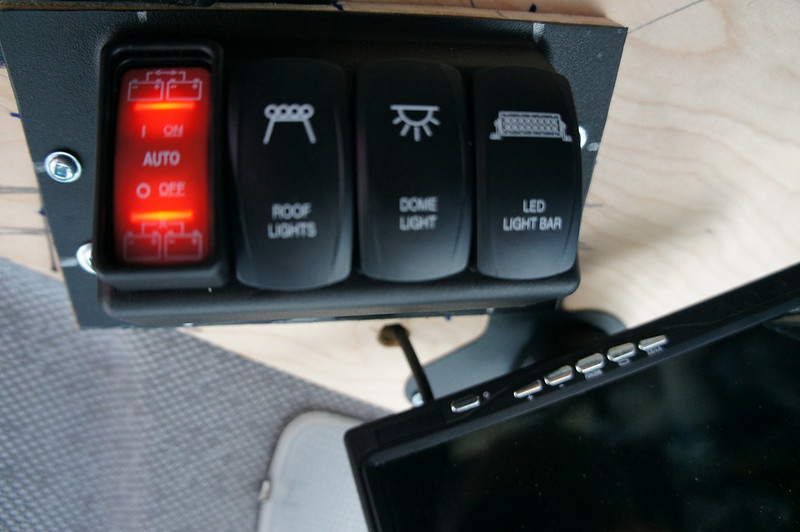
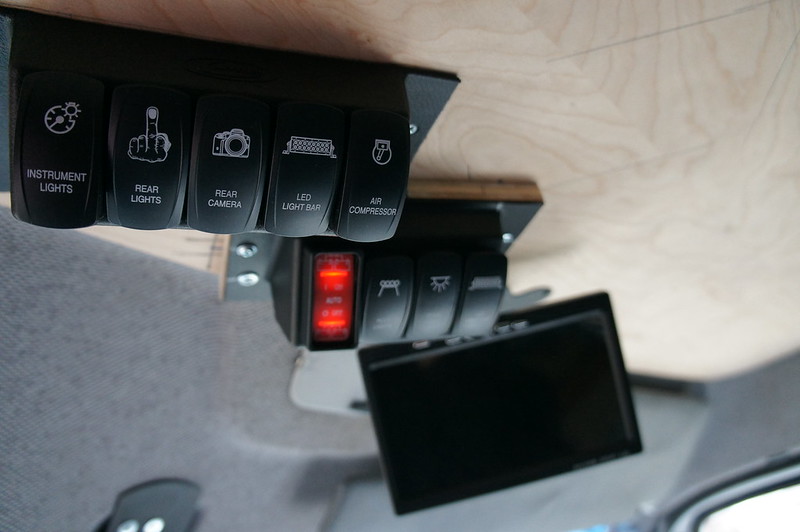
First up is the Overhead Switch panel.


I do not anticipate adding any more switches at this time; which is good, because I have not room! The farthest left switch reads LED Light Bar, but actual controls the recirculation damper. I also ran wires for backup and side LED light strips. Relays in the electrical cabinet and ran 18-7 wire from the switch bank for driving the relays. I discovered I had my wiring diagram off in regards to my dash splices. So after some switching around all the switches work! I now have headlight triggered (dimmable) backlights on all the switches. In addition I can control recirculation and the LED light bar can be controlled by the bright/dim headlight switch.

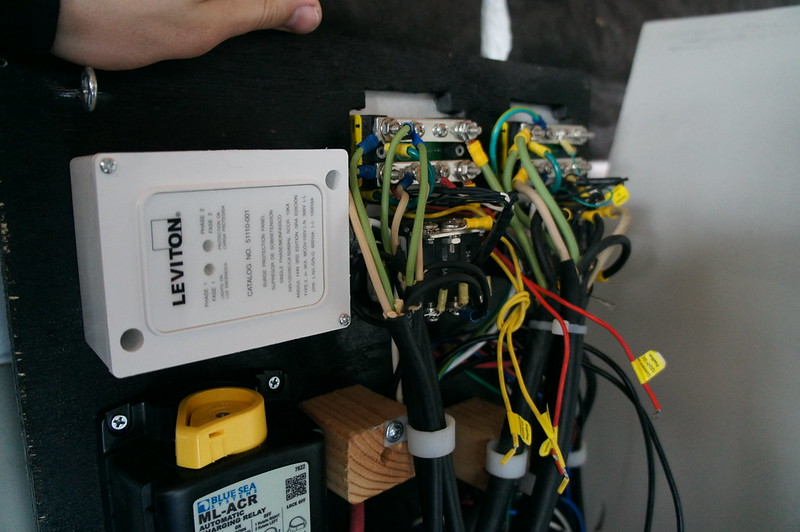
I installed a surge protector.  This unit basically just connects to the incoming power in parallel (through a 20A breaker). In the event of a surge it dumps the surge to ground protecting (hopefully) all the very expensive bits. Not bad for $30

http://amzn.to/1U8fAnN


At this point nothing more will fit in this cabinet! I am glad I made it bigger than I originally planned.

The galley drawers are coming along well. We decided on 15lb pull soft close slides for the drawers.


We managed to trap a half full paint can inside one of the pantry pull outs…


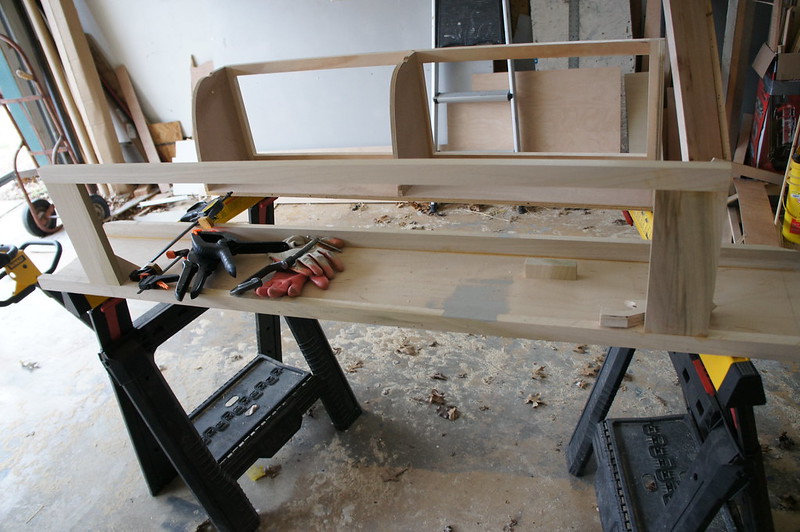
The cabinet/shelf above the rear doors is mostly together.


I need to work out the details on the inside shower hookups. Once that plumbing is done final assembly can begin. We have the wallpaper as well, so one day we may even start covering wall panels.