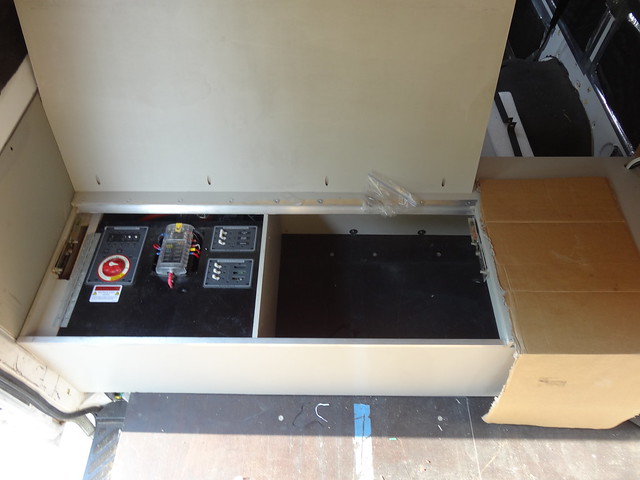
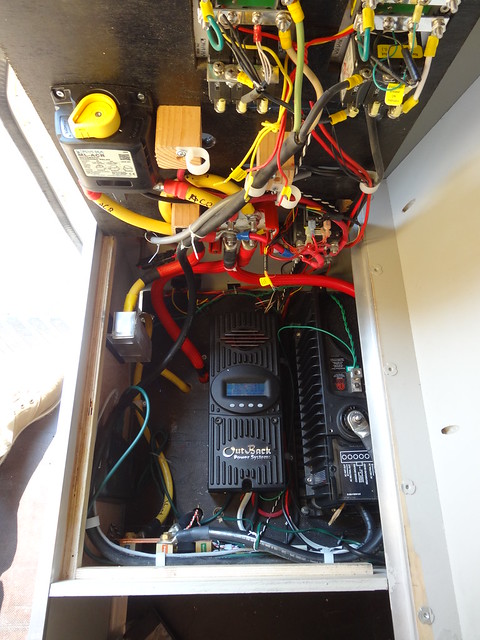
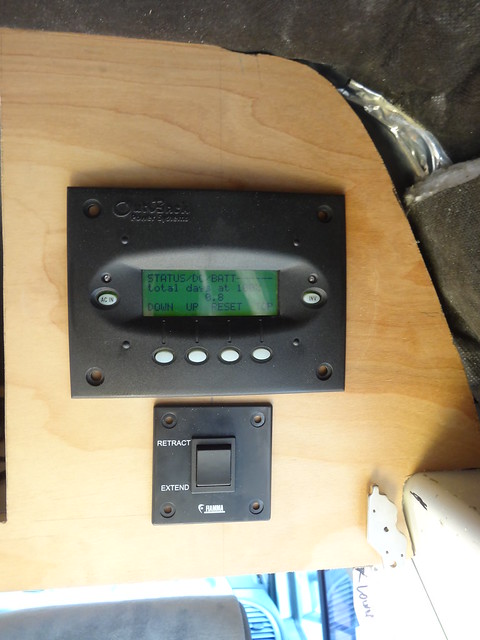
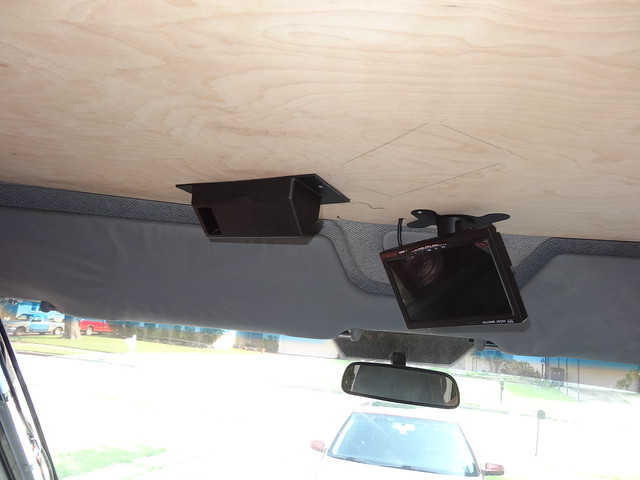
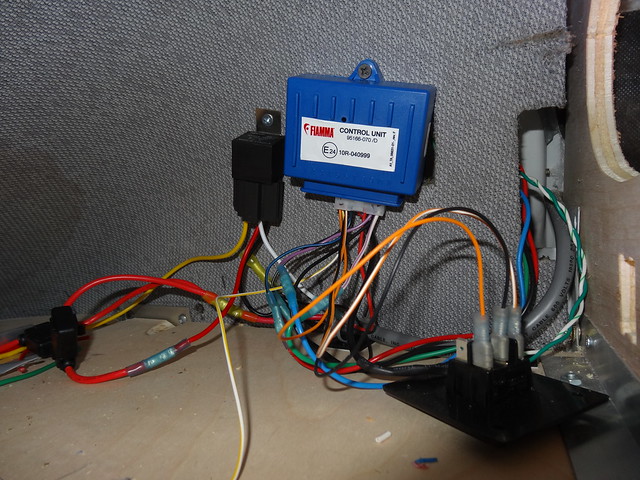
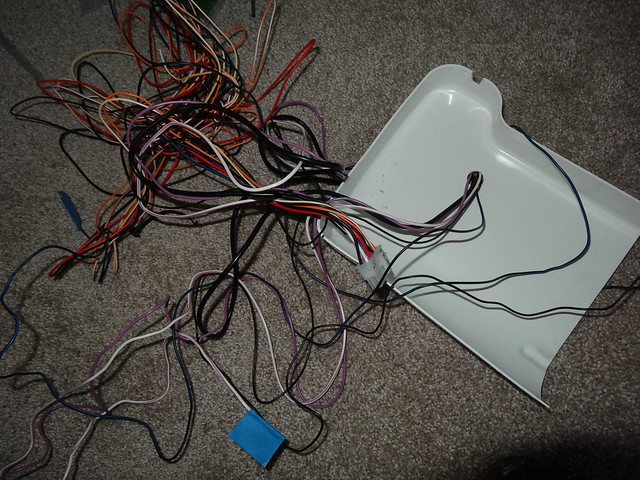
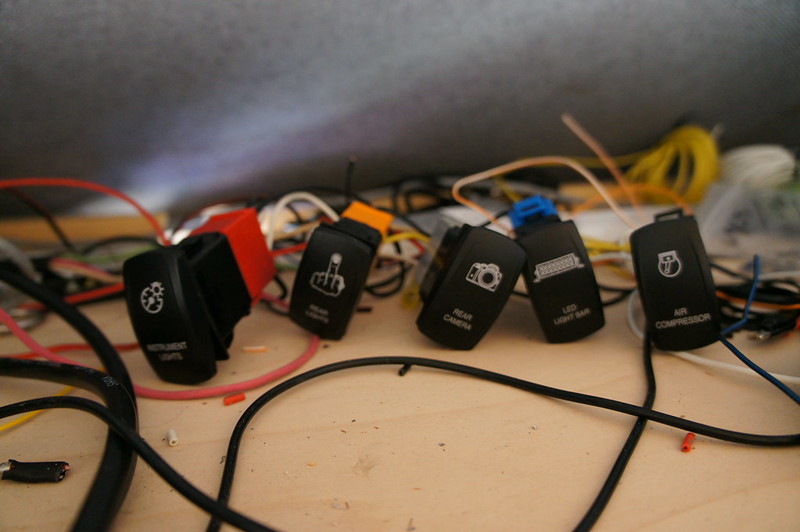
First up the overhead switch panel is installed. Sadly I spliced the wrong wire for the high beams and got the low beams instead! A fix for another day I guess. Lesson learned, double check all wire splices prior to re-assembling the dash...

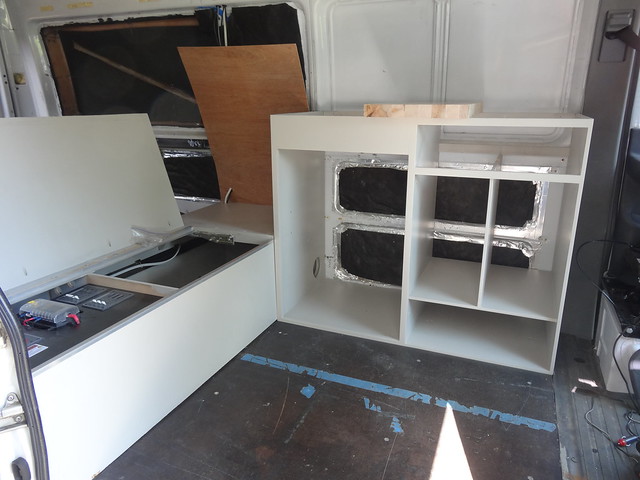
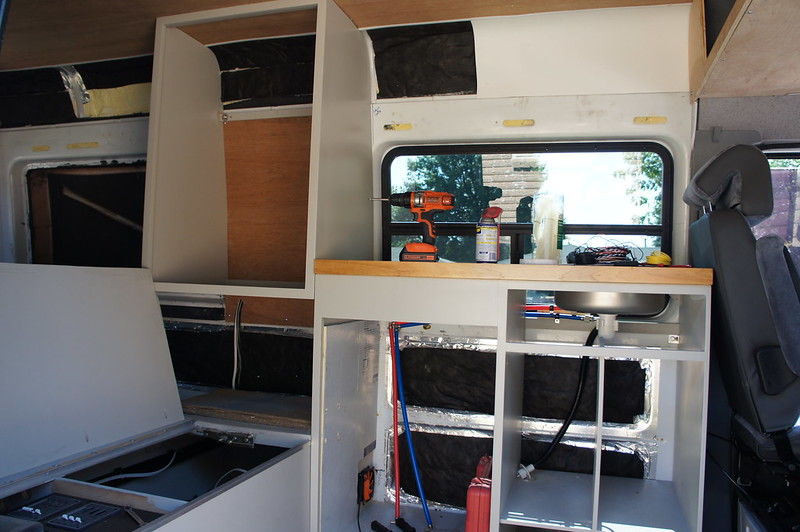
The vertical cabinet shell is mounted. I used 1/4-20 rivnuts in the roof and wall ribs. I also have the over galley cabinet parts all cut, just need a few hours to assemble.
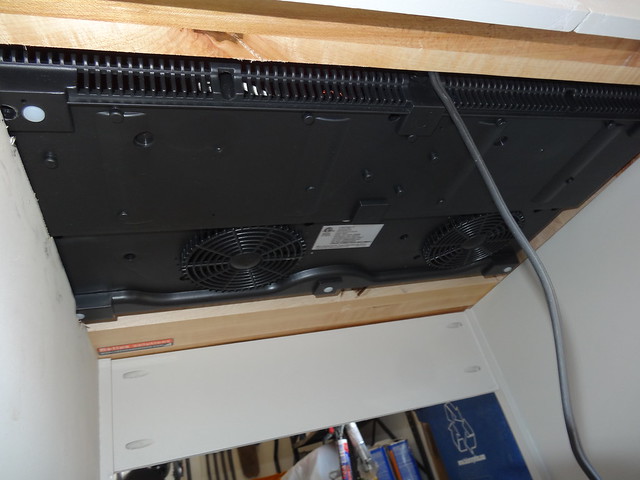
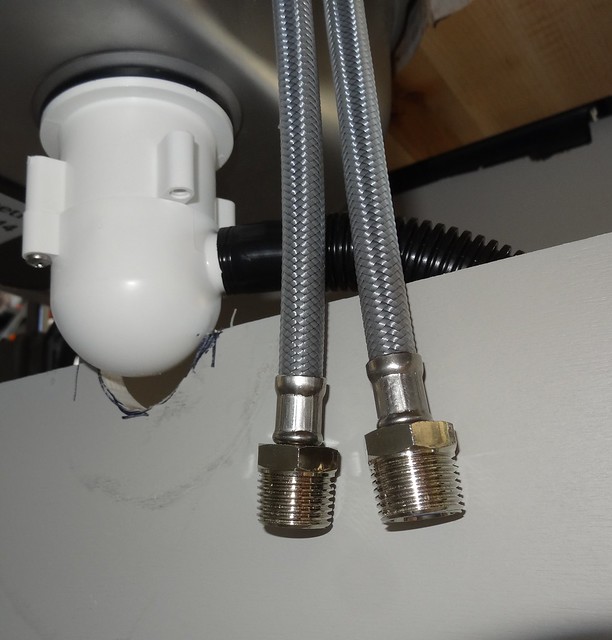
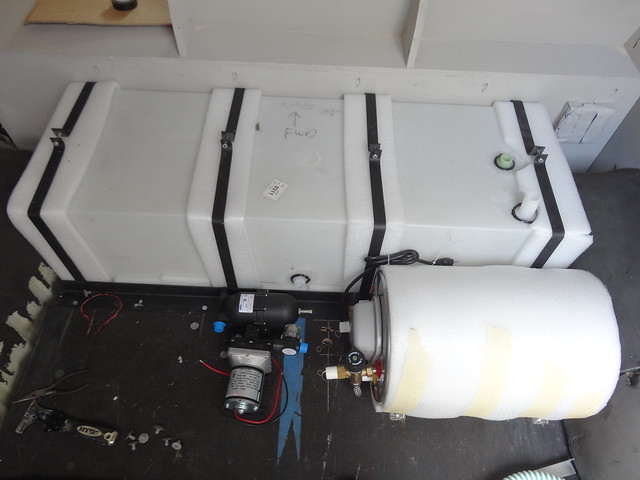
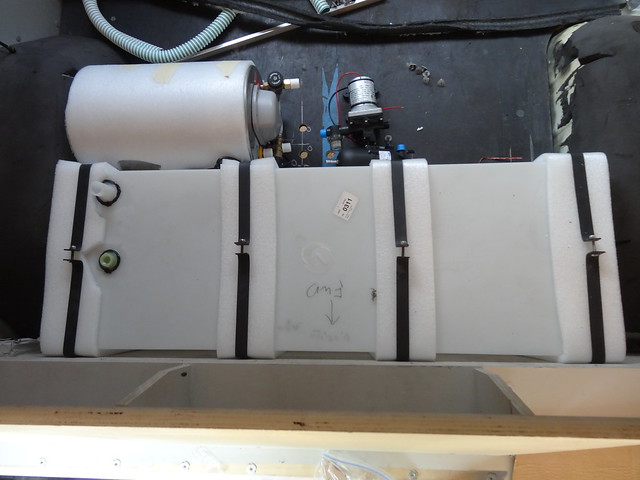
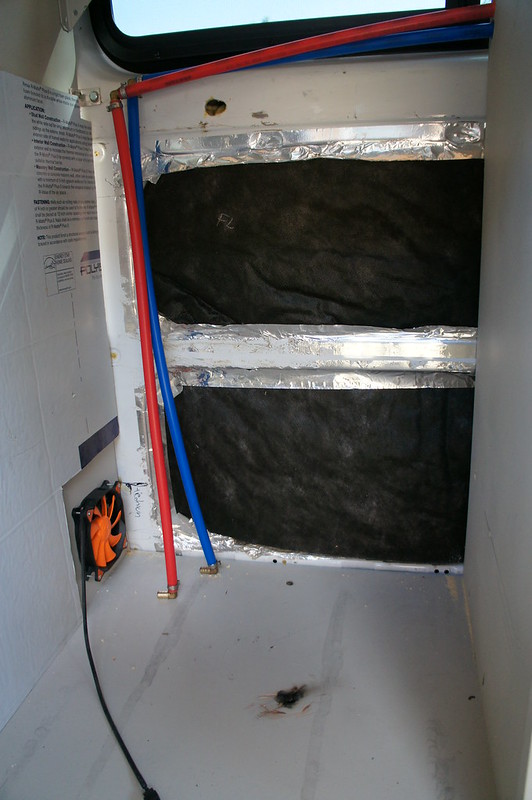
I also started running the water lines in the galley and mounted the fridge auxiliary vent fan. I still need to figure out drain line routing, and then we can dive into finishing all the drawers for the galley.
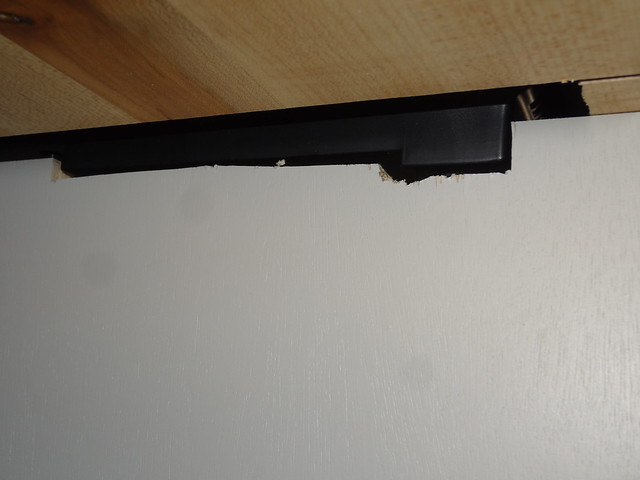
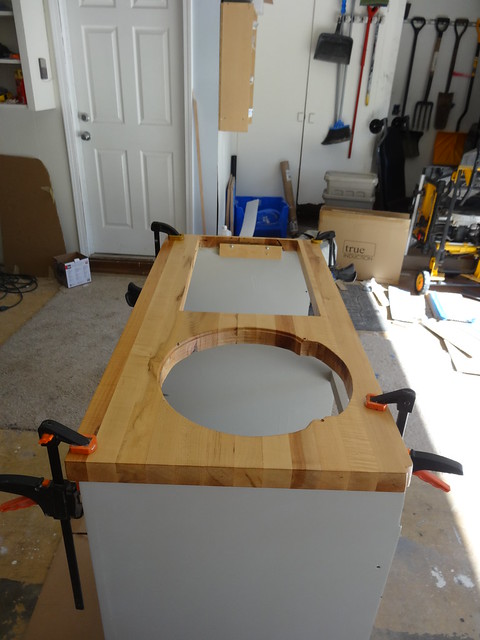
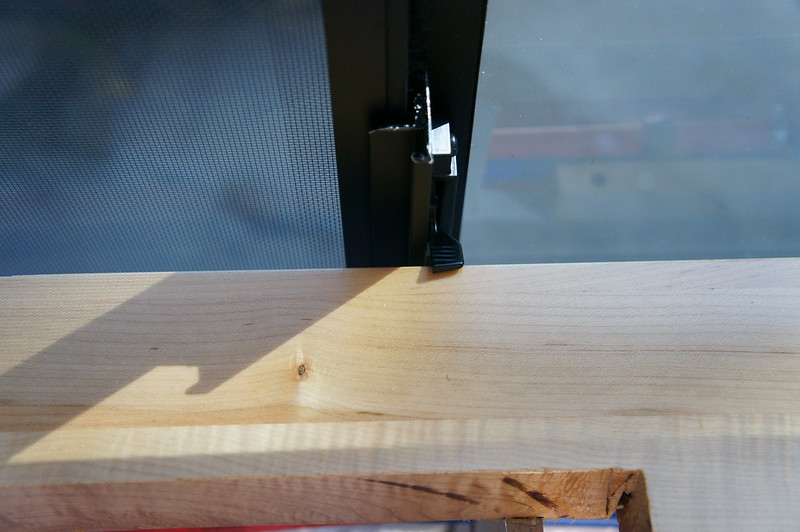
I discovered that the galley counterytop interferes with the sliding window latch. Not a big deal, I will just trim it about 3/8" next time I remove the galley.
I ordered some monstaliner for testing purposes. Should arrive next week. I am hoping to get the van painted/coated before the end of October. A friend has graciously offered to let us use his Hangar for painting so we can stay clear of the crazy Oklahoma wind.
The vertical cabinet shell is mounted. I used 1/4-20 rivnuts in the roof and wall ribs. I also have the over galley cabinet parts all cut, just need a few hours to assemble.
I also started running the water lines in the galley and mounted the fridge auxiliary vent fan. I still need to figure out drain line routing, and then we can dive into finishing all the drawers for the galley.
I discovered that the galley counterytop interferes with the sliding window latch. Not a big deal, I will just trim it about 3/8" next time I remove the galley.
I ordered some monstaliner for testing purposes. Should arrive next week. I am hoping to get the van painted/coated before the end of October. A friend has graciously offered to let us use his Hangar for painting so we can stay clear of the crazy Oklahoma wind.
The motion windows arrived Wednesday 2 weeks ago, so the weekend was filled with window madness.
First up was the sliding window. Since I already had a window in this location no sheetmetal cutting was required. I started by cutting the inside of the rubber seal, and pressing the OEM window out. Anyone need a stock slider window?
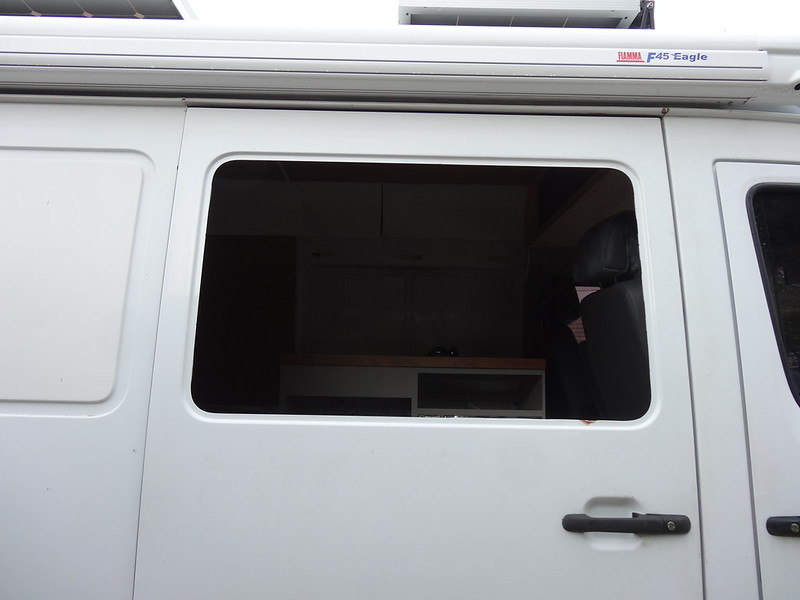
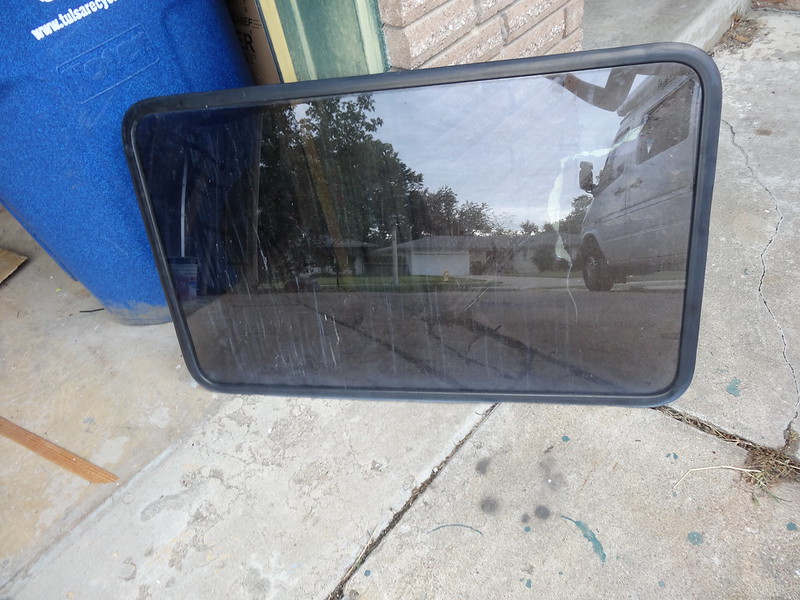
I had a bit of minor rust to clean up.

Here is the inside of the window. Note that these are tempered glass, which while very strong, is vulnerable to sharp impacts. Dropping a screwdriver from waist height could shatter the glass.
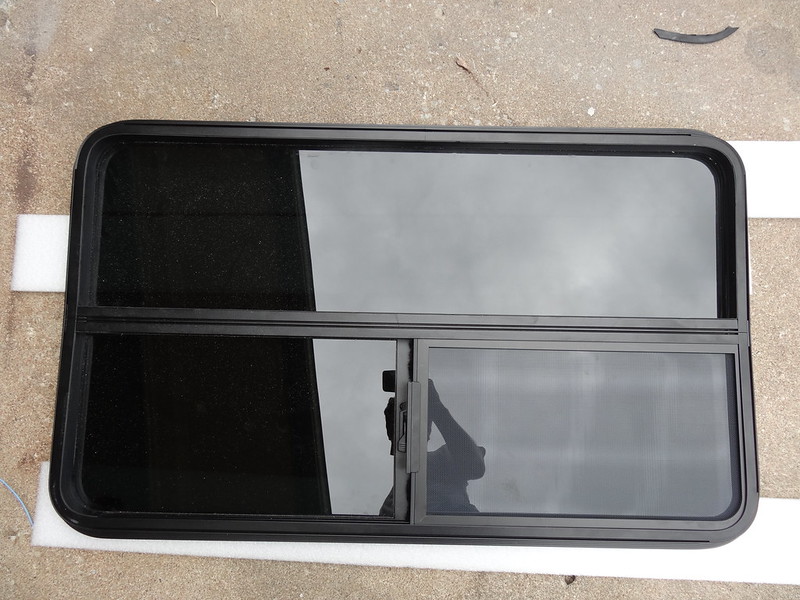
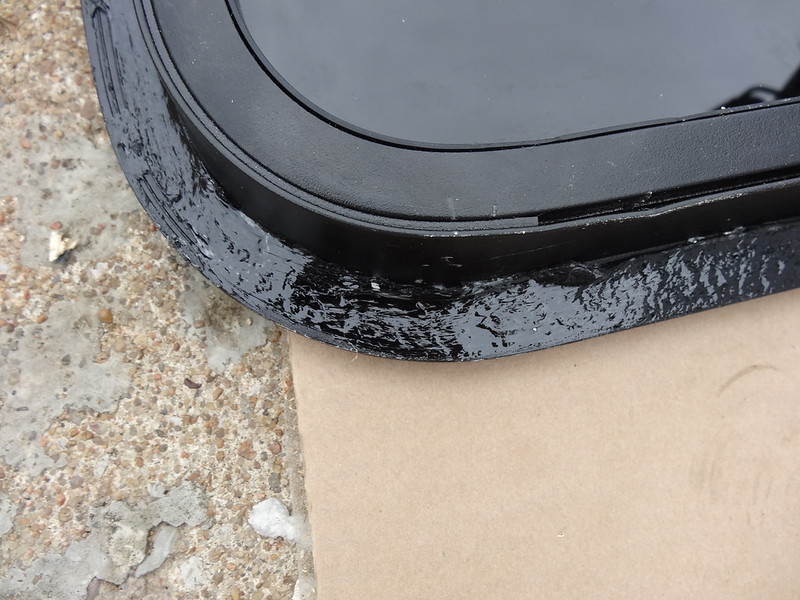
Have a helper assist you in holding the window from the outside. Using a drill (with adjustable drive torque) attach the trim ring using the provided screws. Get the trim ring centered first, and then slowly apply the screws, gradual adjust the torque up and do a 2nd and 3rd tightening of the screws. When you are done the foam gasket should make contact all the way around.
These windows have a specific top and bottom. I attempted to rotate the driver side window 180 degrees, as this improves access due to my tall galley. I drilled mirror images of the drain holes in the opposite side. Note that this DID NOT WORK. There is a single seam in the aluminum frame; this seam is on the top normally. Flipping the window resulted in this seam being on the bottom. The drain holes I drilled worked, but the seam slowly leaked water. If I had sealed the seam this may not have been an issue, but I was unwilling to risk leaks, especially behind the galley.
Here is the seam.
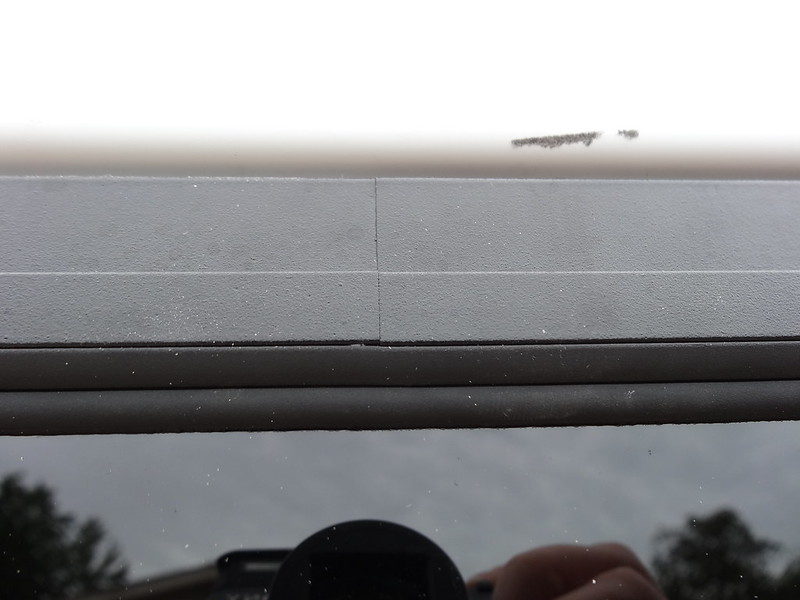
Here are the drain holes.
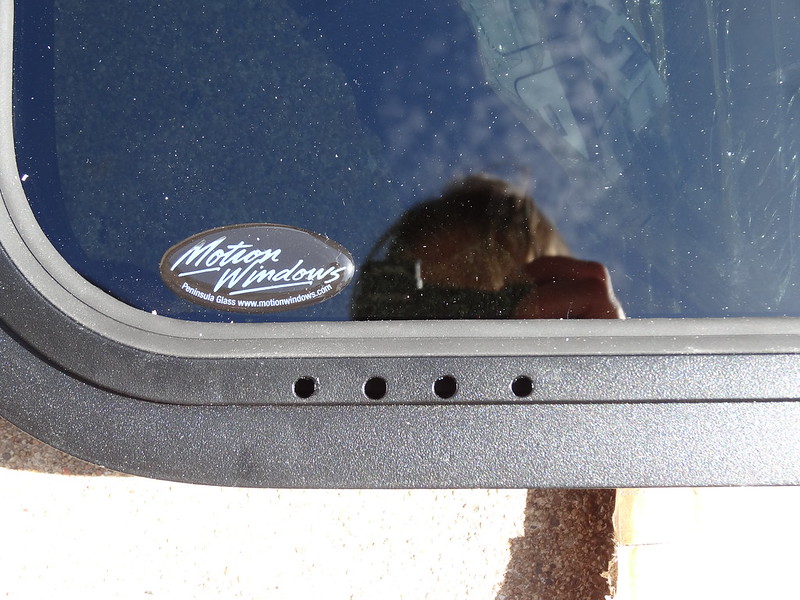
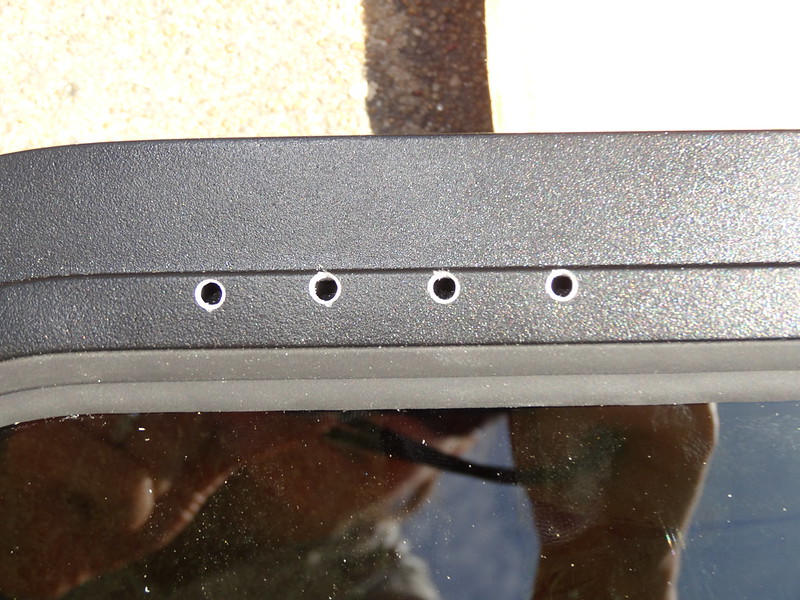
To install the driver’s side window I used the trim ring as a template and traced it to the van. I drilled ½” holes for tooling access. I used a jig saw with a metal cutting blade (fine tooth count) and an electric metal shear. Make sure to protect the van paint using masking tape or similar.
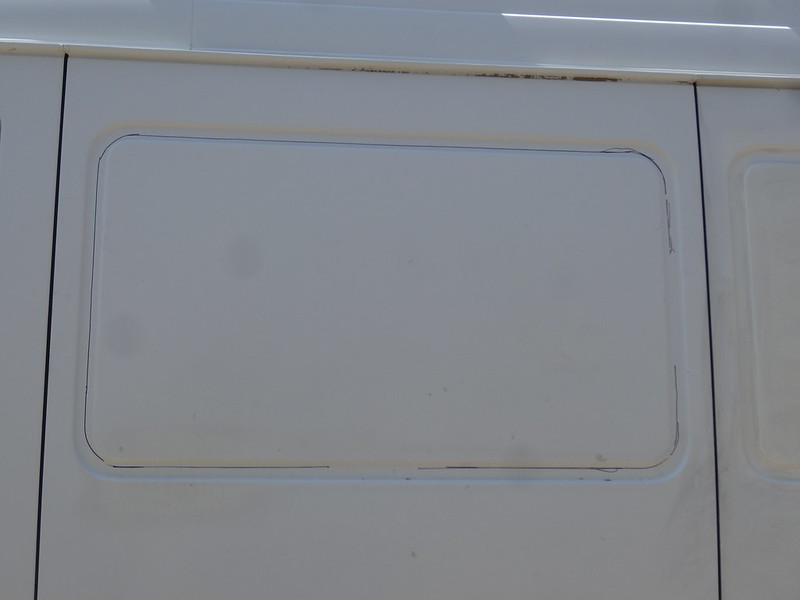
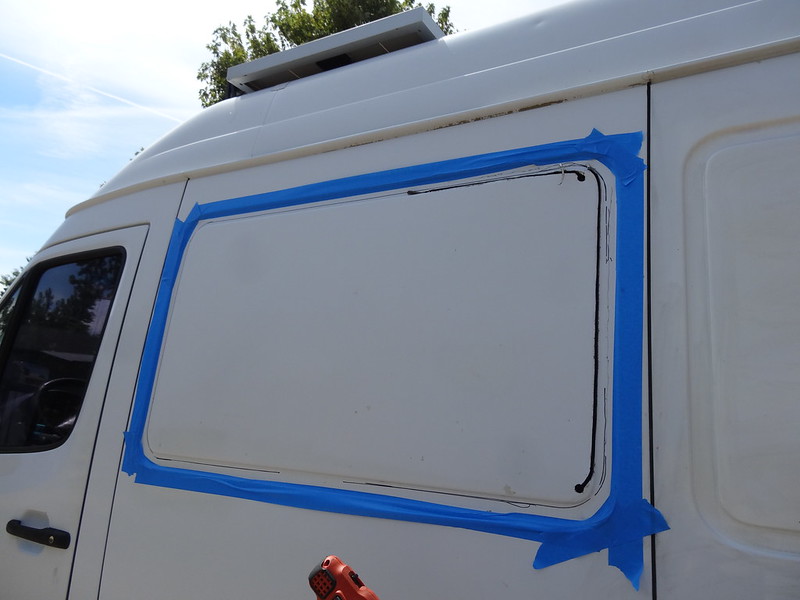
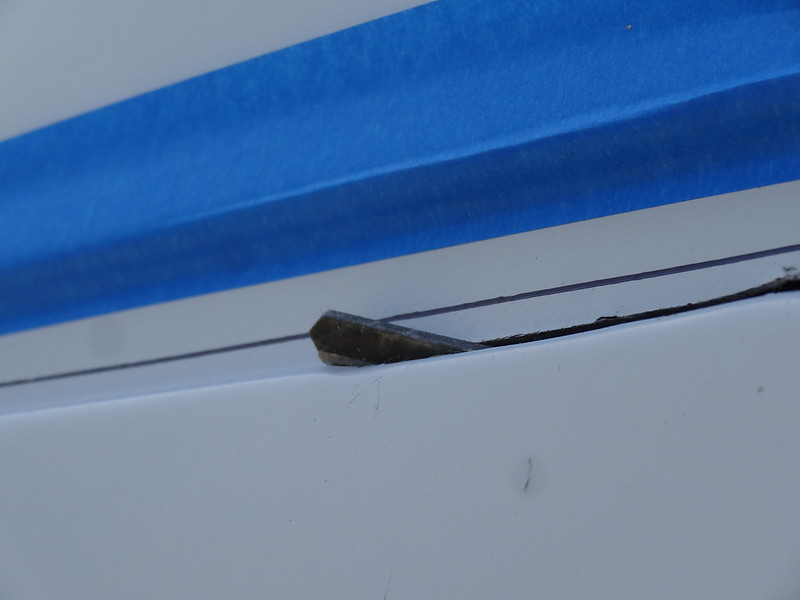
When I was finished cutting (and check fitting) I primed the bare metal edge.
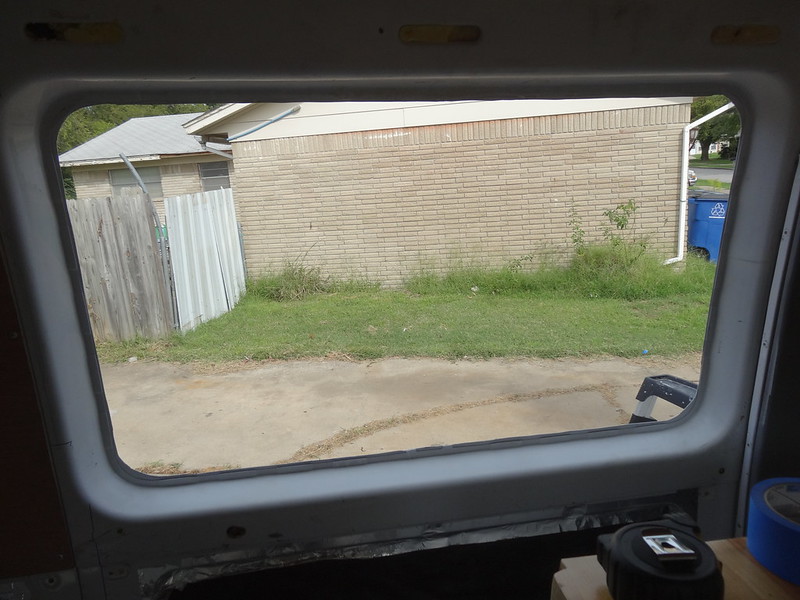
Here is how the corners should look.
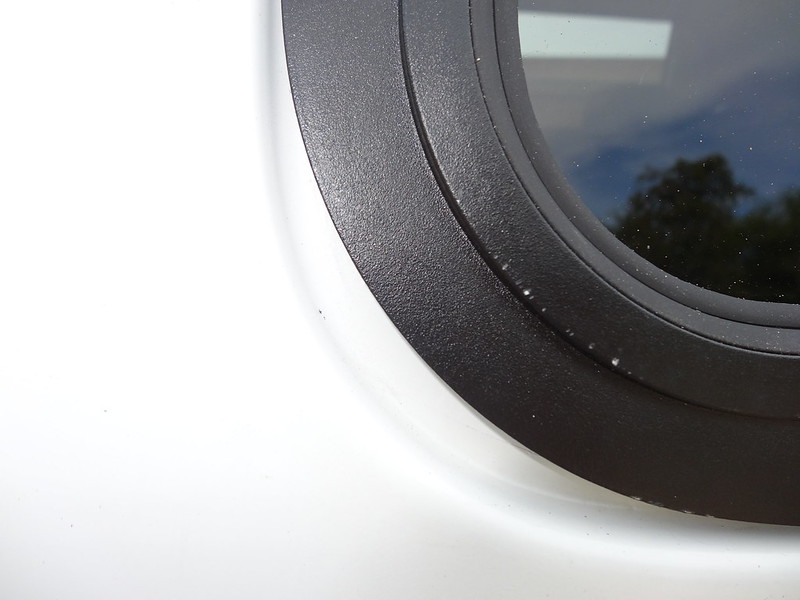
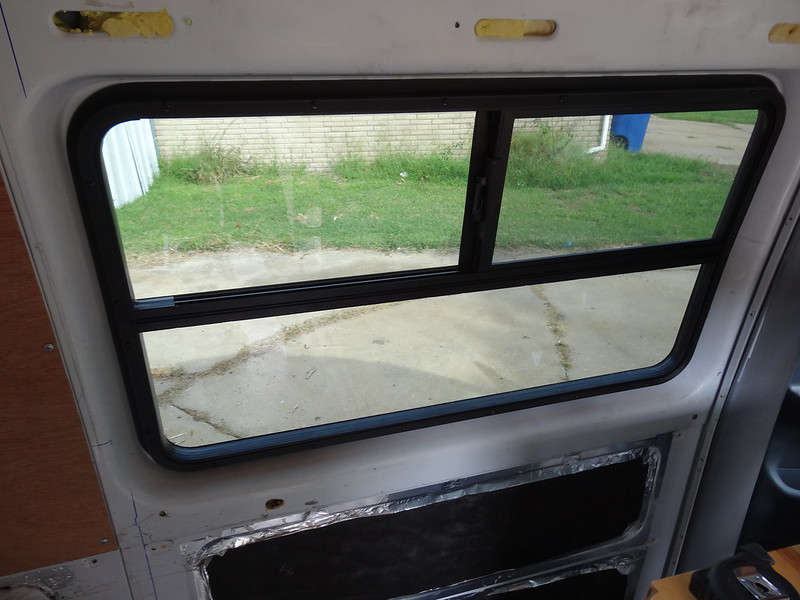
Due to the leak described above, and another leak at the upper aft corner I removed the window and reinstalled it right side up. I had issues getting the aft-left corner to seal properly. Either the frame, or the van was slightly bent. No amount of torque on the frame screws would put enough pressure on the foam tape. To solve this I used a small bead of clear urethane around the window frame. Note that the tape is still stuck to the van after I removed the window, and was re-used.
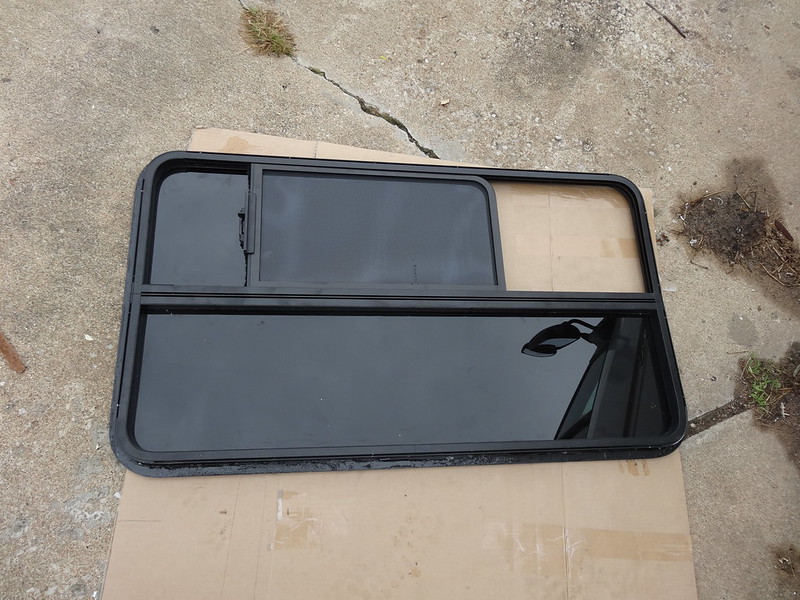

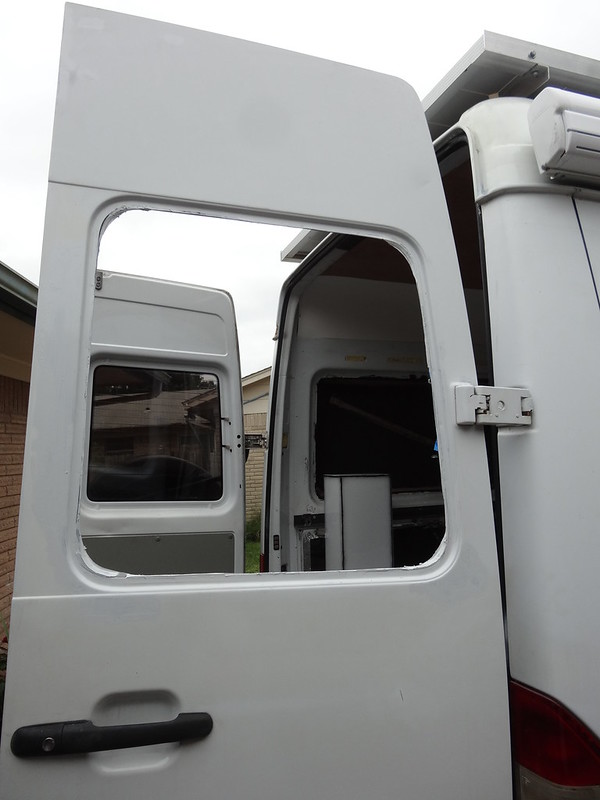
The rear passenger side window was a bit more work. I used a spring loaded center punch to shatter the glass (this took several tries, tough stuff!). The tint film held the window together so I was able to remove mostly in one piece.
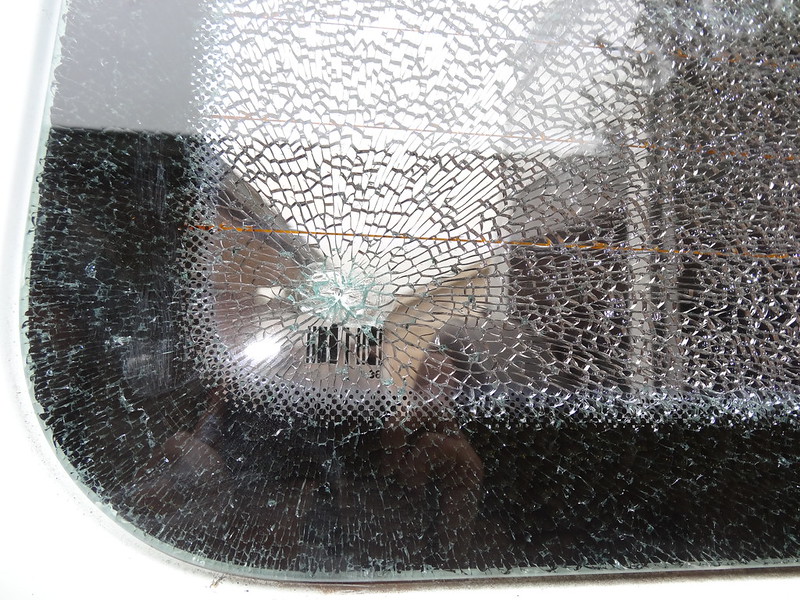
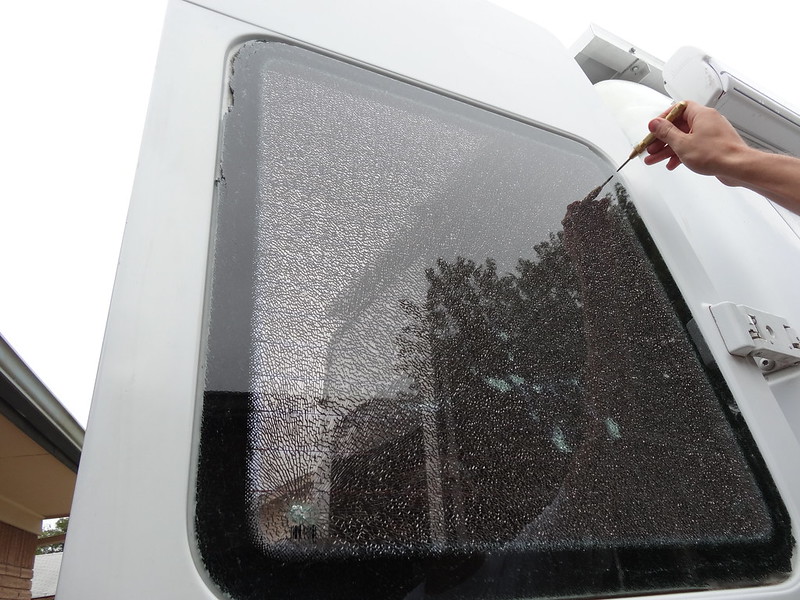
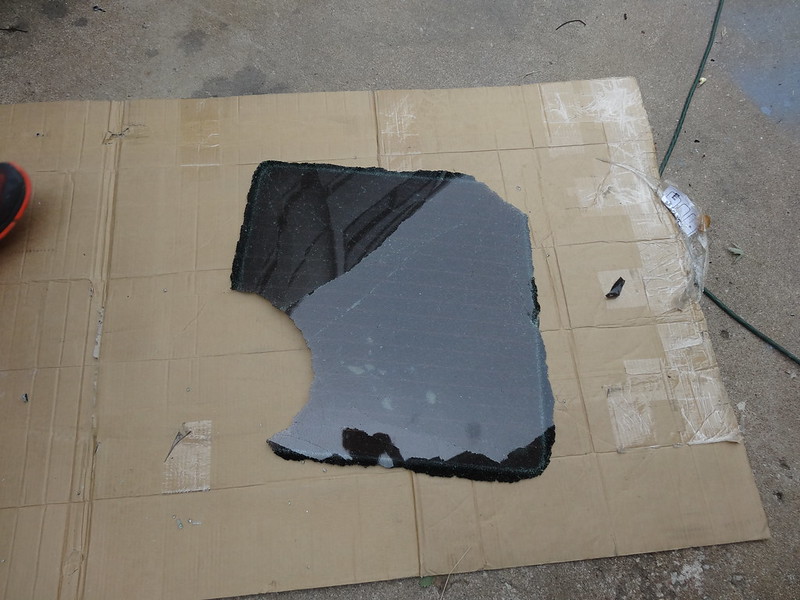
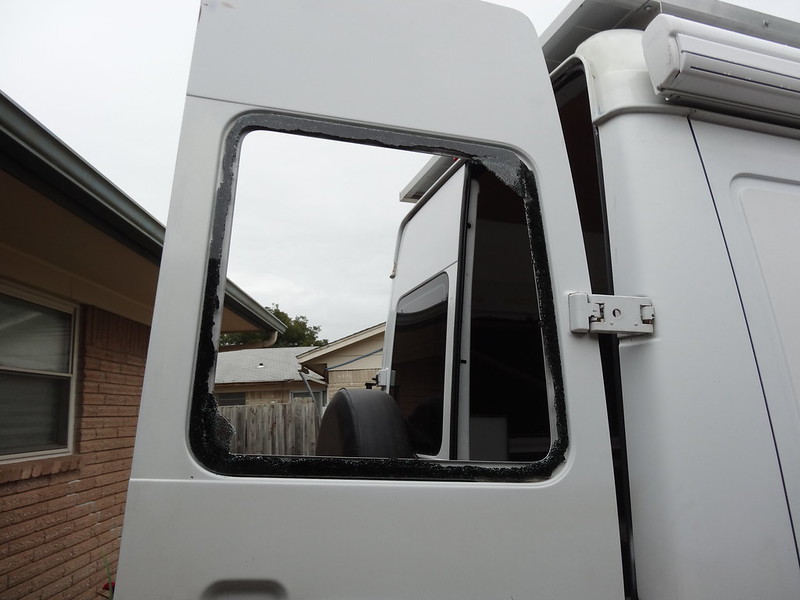
Using a box cutter and several sharp scrapers I cut the remaining glass and adhesive away.
This window was a bit more tricky to cut due to the sheet metal profile. I traced the trim ring again, and trimmed the excess sheet metal away and primed the bare metal edges.
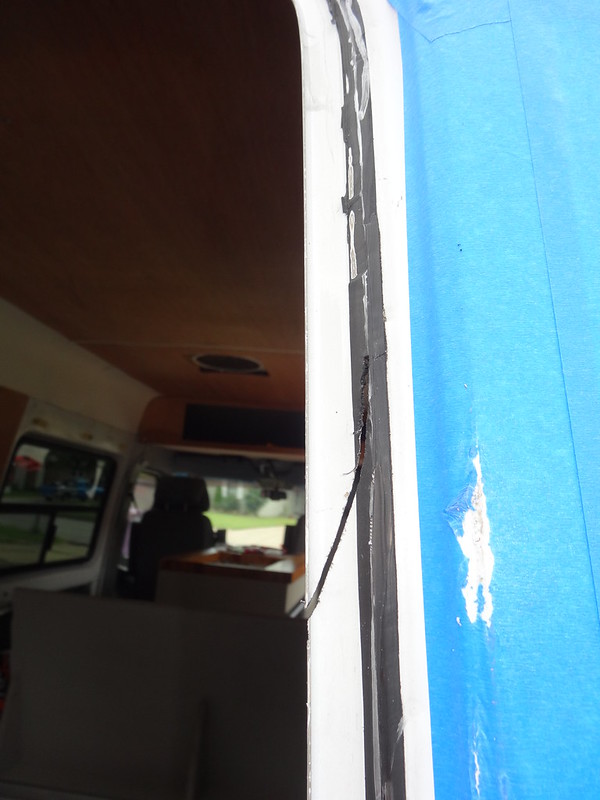

Here is where the worthless sprinter paint rears its head. The masking tape I applied to protect the paint from the jigsaw did more damage than anything. Peeling the tape off removed 10+ square inches of paint and primer leaving only the first primer layer behind.
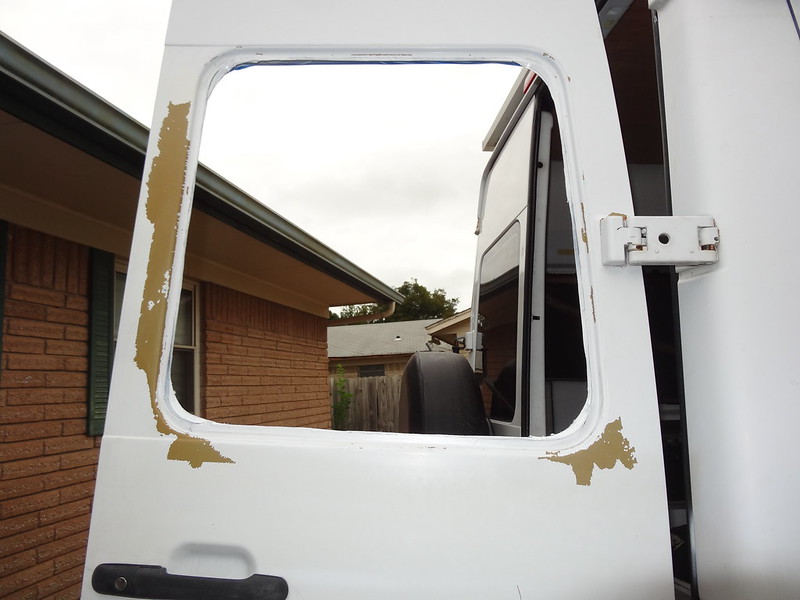
So I did a quick sand and prep, and slapped some arctic white paint I had left over from the window flare. It looks slightly less terrible…
At this point my brave and courageous camera gave up its ghost. After years on the road in our bags and backpacks; multiple continents, falls, abuse, 2 disassemblies for cleanings, the lens motor gears stripped. Rest in peace my friend; your replacement will surely be a different brand.
So, no more pictures of the windows.
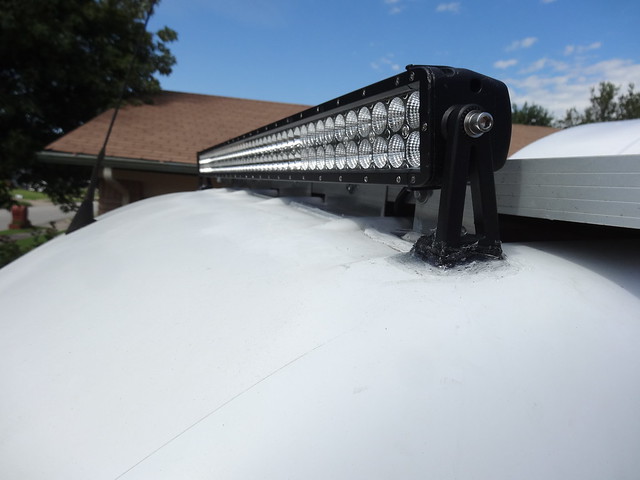
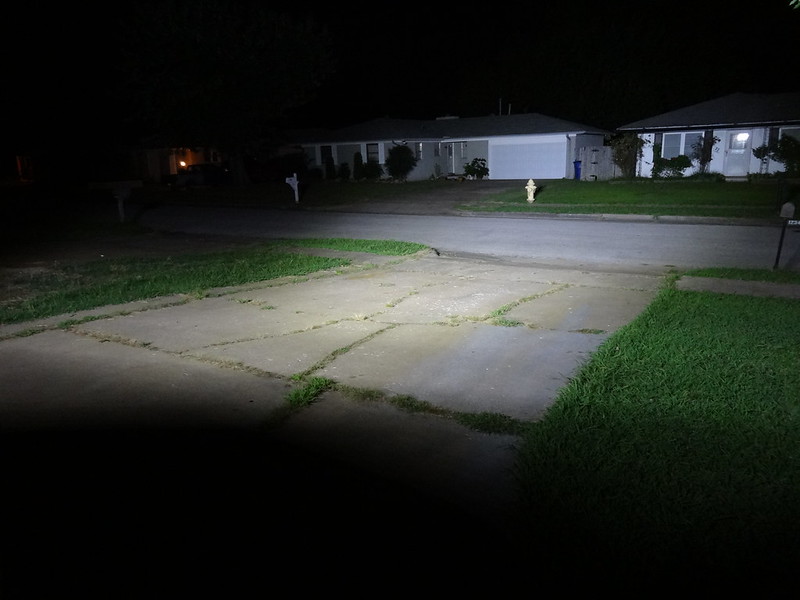
We also had a chance to test the LED light bar earlier. It works very well.
This photo is the light bar by itself.
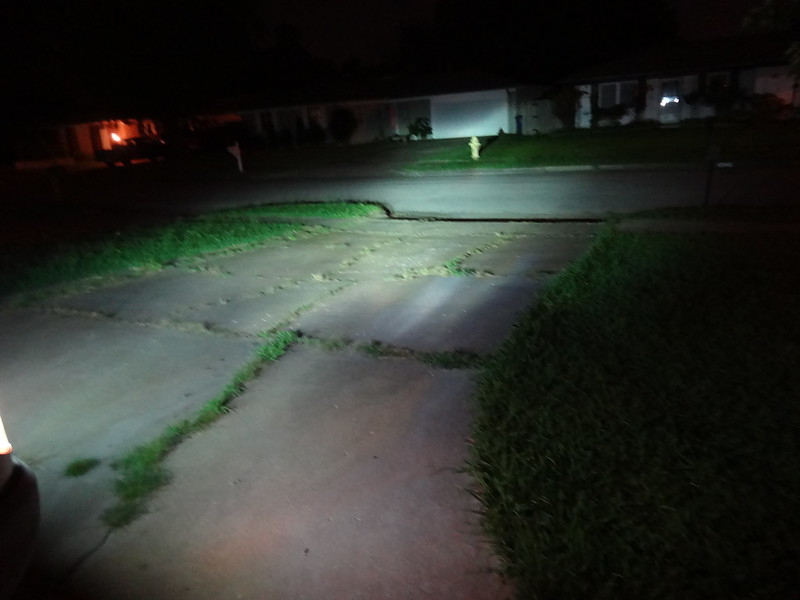
Here is the regular headlights. Note that I have HID bulbs instead of the stock incandescents. They are much brighter than stock.
Here is both regular lights and light bar.
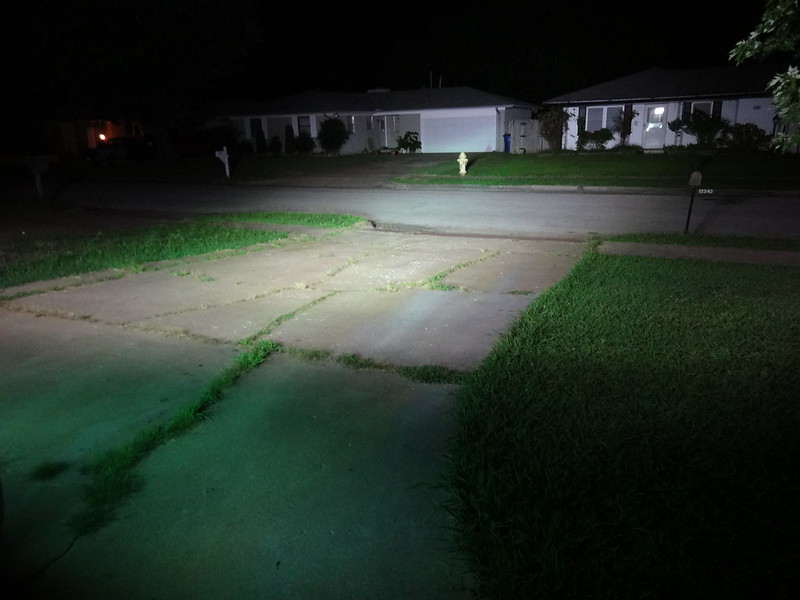
Its difficult to see the difference in photos as I didn't take the time to manually set the shutter and iso settings (to many mosquitoes). There is a light in the left hand corner in the photos you will notice how much brighter it appears in the headlight only photo.
Results? I need to aim the bar a bit higher, but the output is at least double the stock headlights at near range, and far superior at distance and to the sides. Not bad for $100!
We are starting to near the final stretch. We are expecting to take off in April-May timeframe. Whenever we hit our savings goal really. Which means every extra dollar I spend is another 3 minutes behind a desk. Oh, the agony! At this point I just want to drop everything and just get this project finished! Having to be a responsible adult sucks (most of the time).