Monday, May 18, 2015

Spring Update

A bit overdue, but welcomed nonetheless;  The van is making steady progress towards something camper-ish. 

We have almost finished the preparation stage, and are moving into the actual build-out.

Closing out the mechanical prep is an air system using a Viair constant duty air kit.  It is mounted beneath the van near the rear axle.  The purpose of this unit is to provide compressed air for inflating tires, and the air suspension on the air-ride seats that we just finished installing.  It will also power an air horn (yet to be purchased) and possibly rear air bags for leveling purposes.


While I was getting down and dirty I decided to extend the exhaust all the way to the rear.  The original exhaust ended just past the sliding door, the extension helps prevent exhaust from getting pulled into the cab at low speeds.


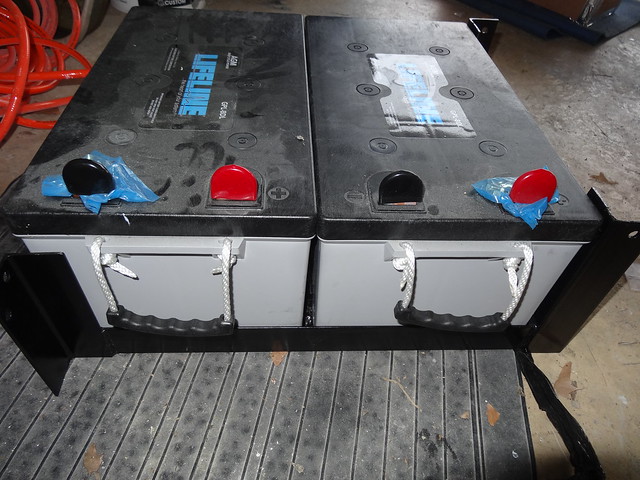
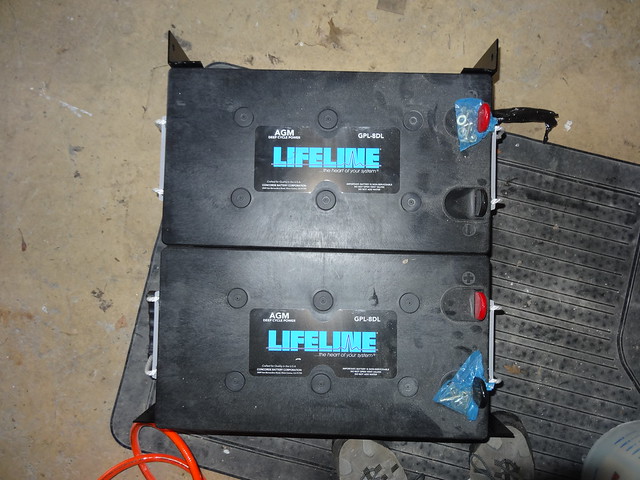
The battery bank has been installed and some of the cables made.  The bank weighs about 300lbs and is mounted aft of the rear axle where the spare tire normally goes.  Getting the batteries mounted was quite the ordeal.  I gave up on using pure muscle, and bought a transmission jack.  After that it went quite smoothly!  Never under estimate the value of correct tools.  Now I have to find a reason to use this tool again (can you see how I make more work for myself?).


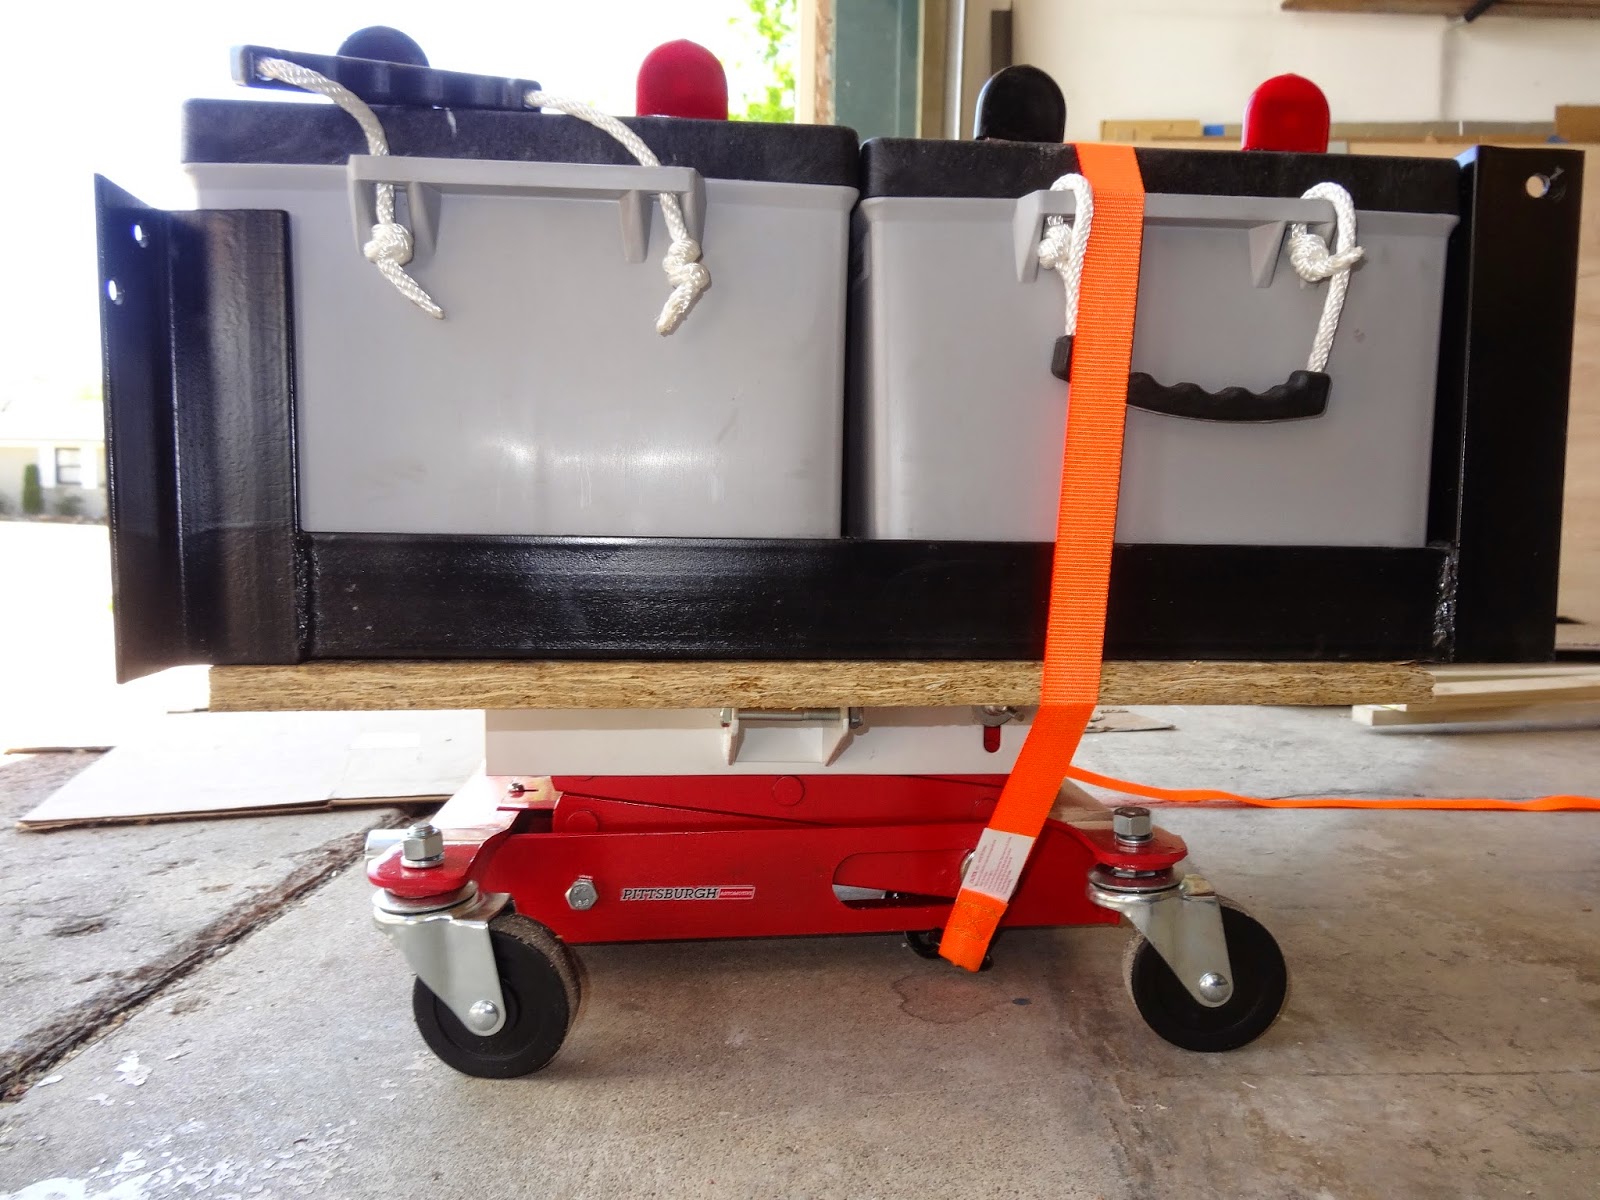


A little nudge to get everything lined up....


You can see how tight the clearance between the batteries and the van floor is.  The goal was to put the batteries up as high as possible in order to prevent and reductions in departure angle.  I regret not leaving additional space, as the installing and routing the cables is proving to be difficult.


The interior walls/ceiling, and the hood have been insulated with Thinsulate automotive insulation.  This is a hydrophobic noise blocking material that resembles standard fiberglass (minus the itchiness) and has an R value of about 6/inch.  Also the cab floor and step wells have been insulated with ½” neoprene foam.


I finally got the motivation to install the power lock wiring and controller.  The van now has fully functional power locks!


The head lights were fairly dim and the lenses dully.  I sanded and painted the lenses with UV resistant clear coat, and upgraded the bulbs to HID lights.  The kit was less than $60!  The lighting is MUCH improved.


Just recently we started building the galley cabinet.  It will accommodated a double burner induction cooktop, 15in sink, and an enormous C115i Vitrifrigo fridge.  These cabinets will all be worked to a smooth finish and painted with a gray semigloss paint.  The once cavernous interior is rapidly becoming crowded.


The bench seat is coming along.  This cabinet will span the entire width of the van.  It will accommodate the inverter and electrical distribution box.


Unfortunately, it doesn't fit! There is a small raised area (about 3/8s of an inch) on the aft edge of the sliding door.  The bench wont clear it, so at this point we cant get the cabinet into the van.  We have a couple of positions left to try, but the last resort is to shorten the cabinet enough to fit pas the door.  I would really hate to do that, mostly because wasting space feels nearly criminal!


About 6 weeks ago we ordered some new seats for the van.  Jen has this requirement of adjustable headrests (which usually means expensive).  These new seats have an integral air ride suspension with 4" of travel, dual armrests, and 3 way adjustable lumbar.


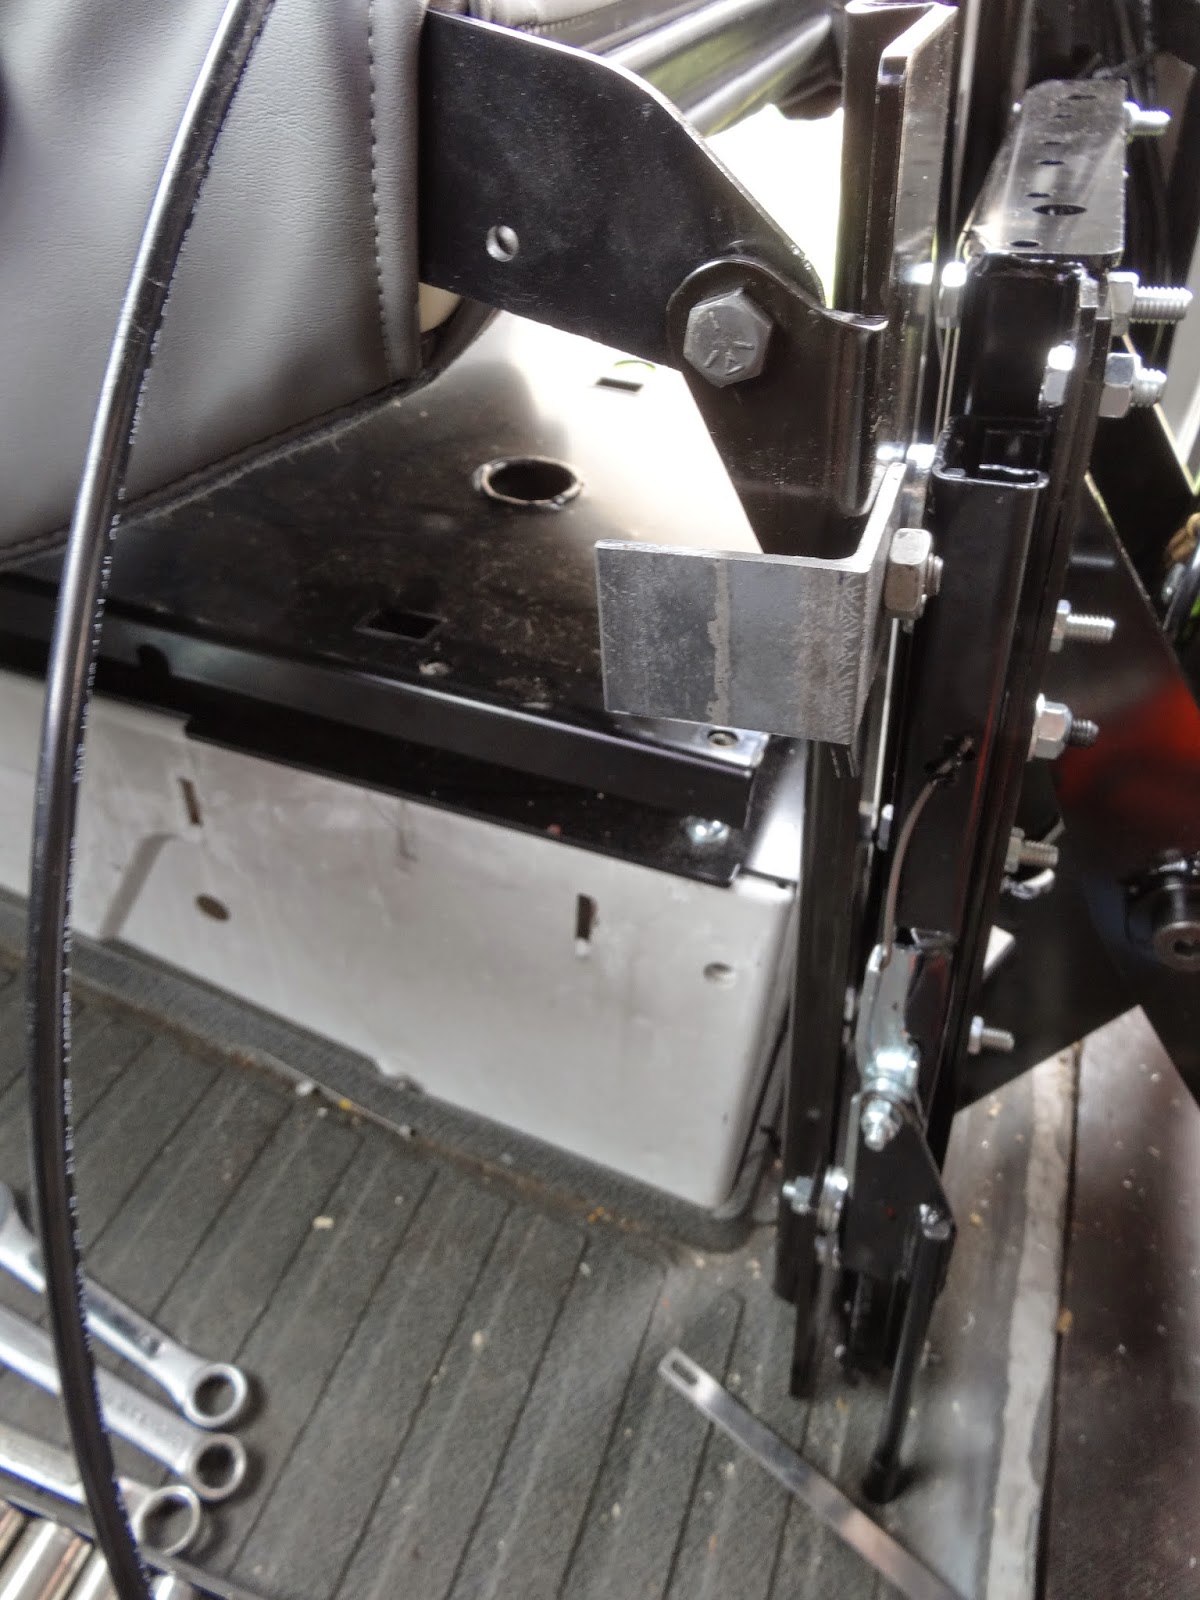
These seats don't have seat belt mounts on the seat themselves (instead they are on the mount plate). To get around the belts pulling when the seat moves I am adding mount brackets on the upper seat frame with tie straps to the mounting plate.


Here are the original seats that are being replaced.


Saturday, March 21, 2015

Sleeping Space - A Quest

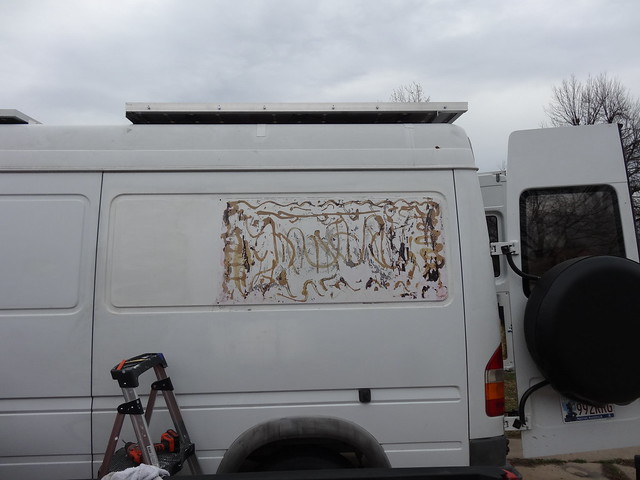
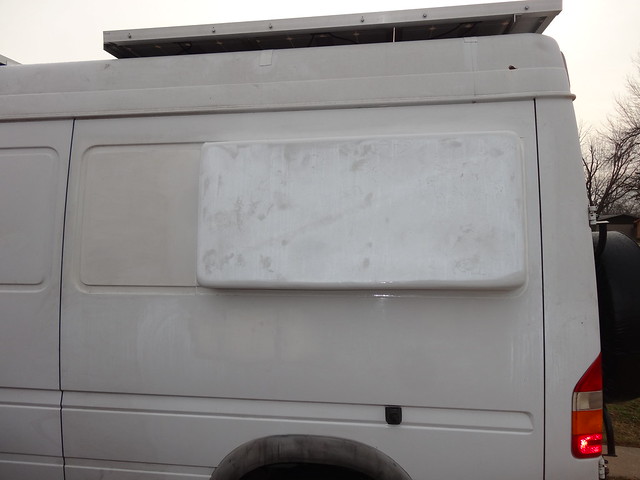
If you saw the earlier post about making a window flare you know we need to use this feature to increase the width of the van, for my 73 inch tall self.

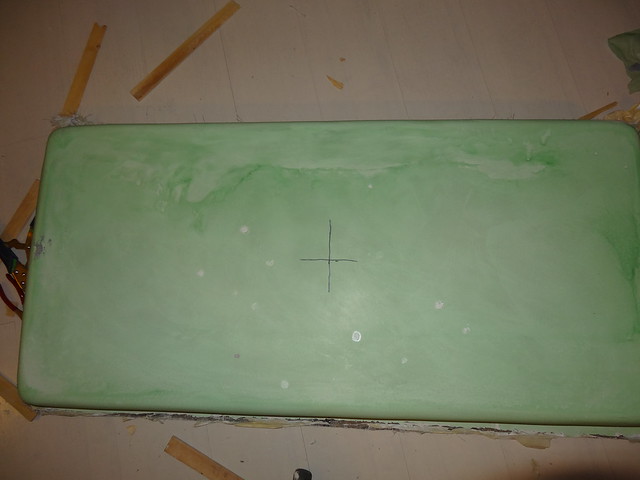
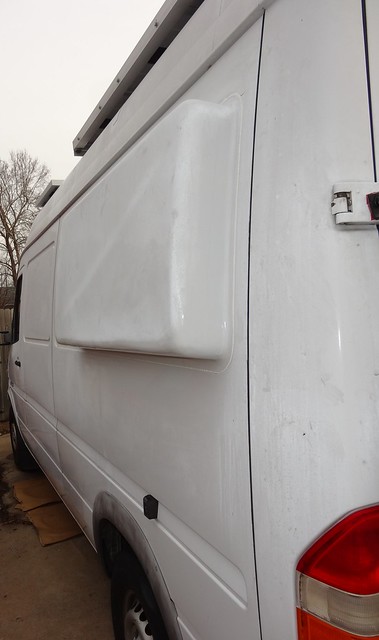
Well, the first attempt at a flare failed pretty badly.  After a few weeks of thinking, I decided I could use the failed flare as a mold and lay-up a new flare inside of it.

First we fill, sand, fill, sand wash and repeat...

DSC07793

Once we have a smooth enough surface mold release wax and polyvinyl alcohol are applied.

DSC07835

I then sprayed gel coat into the mold to seal the yet to be laid fiberglass.

DSC07840

The the lay-up starts.  This consists of cutting various types of fiberglass (cloth/mat) to fit the mold.  Then the layers are applied with catalyzed polyester resin.  This is a time limited process as the resin is curing as you are applying it.  In addition air bubbles must be removed!  Needless to say its not the easiest work.

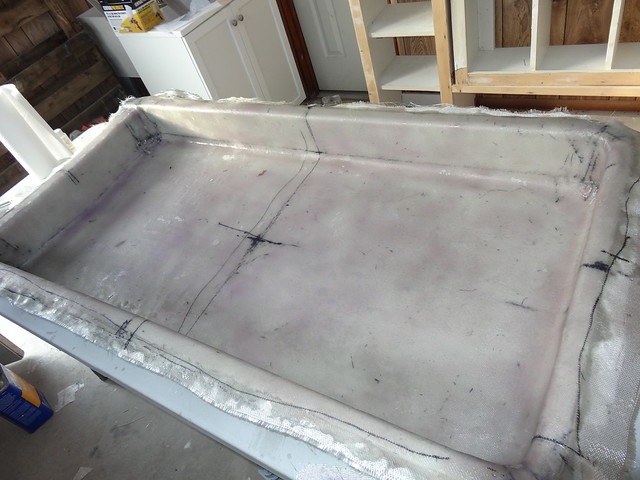
Here is the flare about half way into the lay-up.

DSC07858

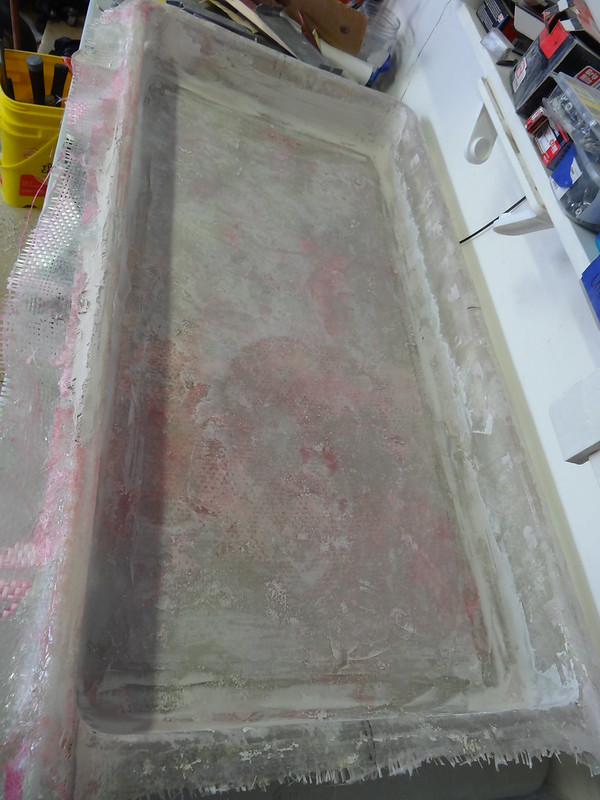
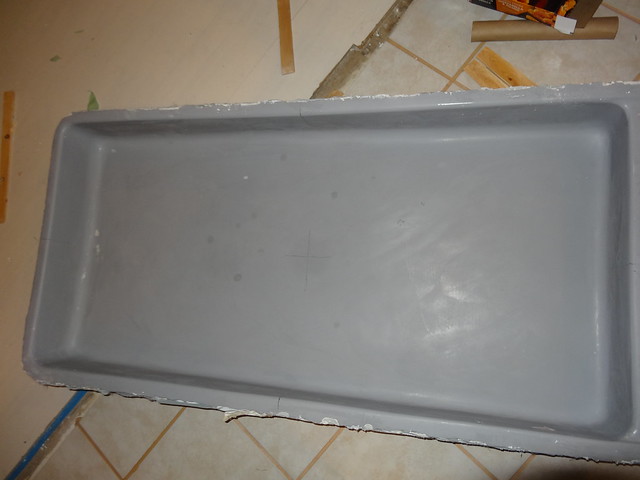
Once the layup is cured, the edges are trimmed and the flare is removed from the mold (at least in theory).  It only took me an hour and a half to separate the 2.  You can see on the left of the photo below where i did not apply enough wax and the mold stuck.

DSC07861

Here is the now flare-less mold.

DSC07863

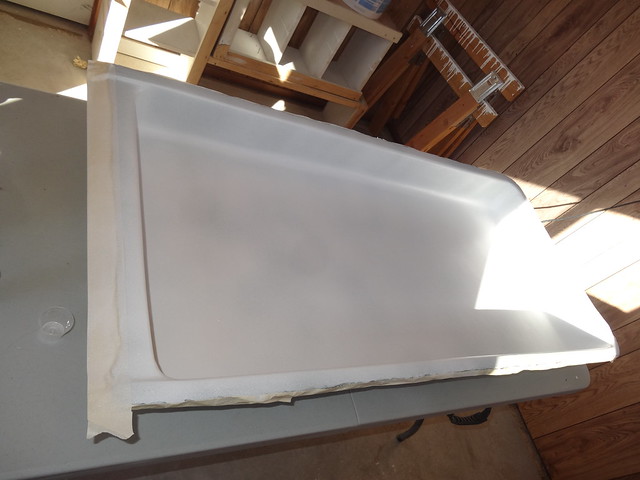
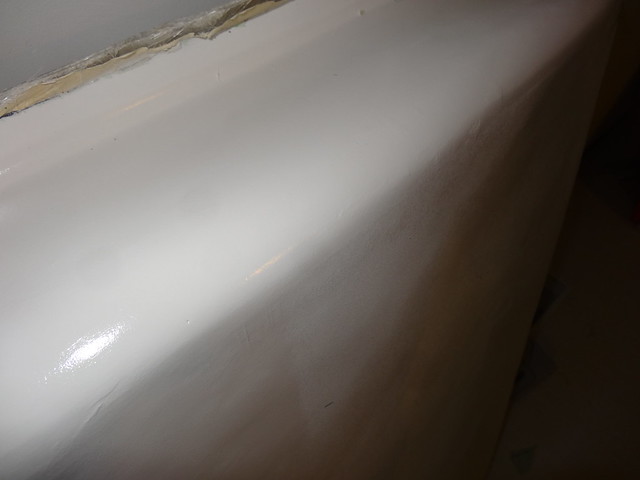
This is the flare's surface after de-molding and water clean up.

DSC07866

I then proceeded to fill, sand, and paint the flair with van matching paint. (sorry no photos...)

I applied the flare using 3M window weld adhesive.

DSC07888


.

DSC07910


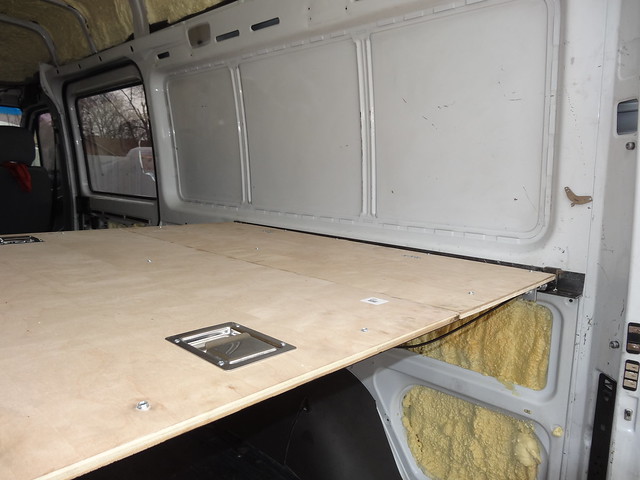
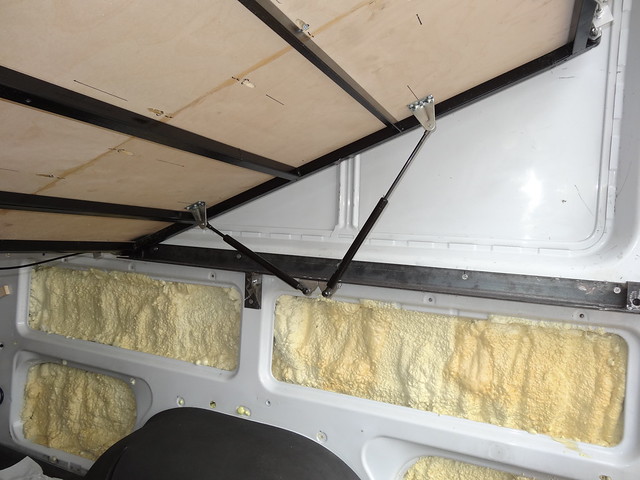
In this photo you can see the complete bed platform.  
DSC07914

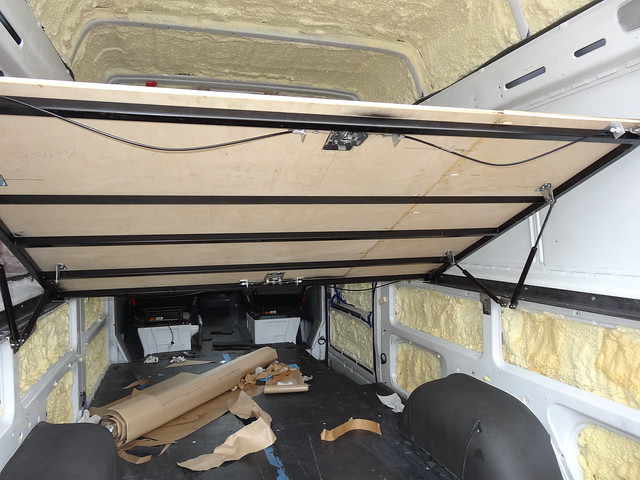
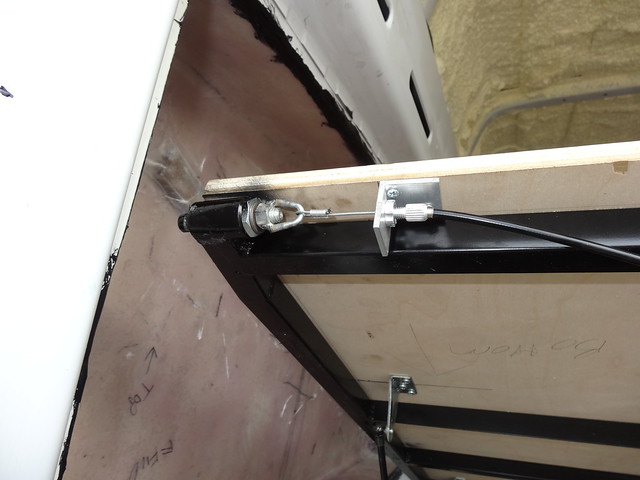
I am a bit proud of the design on this platform. It can be hinged up from either end for storage access.

DSC07915

DSC07916

DSC07917

DSC07918

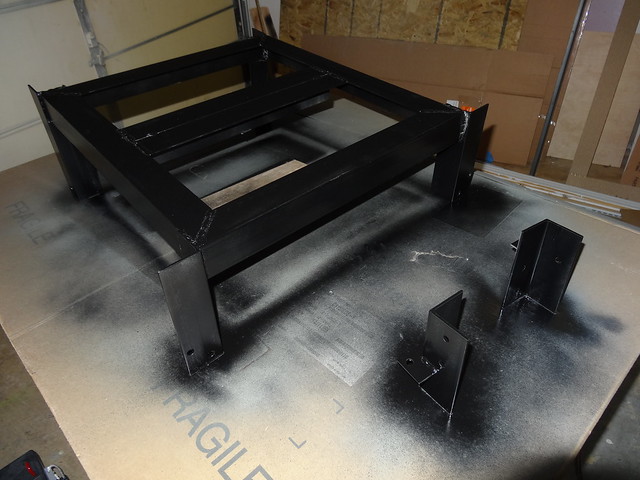
And to wrap things up the spare tire has been moved to the back door.  The reason is to allow mounting the batteries under the van.

DSC07876

DSC07880

DSC07883

DSC07884

Here is a shot of the rivnuts that hold the battery frame in place.

DSC07912

That's all for now.  We just received the last of the galley components, so we are going to start building cabinets soon!

Monday, February 2, 2015

Moving Electrons, and Visible Progress


Another step on the road to being unplugged.

One of our major goals was to have only one fuel in our new home.  To do this we are designing our systems to use electricity for everything except heating (air and water).

To achieve this goal we needed either a generator (diesel) or copious solar energy.  Since we have a burning hatred for the noise created by generators, we decided on the solar option.

Below are a series of photos of the solar install as it currently sits.  These panels are Grape Solar 160W monocrystalline panels.  Total output under ideal conditions is 640 watts.  This will hopefully allow us to boondock for as long as our water and patience will allow.


In the photo below you can see the vent fan clearance as well as the wiring pass through box.  I am considering mounting beastly LED lightbar to the front solar panel.  Stay tuned!


The panels are mounted to 2"by 1/8" thick aluminum frames.  The frames are anchored primarily with adhesive and secondarily with sheet metal screws.


Below are photos of the mock ups for the AC and DC distribution panels.

Monster gauge;  Below is the 2/0 gauge main battery cables.  These weigh about a pound per foot!


Here is a layout of the DC side of the electrical system.  You know something is getting complicated when the engineer needs diagrams to keep things straight....


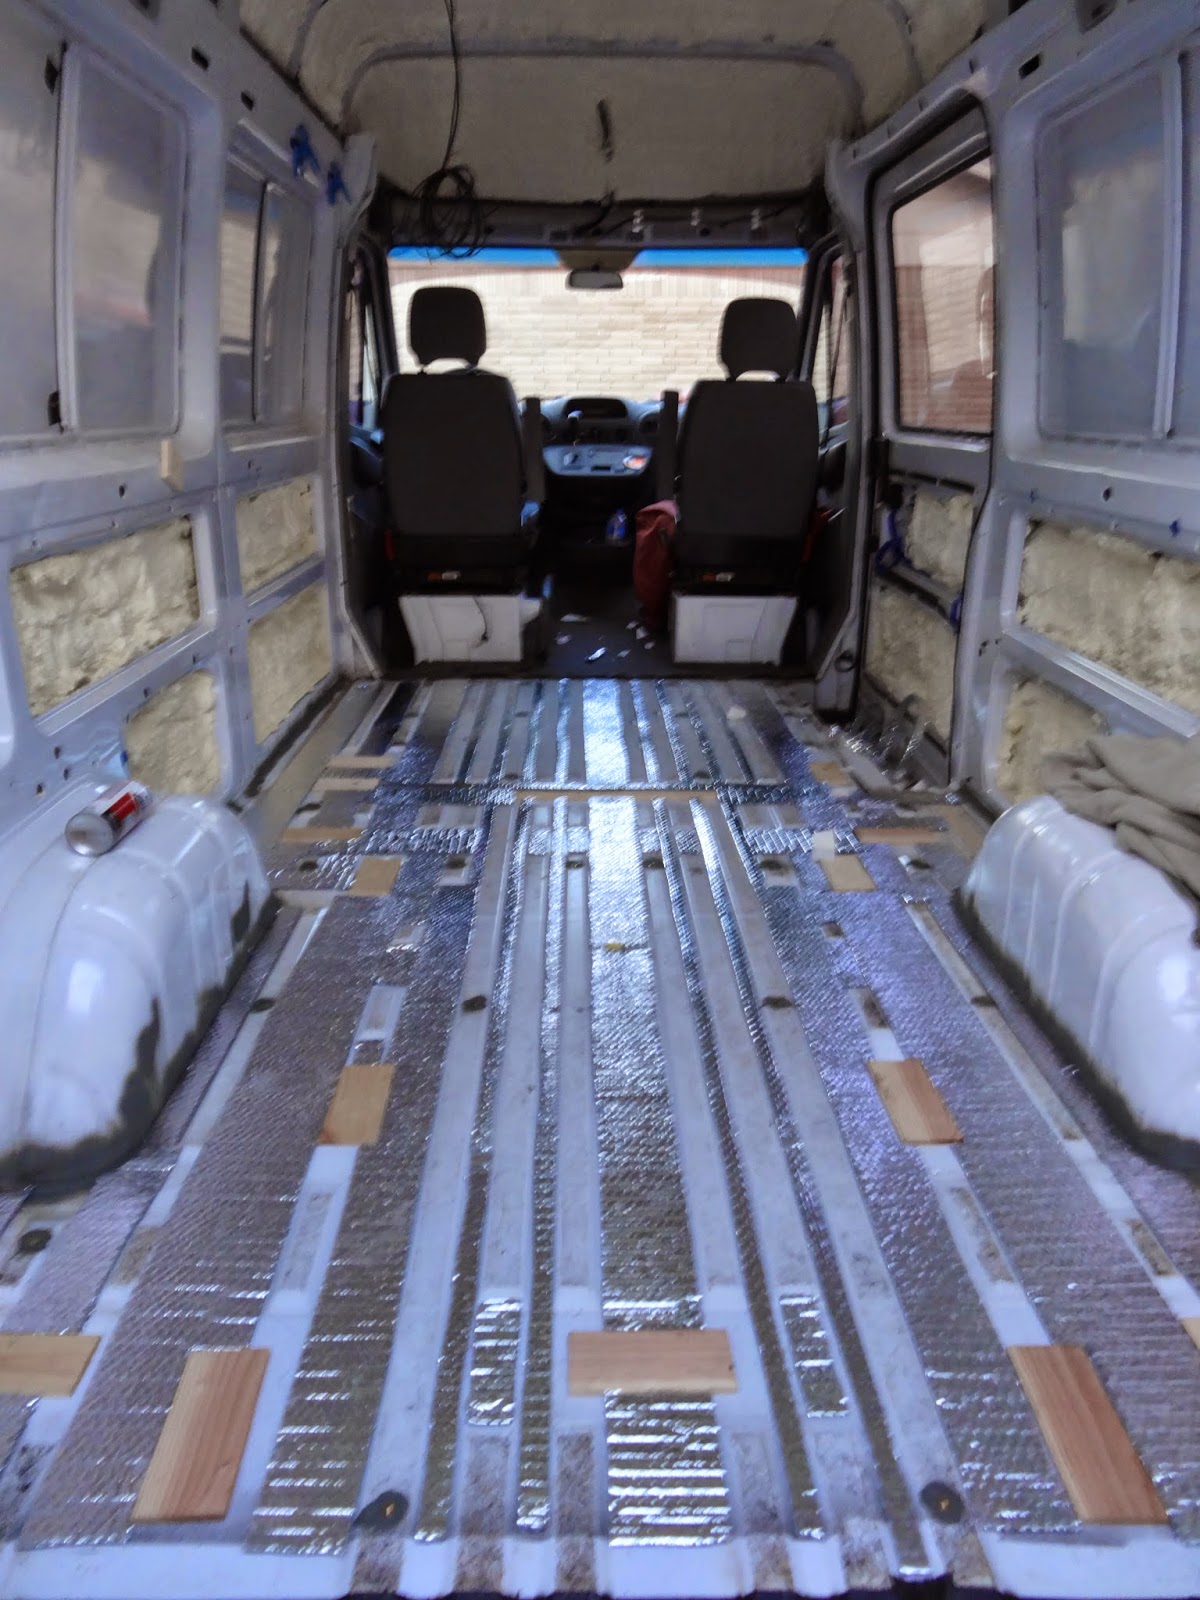
Da Bass!  Really just the floor.  We added 1/2 of polyiso foam insulation to the floor, and fill the remaining gaps with reflectix.  Nothing is worse than a cold floor in the morning.


By now you must be wondering how many hours we have in this project?  Sadly you may never know, as I am too scared too tally them up...  Anyways, onwards to the bed fabrication!

This is how the bed frame arrived, 40lbs of raw steel stock.

After a bit of cutting, and some welding...


Some more cutting welding and fitting...


We have a bed frame!  This frame is designed to hinge from the front and rear.  This will allow storage access from the rear doors or from inside the van.

Excuse the ugly welds, sadly my budget doesn't have a $2,000 welder in it.


After putting hundreds of hours into the van, it still looks like an empty cargo van...  Frustration!  Thankfully, patience is an unofficial requirement to be a vagabond.  :)

Next up:  We have been refining our layout and cabinet designs.  I have also been ordering expensive bits at a frenzied rate.  Soon we will start in on making the interior cabinets.

Tuesday, November 11, 2014

Getting Down To Business

Over the last few months we have been getting down and dirty converting the van.  Here are the highlights!  It may not seem like much, but the foundation steps are often the most critical.


First off we decided on a layout for the interior.  This layout features a permanently deployed rear bed (Jen’s request).   A drivers side Galley, and a 48' bench/couch.


Next we got rid of that ugly cargo divider.  Feels so much bigger!


Anyone need a sprinter cargo divider?


The van is only 72” wide where the bed mounts (left-right orientation).  Because I am 73” tall we needed to make a window flare to allow for some extra headroom.  Here is the flare in process.  It is being molded from fiberglass over a hand-made foam plug.


We also decided to spray expanding foam insulation into the walls of the van.  We purchased ours from Tiger Foam.  It was surprisingly easy to work with.  After many hours of masking, and about 30 minutes of spraying we had some results.


On a warm day in October I installed power lock actuators and cruise control bits. We used OEM actuators made by VDO (Amazon had great prices). I still need to run the wiring and hook up the remote unit.  


In my next post I will discuss some of the van's camper systems.  Heat, water, electrical, and solar.  We have decided to go with no propane (single fuel all the way!).


Chucks new owner has been treating him well.  Here a few photos from his new home.